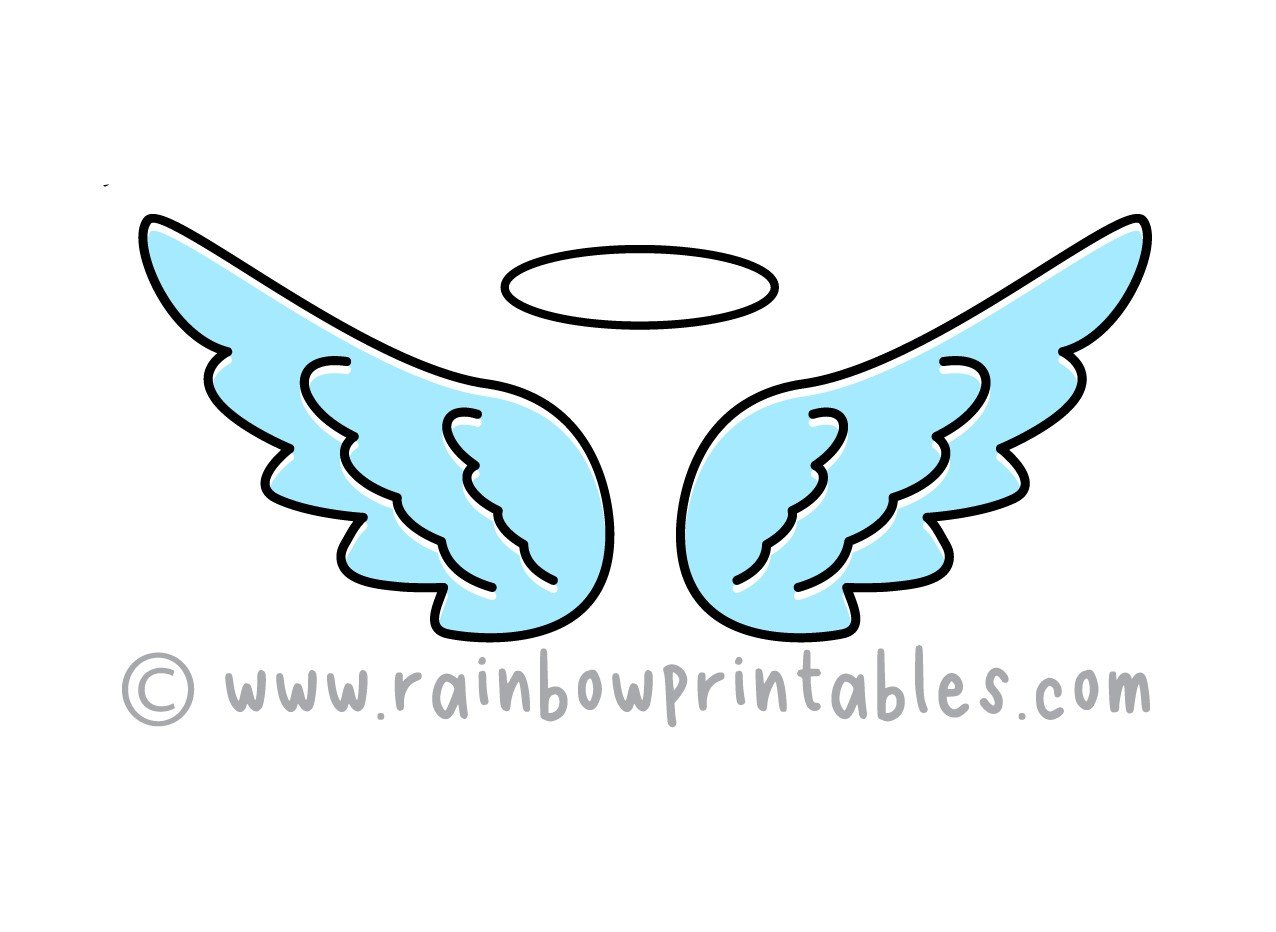
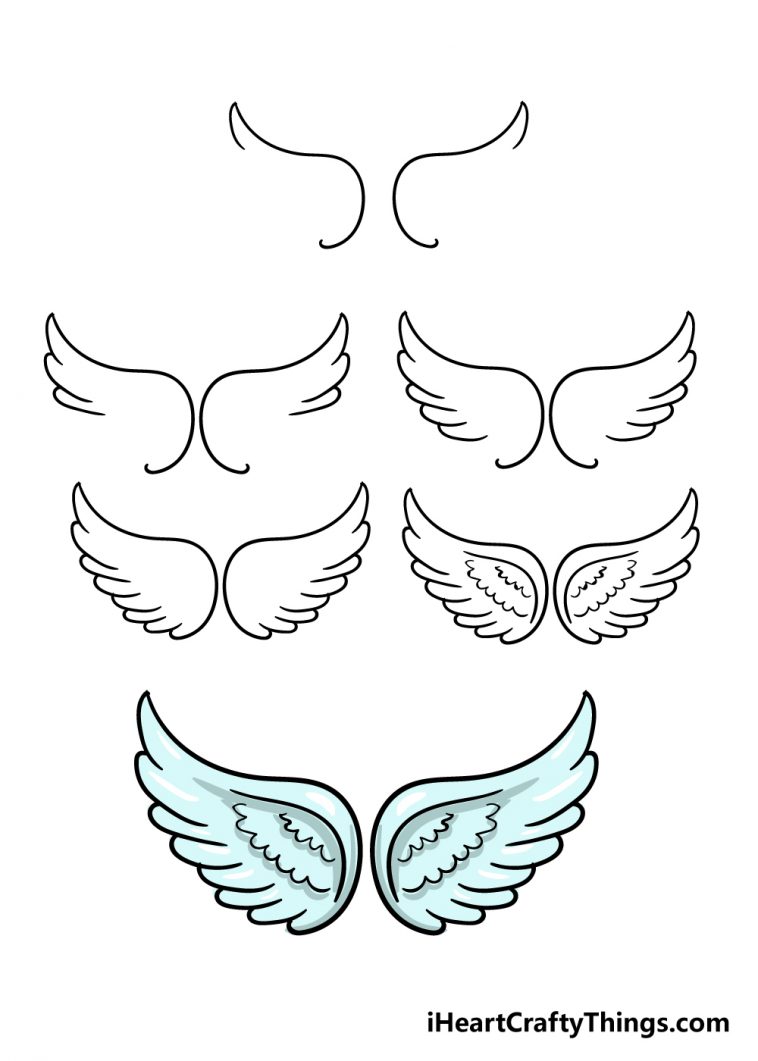
Angel Wings Drawing Simple
Angel Wings Drawing Simple - Draw out each individual feather across the top of your wings. Start by drawing in your first row of feathers. Draw another sideways u shaped line at the end of the latter. Web looking to learn how to draw angel wings? Similarly, connect the figure to the bottom feathers with another “u” figure. Sketch the arms and wings. The torso, limbs, and head should be in proportion. This step is super important because it’ll make your wings look more realistic. From the uppermost point on each line, draw a curved line, angling downward diagonally. This will form the main outline of the top of the left angel wing.
This step is super important because it’ll make your wings look more realistic. Simple instructions for drawing angel wings. Draw out each individual feather across the top of your wings. Draw the first of the angel's wings. Forget the anatomy for a moment—just sketch a shadow of what the wings are supposed to look like in the end. An easy way to do this is by drawing two large curved lines, meeting in a point at the top. Start by sketching out the general shape of the wings. Web looking to learn how to draw angel wings? Time for some simple arms. It’s all about anatomy for artists, taking it one line at a time.
Web learn how to draw angel wings easily and quickly with this video tutorial. Web the feathered wings of an angel can appear difficult to draw, but they are actually remarkably simple once you break the process down. To start the wing sketch, first decide where the center point of your wings will be. Forget the anatomy for a moment—just sketch a shadow of what the wings are supposed to look like in the end. There are a lot of different ways to draw out your feathers. Hb pencil, fine line pen (1.0) sharpie (marker pen) 110lb card stock, and kneaded erasers. Remember, angelic proportions might seem elongated to echo gracefulness. Sketch the arms and wings. Next, draw smaller curved lines inside the larger ones, to add detail and definition. Time for some simple arms.
Easy To Draw Cartoon Angel Wings for Young Kids (Step By Step
At the end of this line, draw another curved line, resembling a u turned on its side. The torso, limbs, and head should be in proportion. Draw the same ovals at the intersection of the diamond and the curve. Web the feathered wings of an angel can appear difficult to draw, but they are actually remarkably simple once you break.
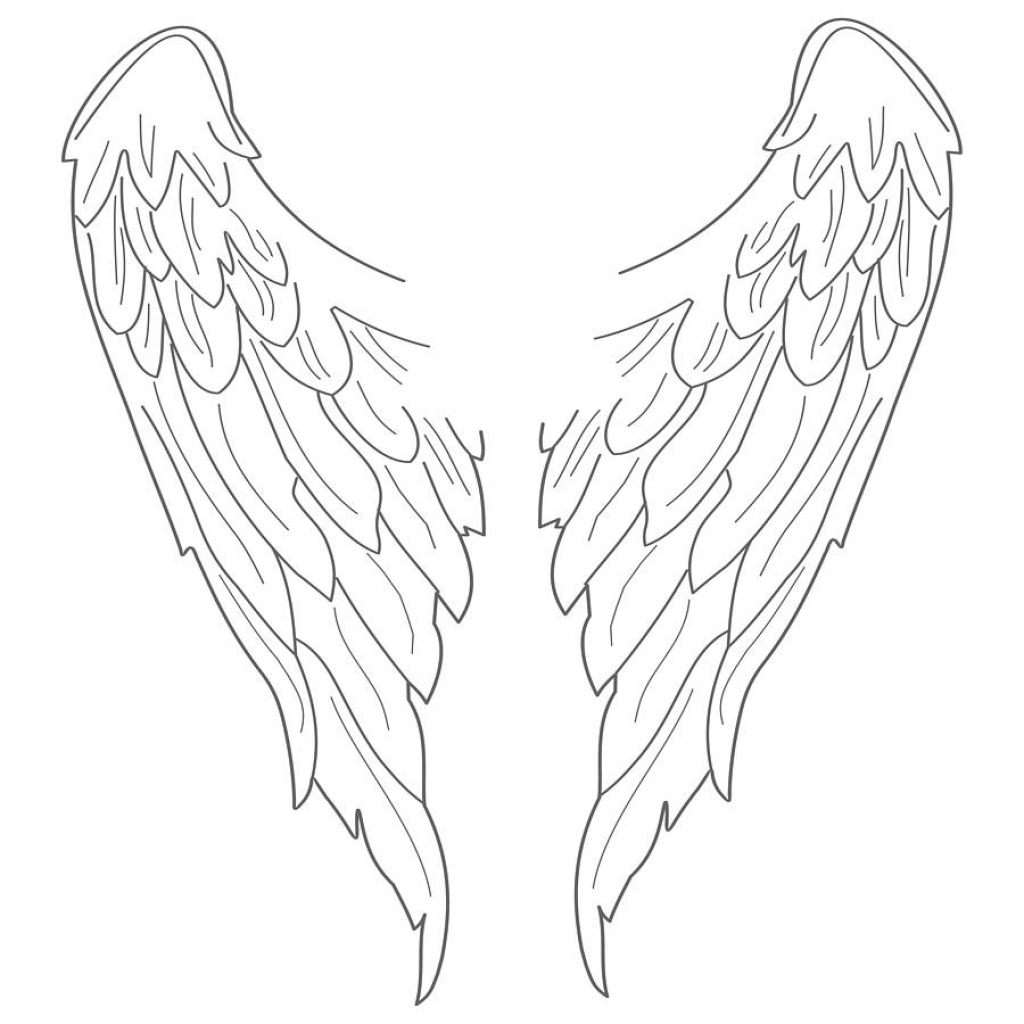
Easy Angel Wings Drawing at GetDrawings Free download
Web the feathered wings of an angel can appear difficult to draw, but they are actually remarkably simple once you break the process down. Finally, you have a beautiful painting of angel wings. Yup, it’s just that easy. From the uppermost point on each line, draw a curved line, angling downward diagonally. Visit the artist’s youtube channel here.
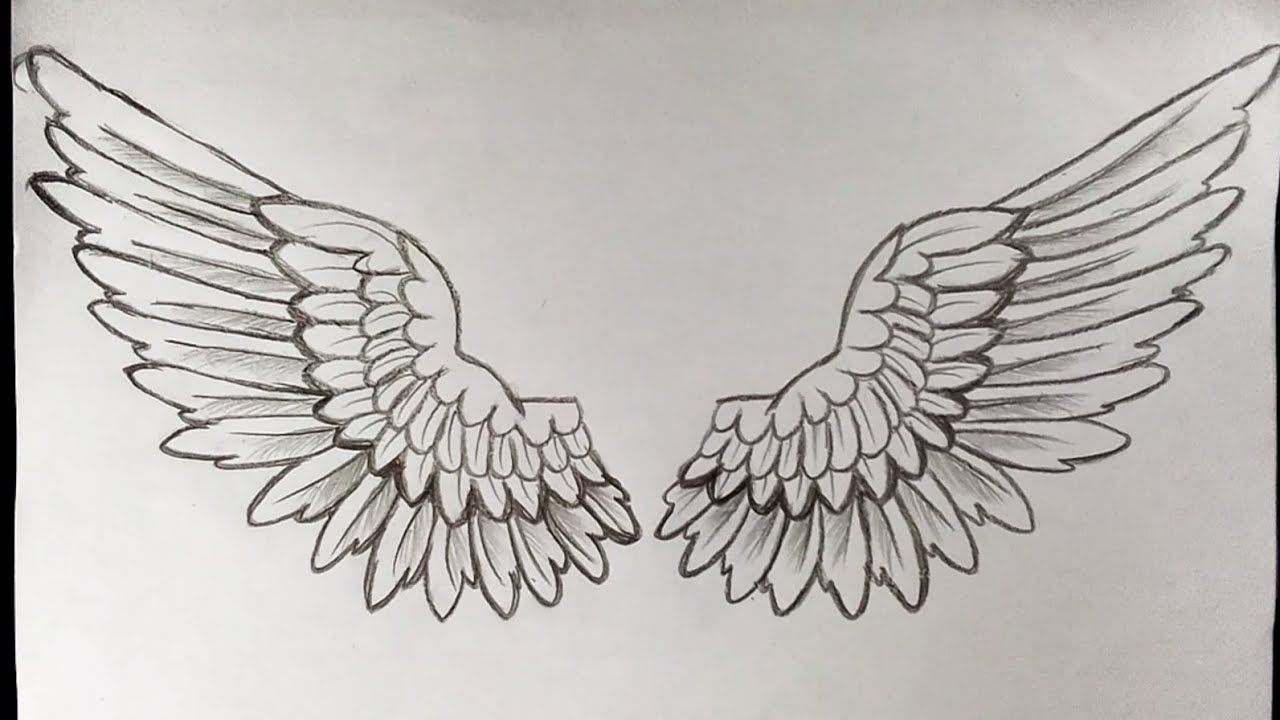
How To Draw Angel Wings Easy For Beginners YouTube
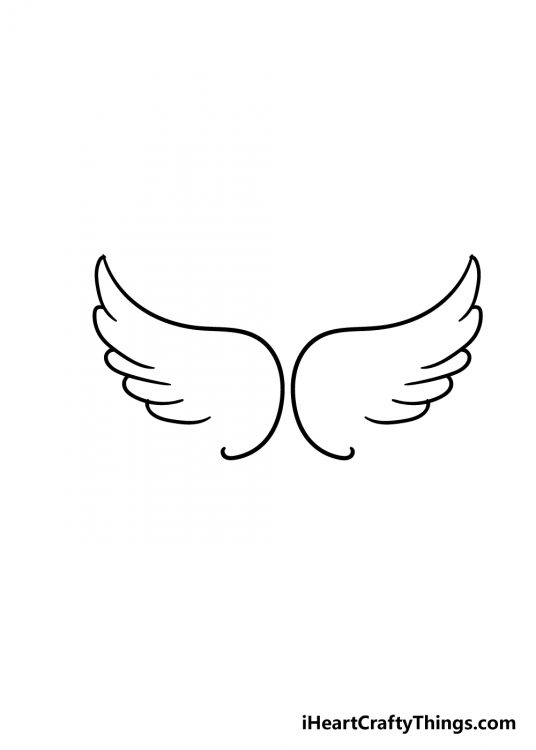
And you have now completed your angel wing drawing. Web begin with an anatomical framework—think stick figure, but angelic. Add guidelines for later features like the wings and robes. Make your feathers wider at the top, and coming to a point at the ends. It’s all about anatomy for artists, taking it one line at a time.
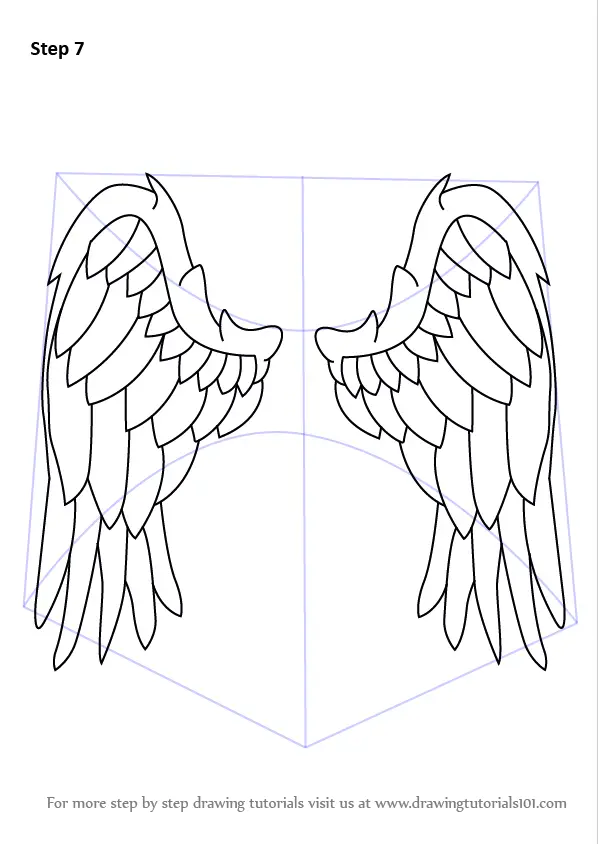
Learn How to Draw Angel Wings (Angels) Step by Step Drawing Tutorials
Make your feathers wider at the top, and coming to a point at the ends. Draw the arm and the forearm, creating a triangle under this basic curve. Connect the interior of the wing with the bottom edge of the line with a loop “u” figure. You will see step by step pencil drawing of wings for beginners, with tips.
Angel Wings Drawing How To Draw Angel Wings Step By Step
Sketch the arms and wings. The first step in drawing angel wings is to sketch out the basic shape of the wings. You will need a ruler to make the guidelines and a sketching medium like a pencil. Next, draw the finishing feathers of the wings. Simple instructions for drawing angel wings.
Angel Wings Drawing How To Draw Angel Wings Step By Step
Hb pencil, fine line pen (1.0) sharpie (marker pen) 110lb card stock, and kneaded erasers. To start drawing, simply draw some curved, rounded lines with sharp points at the end to start creating the outline of the angel wings. Draw the basic rhythm of the wings. Draw the same ovals at the intersection of the diamond and the curve. Web.
How to Draw Angel Wings Easy Art Tutorial for Beginners Art by Ro
Let’s draw the flew feathers of which wings. Web learn how to draw angel wings. Forget the anatomy for a moment—just sketch a shadow of what the wings are supposed to look like in the end. Then create two more rows of ovals below the first row, making three rows of ovals in total. From the uppermost point on each.
How To Draw Angel Wings Step By Step Drawing Pencil ClipArt Best
First, you draw the shoulder wing bone. Let’s draw the flew feathers of which wings. Hb pencil, fine line pen (1.0) sharpie (marker pen) 110lb card stock, and kneaded erasers. Add a few more joined curved lines until you reach the end of the first line. An easy way to do this is by drawing two large curved lines, meeting.

How to Draw Angel Wings Easy StepbyStep Angel Wings Drawing Tutorial
Use a long curved line for the top of the wing and a series of u shaped lines for the bottom of the wing. Simple instructions for drawing angel wings. When drawing these angel wings, try to think of them as large dove wings. This is the arch to your first wing. Web the feathered wings of an angel can.

How To Draw Angel Wings Step By Step at Drawing Tutorials
Draw the arm and the forearm, creating a triangle under this basic curve. Web connect the feathers with the initial outline. Join db besties for exclusive access to bundles, freebies, discounts and games! Next, draw the finishing feathers of the wings. Web looking to learn how to draw angel wings?
Remember, Angelic Proportions Might Seem Elongated To Echo Gracefulness.
It’s all about anatomy for artists, taking it one line at a time. Web learn how to draw angel wings. Yup, it’s just that easy. First, you draw the shoulder wing bone.
These Lines Form The Flight Feathers Of The Wing.
Hb pencil, fine line pen (1.0) sharpie (marker pen) 110lb card stock, and kneaded erasers. Time for some simple arms. The first step in drawing angel wings is to sketch out the basic shape of the wings. There are a lot of different ways to draw out your feathers.
This Will Form The Main Outline Of The Top Of The Left Angel Wing.
This step is super important because it’ll make your wings look more realistic. Connect the interior of the wing with the bottom edge of the line with a loop “u” figure. Forget the anatomy for a moment—just sketch a shadow of what the wings are supposed to look like in the end. When drawing these angel wings, try to think of them as large dove wings.
Web Connect The Feathers With The Initial Outline.
Draw 2 connected curves on the lower part of the diamond. Web looking to learn how to draw angel wings? Draw another sideways u shaped line at the end of the latter. Next, draw smaller curved lines inside the larger ones, to add detail and definition.