Arrow Bow Drawing
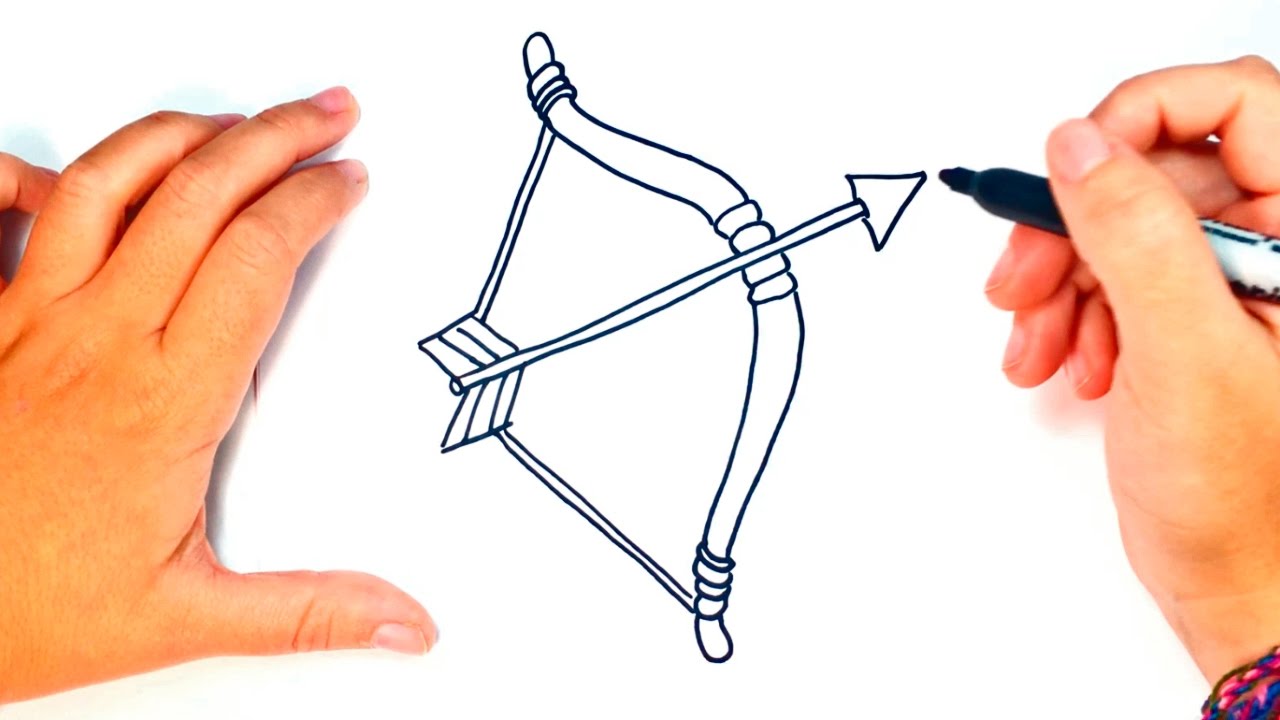
Arrow Bow Drawing - Click on any image below to view this guide in gallery mode. Web drawing a bow correctly involves several steps, each of which plays a crucial role in your shooting accuracy. Plan for this drawing to take about 20 minutes, but the drawing process may actually take more time if a background is included in addition to the subject matter. This begins to outline the nock, the part of the arrow that is placed on the string of the bow. Web learn how to draw a bow and arrow for kids easy and step by step. Bow and arrow drawing tutorial. Draw the feathers at the end of the arrow. First, nock the arrow onto the bowstring securely. Build up an arrow by drawing two straight lines for its shaft and adding its components (arrowhead, fletching (feathers), fletchings). Draw the body of the bow.
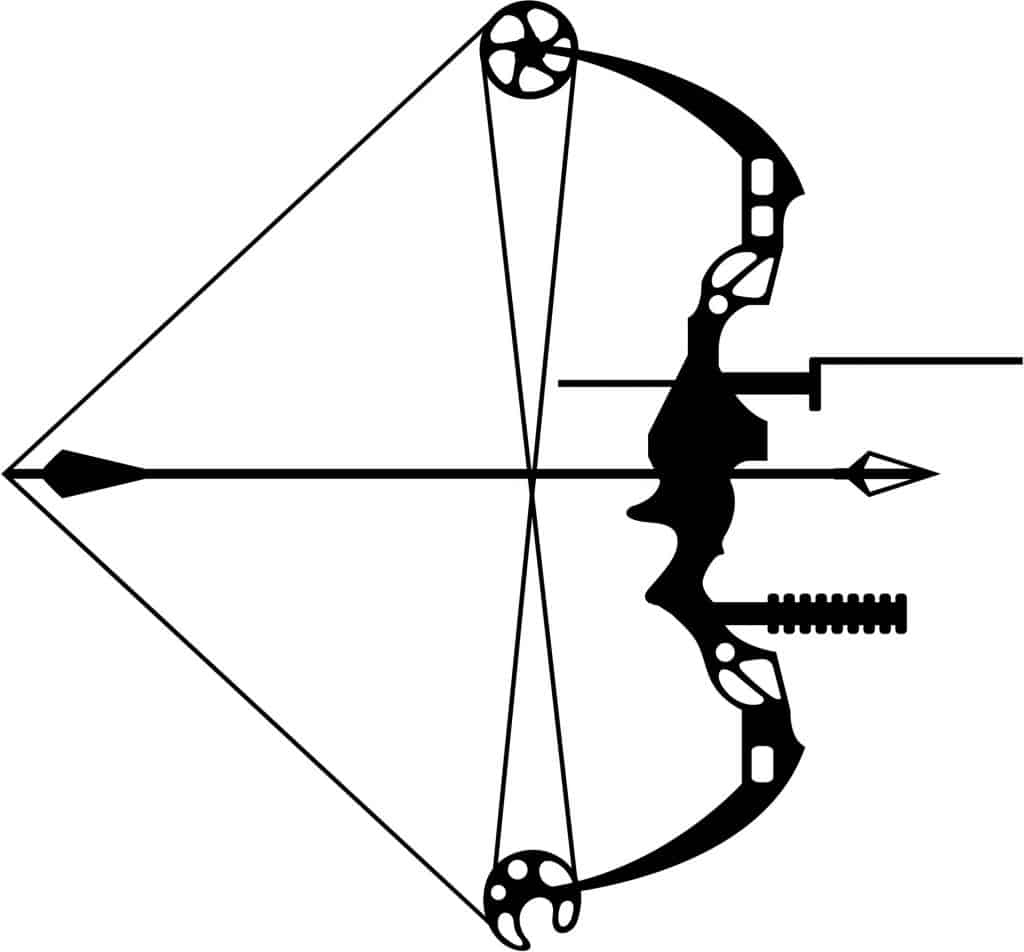
Web printing, typography, and calligraphy. Next, draw two loops on either side of the rectangle, which will serve as the main body of the bow. Web sketch the bowstring, running from one tip of the bow to the other. Start by sketching a rectangle shape for the center knot of the bow. Draw a small curved rectangle at the top of the shaft. Web learn how to draw a bow and arrow for kids easy and step by step. The nock of an arrow refers to the notch at the rear end of the arrow shaft where it attaches to the bowstring. Allow them to meet at a point, forming the arrowhead. When the arrow is nocked, the index finger is above the arrow, while the middle and ring finger are beneath the arrow. Web make drawing a bow and arrow easier with just a few steps!
Begin by drawing an outline of the bow. Make a curve that bends upwards on the tip; Ensure the arrow is proportional to the bow’s size. Plan for this drawing to take about 20 minutes, but the drawing process may actually take more time if a background is included in addition to the subject matter. Enhance your drawing skills and create dynamic illustrations of archery scenes. Web ready to take your drawing to the next level!? Start to draw the arrow. From each end of this line, extend a straight line. Begin by sketching a bow shape. At the bottom of the arrow, extend a short, straight line.
How to Draw a Bow and Arrow 5 Steps (with Pictures) wikiHow
Then, grip the bow with a relaxed yet firm hold, ensuring your fingers are correctly positioned. A total of nine horses are entered in the preakness field. Make a triangle on the left corner of the line. Web it is the draw utilized in olympic archery with recurve bows. As shown in the image.
How To Draw An Arrow And Bow
To draw this step, start by going to the right end of your shaft. This begins to outline the nock, the part of the arrow that is placed on the string of the bow. Start by sketching a rectangle shape for the center knot of the bow. Then add two rectangles on top of the peak of the curve. Take.
How to Draw a Bow and Arrow for Kids How to Draw for Kids
Make a curve that bends upwards on the tip; Make a triangle on the left corner of the line. Next, draw two loops on either side of the rectangle, which will serve as the main body of the bow. May 13, 2024 | 00:00:25. Take note the bow’s body should be parallel to the.
How to Draw a Bow and Arrow Really Easy Drawing Tutorial
A total of nine horses are entered in the preakness field. Web it is the draw utilized in olympic archery with recurve bows. Allow them to meet at a point, forming the arrowhead. From this line, extend another short line at an opposite angle. Web muth and mystik dan were drawn alongside each other on monday.
How To Draw A Bow And Arrow Kids Drawing Easy Drawing Step By Step
Draw a straight line from one tip of the bow to the other. First, nock the arrow onto the bowstring securely. This article will show you how. The purpose of the nock is to hold the arrow securely in place on the string until it is released by the archer. Web then, draw a rectangular feather on each side with.
How to Draw a Bow and Arrow Really Easy Drawing Tutorial
Web drawing a bow correctly involves several steps, each of which plays a crucial role in your shooting accuracy. Then, grip the bow with a relaxed yet firm hold, ensuring your fingers are correctly positioned. Draw the body of the bow. Web are you a print subscriber? Refine the lines and shapes of the bow, erasing any unnecessary or rough.
How to draw a Bow and Arrow Bow and Arrow Easy Draw Tutorial
Start to draw the arrow. Ensure the string is taut and straight. From each end of this line, extend a straight line. This draw utilizes three fingers, the index, middle, and ring. Then make some crooked rectangles on both sides of the line on the right side.
How to Draw a Bow and Arrow for Kids
Web make drawing a bow and arrow easier with just a few steps! Web drawing a bow correctly involves several steps, each of which plays a crucial role in your shooting accuracy. Web ready to take your drawing to the next level!? You can add texture lines to indicate its material, and emphasize the arrow’s details with defined tip and..
How to Draw a Bow and Arrow Really Easy Drawing Tutorial
Start to draw the arrow. Web drawing a bow correctly involves several steps, each of which plays a crucial role in your shooting accuracy. Refine the lines and shapes of the bow, erasing any unnecessary or rough lines. Web are you a print subscriber? May 13, 2024 | 00:00:25.
How To Draw a Bow and Arrow Weapon (Archery) Easy Drawing Guide for
Web phillies @ mets. From each end of this line, extend a straight line. First, nock the arrow onto the bowstring securely. Build up an arrow by drawing two straight lines for its shaft and adding its components (arrowhead, fletching (feathers), fletchings). From this line, extend another short line at an opposite angle.
When The Arrow Is Nocked, The Index Finger Is Above The Arrow, While The Middle And Ring Finger Are Beneath The Arrow.
Draw the body of the bow. Make sure the loops are symmetrical and of equal size. This article will show you how. Start by sketching a rectangle shape for the center knot of the bow.
Web Ready To Take Your Drawing To The Next Level!?
All drawing steps are included here which make it fun and easy to follow! From this line, extend another short line at an opposite angle. Drawing a hair bow requires a combination of basic shapes and attention to detail. Web this easy bow and arrow instruction guide is perfect for younger children looking to learn how to draw.
Start To Draw The Arrow.
To start the arrow, simply use a thick line coming from the center of the bow until it touches the point of the string. Mystik dan is not too far behind as the. Refine the lines and shapes of the bow, erasing any unnecessary or rough lines. May 13, 2024 | 00:00:25.
A Total Of Nine Horses Are Entered In The Preakness Field.
Web make drawing a bow and arrow easier with just a few steps! Web drawing a bow without an arrow is bad enough, but doing it with fingers (imo) is even worse. Make a curve that bends upwards on the tip; First of all, draw two parallel lines at 45 degrees.