Branches Drawing Easy
Branches Drawing Easy - We begin this tutorial by creating an elementary tree branch outline. Draw leaves at the tip of the stem. Web first, consider and count how many main branches, then draw the main branch diverge out from the main trunk, this could be 3 or 5. Alternatively you can first draw the leafs and then project the petioles from those to the branch. For this tree, nugent chose to start with a graphite pencil in adobe fresco. In our example below, we begin the branch in the lower right corner of the drawing area and extend it up to the upper left side. Draw the trunk at the bottom of the tree. Web start drawing simple cylinder shapes freehand, using the the lines you just drew. To get this guide on how to draw branches going, we will be starting with one side of the tree along with one thin branch on the side. [4] vary the sizes of the branches so they look more natural.
Use the pencil to draw the outline of the trunk with two opposite lines. Web perfect the art of tree branch drawing with comprehensive techniques and tips for effective practice. Draw another wavy line beneath it. 1 how to draw a cherry blossom in 28 easy steps. It's free to download on apple devices but requires a $19.99 payment for android. Emojis help to capture and illustrate our mood without even having to express ourselves verbally. Web how to draw a tree: Using your reference photo of your branch, lightly start drawing straight lines that mimic the direction of the tree branches. Drawing your boyfriend a cute emoji, maybe the kissing emoji, the smiley emoji or. Continue to draw smaller and finer lines to represent the.
Draw a letter ‘v’, ‘f’, and ‘y’ shape. 1,900+ drawing & coloring pdfs. If you have pro, you can create your. Outlining the branch of your cherry blossom sketch; [4] vary the sizes of the branches so they look more natural. They tend to be thicker towards the branch and thinner towards the leafs. Connect the lines at the end using a v shaped line. Generally the trunk and branches get progressively thinner as they go towards the top so be sure to keep this in mind when drawing. To get this guide on how to draw branches going, we will be starting with one side of the tree along with one thin branch on the side. Olive trees have slender, narrow leaves.
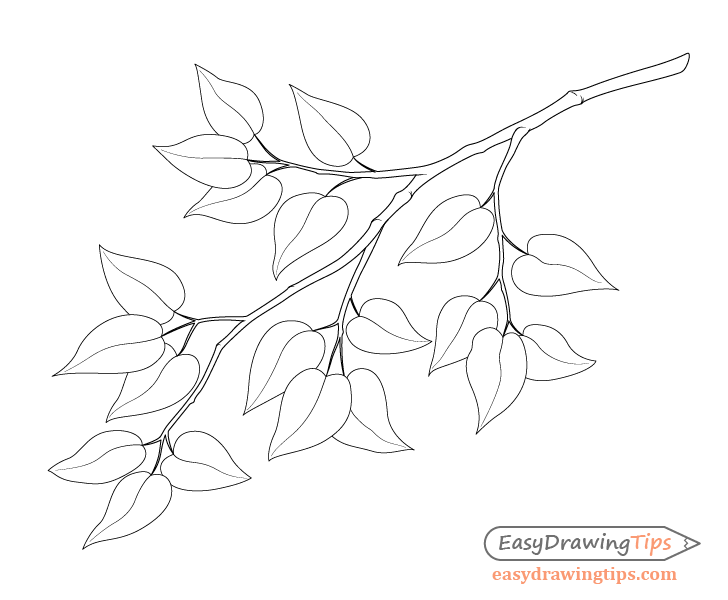
How to Draw a Tree Branch With Leaves EasyDrawingTips
How to start drawing a tree branch layout with simple lines! Blend the base of the tree to its surroundings. Drawing your boyfriend a cute emoji, maybe the kissing emoji, the smiley emoji or. Below the bottom layer of your pine, draw 2 parallel vertical lines that extend from the layer’s middle. It's free to download on apple devices but.

How to draw a branch with leaves Tree Drawing for beginners YouTube
Outlining the side branches of your sakura flower sketch; Draw leaves at the tip of the stem. Olive trees have slender, narrow leaves. Draw the shape of the pine tree. Silhouette of the trunk and outer branches.

How to Draw a Tree Branch Step By Step Easy For Beginners Drawings
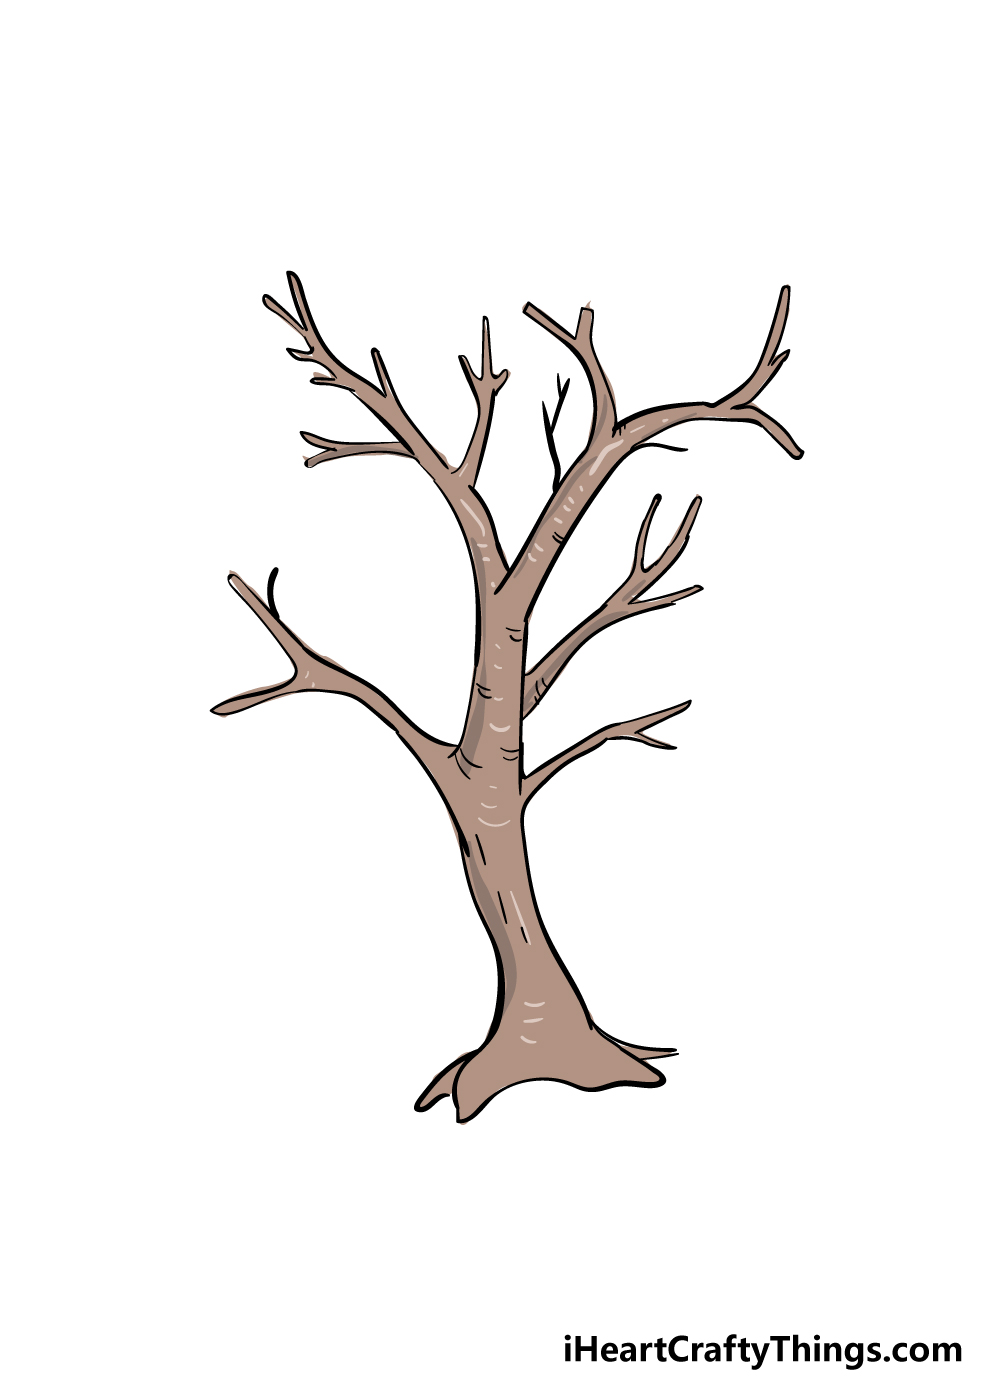
Generally the trunk and branches get progressively thinner as they go towards the top so be sure to keep this in mind when drawing. Now draw out the actual shapes of the trunk and larger branches of the tree. Instead of drawing thin twigs that come off from the branches, draw the branches so they narrow before becoming small. Use.

How to Draw Tree Branches Full of Leaves Drawing Tutorial How to Draw
Make the branches taper as they move away from the trunk. Web my community has been asking for ways to support deliberately creative:click the teespring shop shelf right below the video for deliberately creative branded. The shapes of the petioles are fairly basic. It is thick towards the bottom and the roots, and narrows closer to a point toward the.
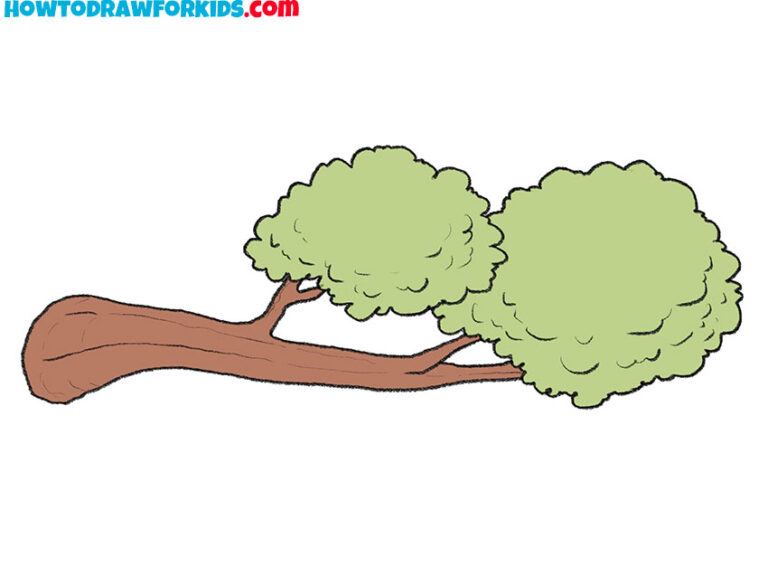
How to Draw a Tree Branch Easy Drawing Tutorial For Kids
The triangular shape helps to mimic the pine tree’s natural growth pattern. Web learn how to draw realistic tree branches with this easy and narrated tutorial. The same thing with the branches. We begin this tutorial by creating an elementary tree branch outline. From the base of this line, extend a pair of curved lines, and bring them together at.
Branches Drawing How To Draw Branches Step By Step
Adding the sepals to your realistic cherry blossom. Then i add a few lines to indicate the main branches. Continue to draw smaller and finer lines to represent the. To get this guide on how to draw branches going, we will be starting with one side of the tree along with one thin branch on the side. Alternatively you can.

How to Draw a Tree Branch Really Easy Drawing Tutorial
You shouldn’t worry too much about using a smooth line, as a slightly rougher line will help give the appearance of. They tend to be thicker towards the branch and thinner towards the leafs. In our example below, we begin the branch in the lower right corner of the drawing area and extend it up to the upper left side..

How to Draw a Tree Branch Really Easy Drawing Tutorial
Generally the trunk and branches get progressively thinner as they go towards the top so be sure to keep this in mind when drawing. Draw leaves at the tip of the stem. This forms the twigs diverging from the tree branch. To get this guide on how to draw branches going, we will be starting with one side of the.

How to draw TREE BRANCHES step by step YouTube
Thin branches and twigs of a bare bush are drawn using 2 tone technique. For each leaf, first, extend a curved line from the stem to indicate the leaf vein. This forms the twigs diverging from the tree branch. Da vinci eye is an app that allows you to draw using augmented reality (ar). Web learn how to draw realistic.

How to Draw a Tree Branch Really Easy Drawing Tutorial
We begin this tutorial by creating an elementary tree branch outline. Web my community has been asking for ways to support deliberately creative:click the teespring shop shelf right below the video for deliberately creative branded. Web how to draw a tree: Web table of contents. Then i add a few lines to indicate the main branches.
Outline The Shape Of Your Tree Branch.
Silhouette of the trunk and outer branches. You also want to add some bumps and fairly sharp. The triangular shape helps to mimic the pine tree’s natural growth pattern. It's free to download on apple devices but requires a $19.99 payment for android.
How To Start Drawing A Tree Branch Layout With Simple Lines!
In our example below, we begin the branch in the lower right corner of the drawing area and extend it up to the upper left side. I start with a line and the general shape that i would like the crown to be. Da vinci eye lets you draw other people's uploaded images. Tree trunk and large branches drawing.
Olive Trees Have Slender, Narrow Leaves.
Adding the sepals to your realistic cherry blossom. Then i add a few lines to indicate the main branches. Alternatively you can first draw the leafs and then project the petioles from those to the branch. Thin branches and twigs of a bare bush are drawn using 2 tone technique.
Next Draw Smaller Branches Which Are Attached To The Side Of The Main Branches, Your Drawing Should Now Begin To Resemble A Realistic Tree.
To do this, you can draw a slightly curved vertical line for the side of the tree. Now draw out the actual shapes of the trunk and larger branches of the tree. Thicker cylinders at the bottom and thinner cylinders at the top. Start out with a few leading lines to indicate the general shape and guide the direction of the tree branches.