Deeer Drawing
Deeer Drawing - Firstly, draw a line to the left side of the neck so it looks thicker with more muscles. Draw four narrow lines and a small curved line just below the middle of each leg. Web ink, paint, and drawing materials. This is where you get to add the details to the face of the deer. Shade between these to indicate the pupil. Web that's how you learn how to draw deer hooves in a simplified way. This will represent the hoof on each leg. Attach two ovals to the sides, within the middle third. Continue this step onto the back legs and add a thigh curve overlapping the rear body. Divide the head into thirds.
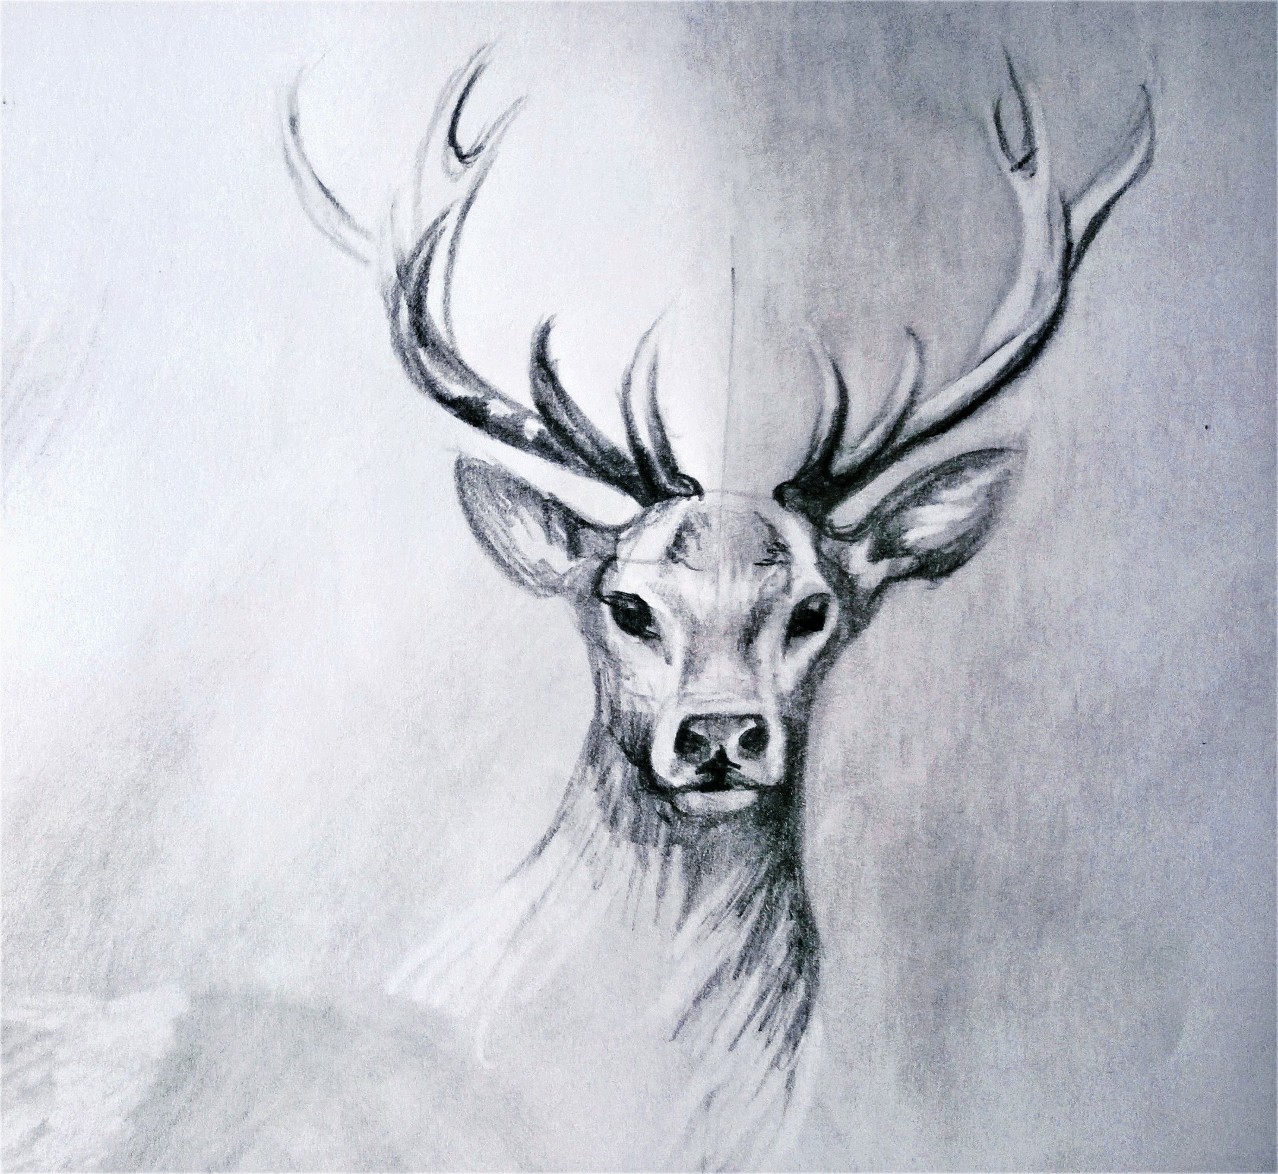
Our deer’s head is turned a bit to the left. Deer drawing stock photos are available in a variety of sizes and formats to fit your needs. To begin this step, start with the front legs of your deer. Color the fur and antlers. Firstly, draw a line to the left side of the neck so it looks thicker with more muscles. Web how to draw a deer step by step easy. Then, at the front of the face, you can draw in a more rounded shape as you can see in the reference image. Begin the deer outline by sketching the animal's face. Create a blocky heart shape. Now, vertical line #2 is representing the central axis between deer’s antlers and years.
Firstly, draw a line to the left side of the neck so it looks thicker with more muscles. Draw the head’s online using the basic shapes as shown in the picture below. This will represent the hoof on each leg. Begin by drawing three circles as shown in the example. To begin this step, start with the front legs of your deer. Deer drawing stock photos are available in a variety of sizes and formats to fit your needs. Web thar’s where the top of our deer’s head should be. Then, use an orange crayon for the antlers and a dark brown crayon for. 99,000+ vectors, stock photos & psd files. How to draw a deer's head and antlers step 1.

How to Draw a Deer HelloArtsy
To begin this step, start with the front legs of your deer. Two of these circles are of the same size and represent the front and rear limbs and the deer’s body. For this step of your deer drawing, we shall be adding in the rest of the head outline underneath the ears. Find & download free graphic resources for.

Fawn Pencil Drawing Giclée Print Baby Deer Baby Animals Deer Drawing
After that, curve the line to the right for the nose. Web thar’s where the top of our deer’s head should be. Add the hooves and ears. Draw the details of the head. Starting from the left side of the circle, draw a line straight down.

Pencil drawing made by Dauphine Mulder (16 years old) Animal drawings
Now, vertical line #2 is representing the central axis between deer’s antlers and years. The sketch deer drawing continues with the head and antlers. Web teaching an easy way to learn pencil drawing. Draw the hind legs and tail. Add details to the background.

How to Draw a Deer Really Easy Drawing Tutorial
Web ink, paint, and drawing materials. Begin by drawing three circles as shown in the example. Add details to the background. Use a pair of curved lines, meeting in a point, to form the corner of the eye, giving it a teardrop shape. Now, draw a line to the right and curve the line towards the end where you meet.
deer drawing 2 by LinekeLijn on DeviantArt
Begin by drawing three circles as shown in the example. Let’s complete the neck and the front long legs on the body of the deer. Web how to draw a deer step by step easy. Use a pair of curved lines, meeting in a point, to form the corner of the eye, giving it a teardrop shape. Web complete the.
Easy How to Draw a Deer Tutorial and Deer Coloring Page
How to draw a deer's head and antlers step 1. Shade an inverted, curved triangle for the nose, then use curved lines for the snout and top of the head. Draw the hind legs and tail. Carefully draw in some more angular shapes to form the main outline of the head. Then, at the front of the face, you can.

Amazing Pencil Drawings Of Animals Mark setape2010
On either side of that blocky heart shape, create a leaf shape, one thinner than the other. Web thar’s where the top of our deer’s head should be. Use a pair of curved lines, meeting in a point, to form the corner of the eye, giving it a teardrop shape. Secondly, add a second front leg slightly to the right.

Pin on Drawing inspirations
Begin by drawing three circles as shown in the example. Add an eyebrow, eye, nose, mouth. Draw the head’s online using the basic shapes as shown in the picture below. From the right edge of the heart shape create a curved line going downward, then continue that line horizontally, finally curving. Use a pair of curved lines, meeting in a.
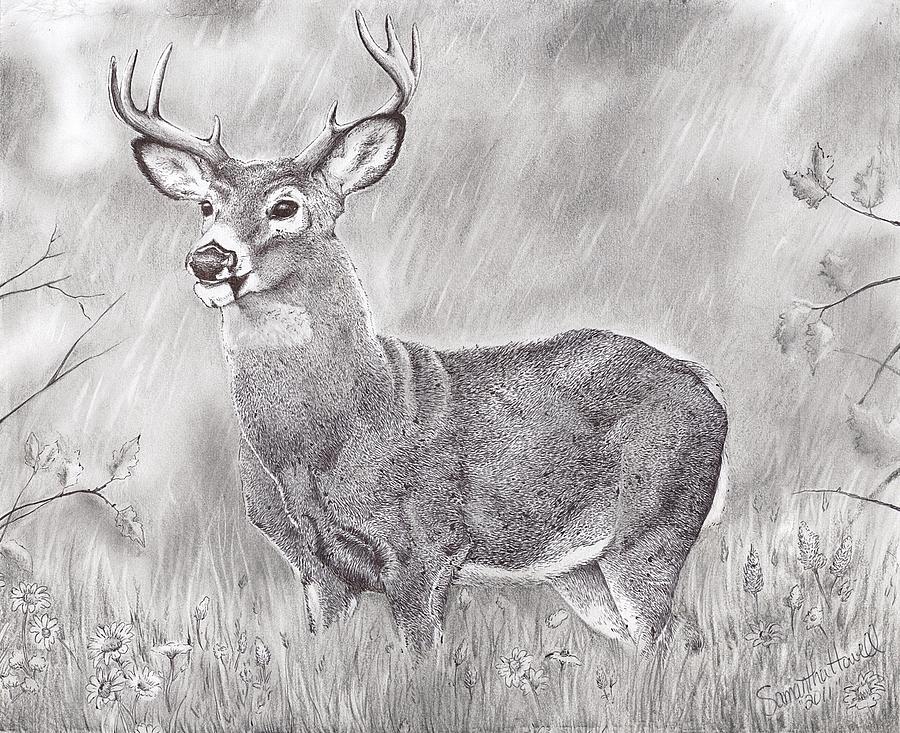
Whitetail Deer Drawing by Samantha Howell
Add details to the background. Use a pair of curved lines, meeting in a point, to form the corner of the eye, giving it a teardrop shape. Carefully draw in some more angular shapes to form the main outline of the head. For each eye, draw a large circle. Free for commercial use high quality images.
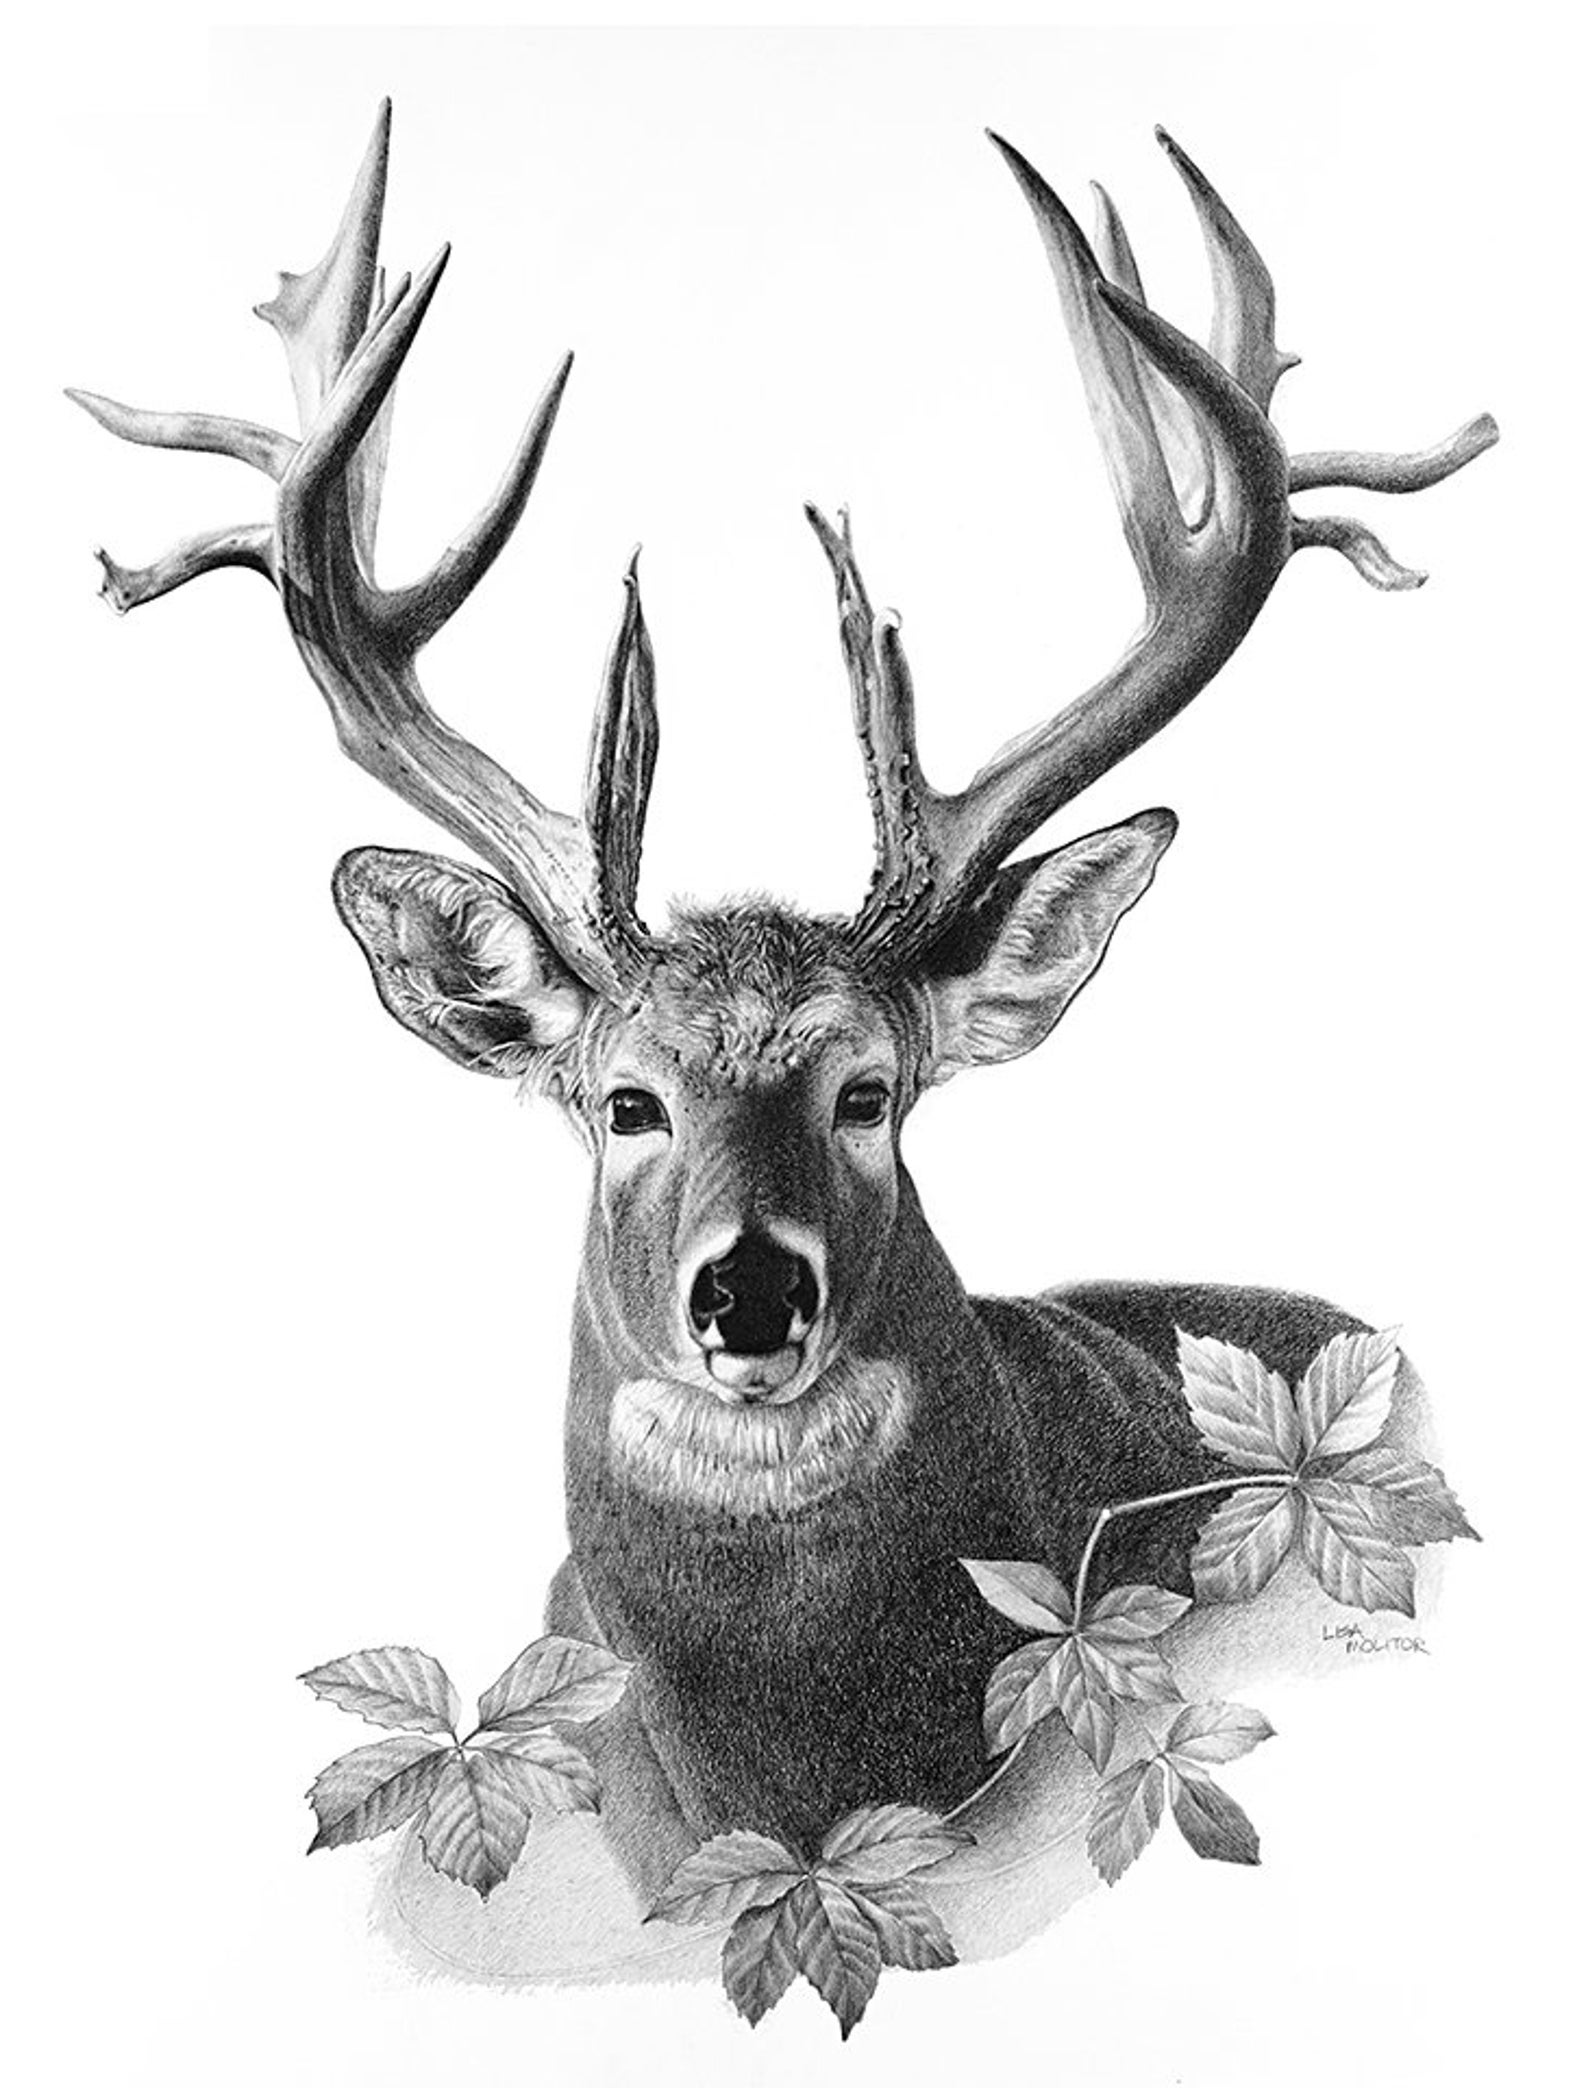
Deer Pencil Drawing Print, Deer Art Print, Majestic Deer, White Tail
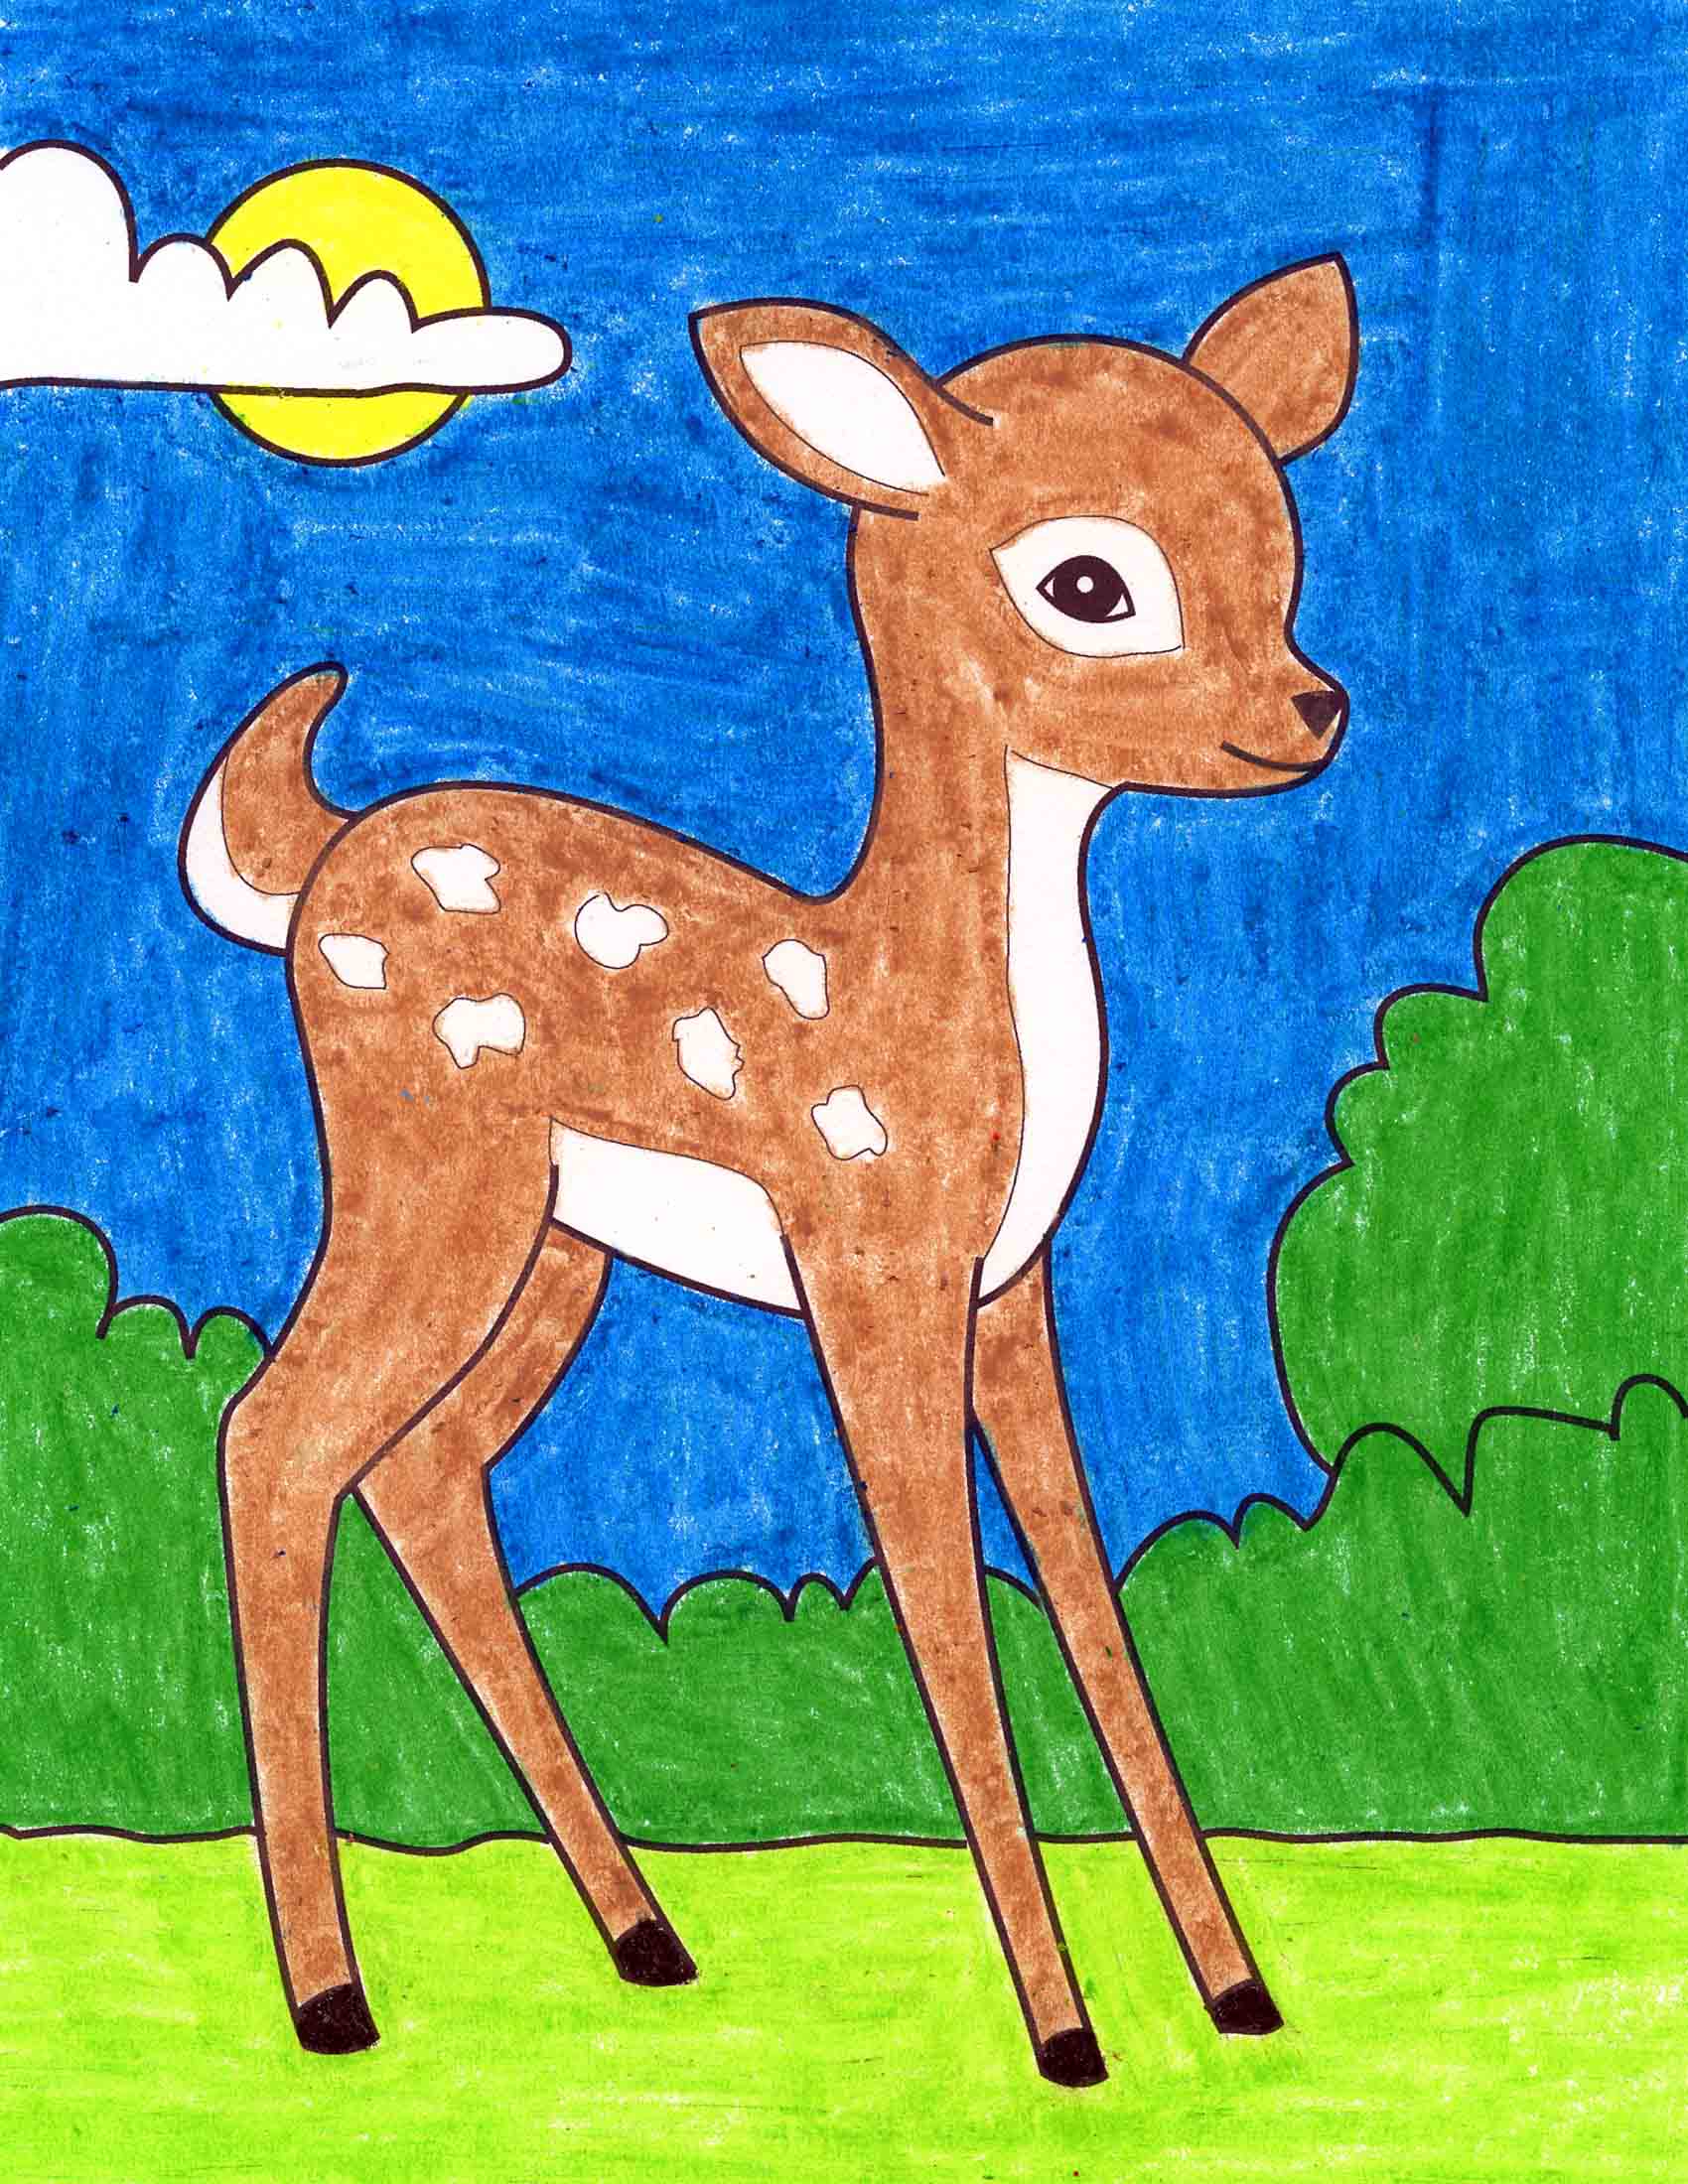
To begin this step, start with the front legs of your deer. Free for commercial use high quality images. Now, let’s finish the deer drawing by coloring the inner part of the ear, the fur on the underside of the body, and the snout with a light orange crayon. Now, vertical line #2 is representing the central axis between deer’s.
Draw The Neck And Front Legs.
Draw a smaller oval inside, close to the outer edge of the bigger. How to draw a deer's head and antlers step 1. Continue this step onto the back legs and add a thigh curve overlapping the rear body. Deer drawing stock photos are available in a variety of sizes and formats to fit your needs.
Carefully Draw In Some More Angular Shapes To Form The Main Outline Of The Head.
Firstly, draw a line to the left side of the neck so it looks thicker with more muscles. Next, for the nose, use a black crayon with a light shade of white on top to add some shine. Now, vertical line #2 is representing the central axis between deer’s antlers and years. From the right edge of the heart shape create a curved line going downward, then continue that line horizontally, finally curving.
Color The Fur And Antlers.
Add the hooves and ears. Add details to the background. Free for commercial use high quality images. After that, curve the line to the right for the nose.
The Third, Slightly Smaller Circle, Represents The Head.
To begin this step, start with the front legs of your deer. Shade between these to indicate the pupil. Draw the hind legs and tail. You can also add a line separating the top part of his face from the bottom.