Dragon Drawing Full Body Flying
Dragon Drawing Full Body Flying - If you're struggling drawing the circle, trace the outer rim of a coin, a. Draw the oval eye, small nostril and the wide mouth. Draw a series of long, curved lines on the top and right side of the outer edge of the wing. Add elements of the muzzle. When you get the shapes right, darken the lines. Web today we will be learning how to draw a realistic flying dragon step by step! You can use a compass to draw an initial trace line and map on it with a stronger final stroke to attain a perfect result. Start by sketching the basic framework of the dragon. First, we will draw some long, thin and pointy shapes extending from the frame into the leathery portions as shown in the reference image. 3) draw feet and hands on each side of the dragon.
Draw a series of long, curved lines on the top and right side of the outer edge of the wing. Refining the head of the. Try to draw an uneven and inclined half circle, positioning it near the center of the drawing sheet. Erasing the drawing of the dragon; Add a small rounded curve on the other end. Depict the horns and tail. Web table of contents. And we don't want to use a reference every time we draw a dragon! Web use light, smooth strokes to begin. If you're struggling drawing the circle, trace the outer rim of a coin, a.
To draw the circle, make four marks to determine height and width. Web start with a large circle and a smaller oval in front of it. Web want to learn how to draw a dragon easy? Draw a circle near the bottom of the paper as a guide for the front part of the dragon's body. Web today we will be learning how to draw a realistic flying dragon step by step! 1) draw a basic body shape, usually in oval or egg shape. Add elements of the muzzle. First make four small marks to indicate the circle's width and height. Sketch another curved line on top and a third line that connects the two. While it's quite easy to create a muscle structure for a dragon, it's usually very hard to remember.

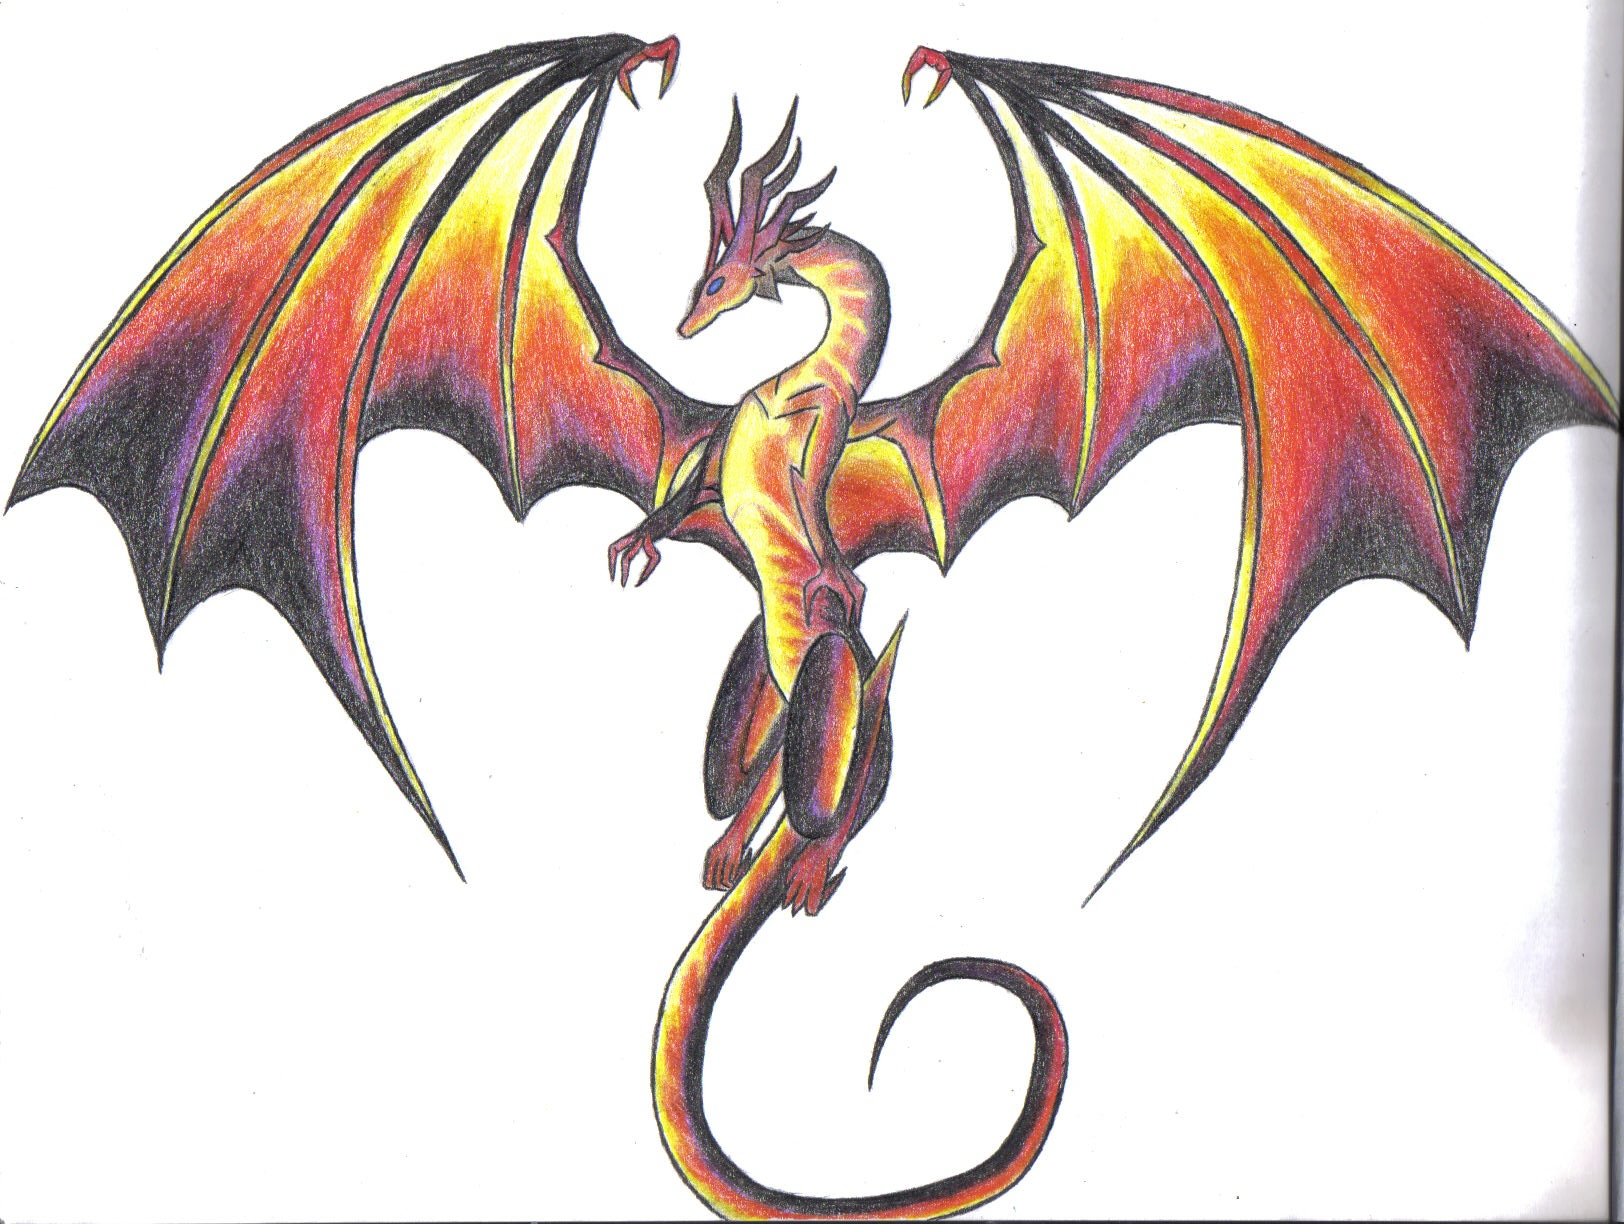
Flying Dragon Sketch by Dragon99099 on DeviantArt
4) draw head and neck out from the front of the body. 1) draw a basic body shape, usually in oval or egg shape. Web learn how to draw a flying dragon step by step easy. 1 an easy guide for drawing a dragon. Web use light, smooth strokes to begin.

How To Draw A Dragon Body, Step by Step, Drawing Guide, by Darkonator
Web learn how to draw a flying dragon step by step easy. You can use a compass to draw an initial trace line and map on it with a stronger final stroke to attain a perfect result. With the help of smooth curved lines depict the long tail. How to draw a dragon only in 3 minutes.💚 for drawi. Web.
Cool Dragon Drawing How to Draw a Dragon Easy
Web use light, smooth strokes to begin. First make four small marks to indicate the circle's width and height. Web today we will be learning how to draw a realistic flying dragon step by step! Depict the horns and tail. Web while we won't go into great detail on this in this tutorial, it's important to have a good understanding.

How to Draw a Flying Dragon Really Easy Drawing Tutorial
While it's quite easy to create a muscle structure for a dragon, it's usually very hard to remember. Start by sketching the basic framework of the dragon. And we don't want to use a reference every time we draw a dragon! This will give your dragon arms. The back oval should have more rigid.

How To Draw A Flying Dragon, Dragon In Flight, Step by Step, Drawing
4) draw head and neck out from the front of the body. Add a small rounded curve on the other end. How to draw a flying dragon. You started the frames of the wings in the previous step of this guide on how to draw a flying dragon, and in this one we shall draw the leathery portions. Add elements.
Flying Dragon Drawing at Explore collection of
To draw the circle, make four marks to determine height and width. Learn how to draw a realistic dragon with cartooning club how to draw. From the neck, draw the body using a slightly curved line. Then connect the marks using curved lines to form the rest of the circle. Enhance the dragon with dramatic lighting.

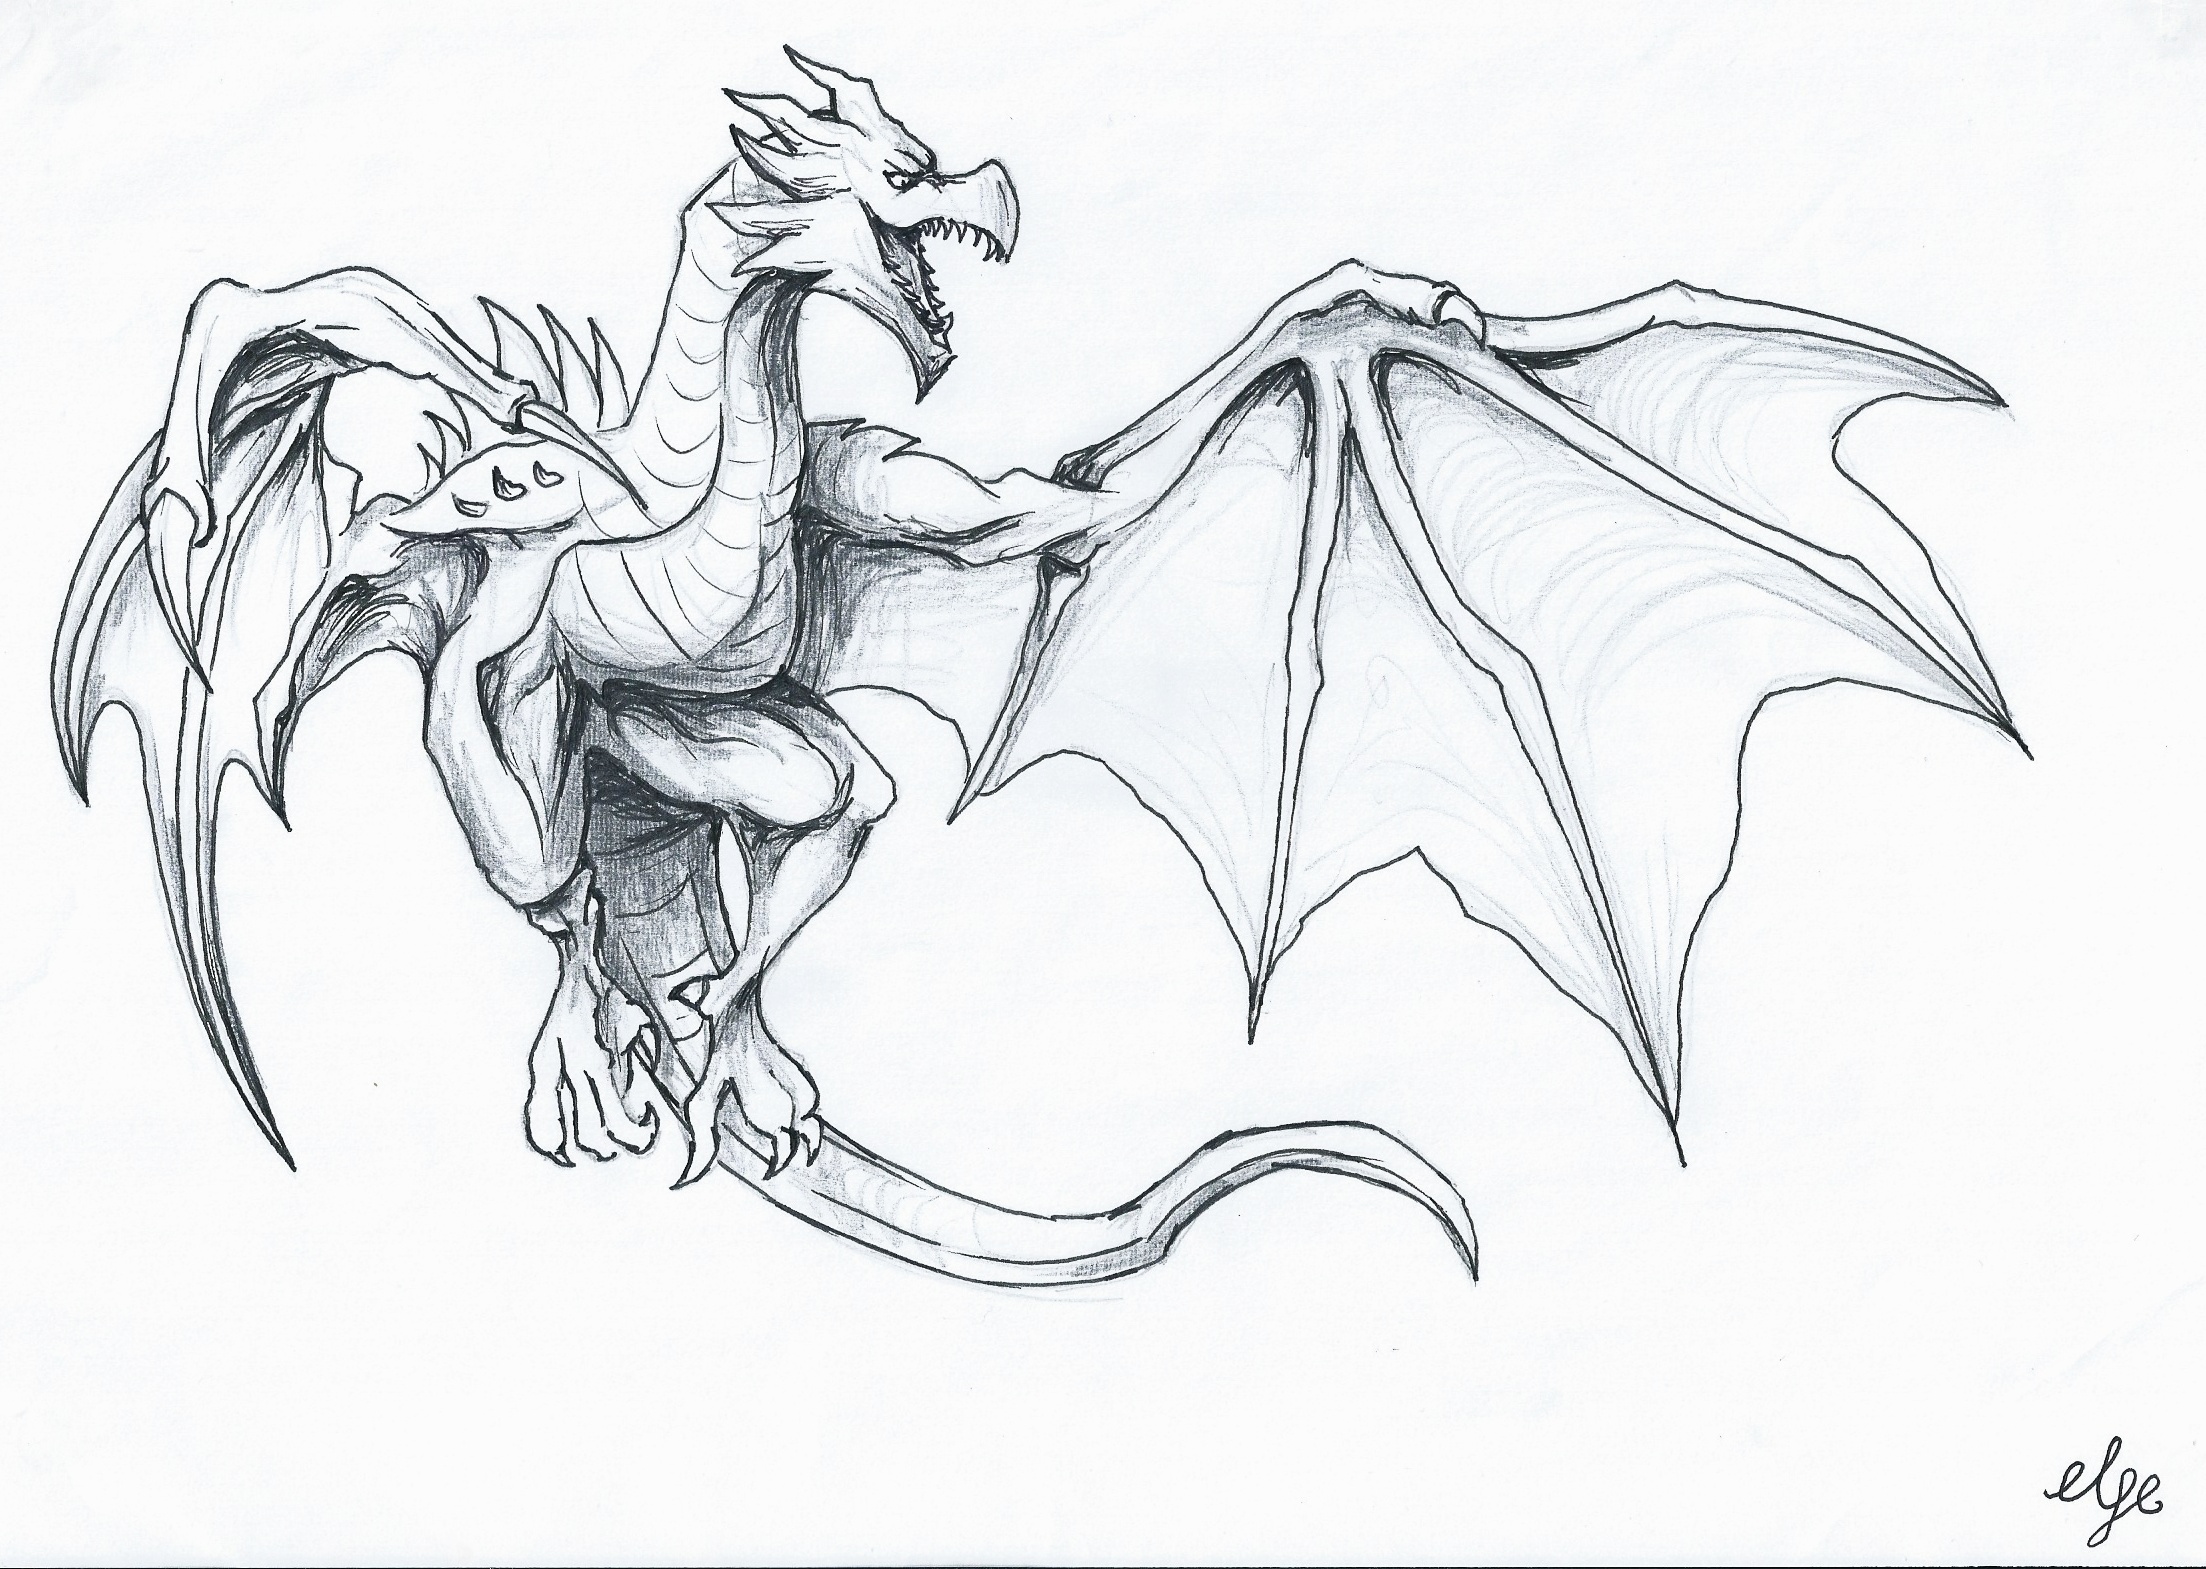
A Flying Dragon Dragon sketch, Pencil drawings of animals, Easy
Web welcome to the best online education program for artists. Web use light, smooth strokes to begin. 5) add eyes, ears, horns or any other features you want your dragon to have. How to draw a dragon only in 3 minutes.💚 for drawi. Web want to learn how to draw a dragon easy?
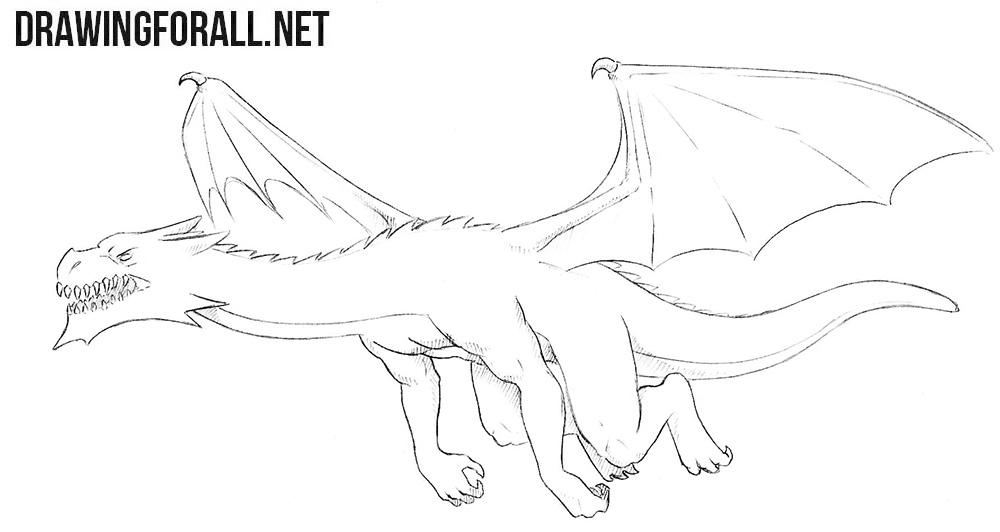
How to Draw a Flying Dragon
If you're unfamiliar with drawing dragon faces, i recommend checking out some of my other tutorials or online resources that focus specifically on this topic. Draw the oval eye, small nostril and the wide mouth. _ trick art 2024 _ super easy🎨 about this video:in. Draw a circle near the bottom of the paper as a guide for the front.

Full Body Flying Dragon Drawing 10++ Images Result Koltelo
Draw the head and torso. While it's quite easy to create a muscle structure for a dragon, it's usually very hard to remember. With the help of smooth curved lines depict the long tail. Refining the head of the. On the right side of the page, start with a straight line, loop it downward and lead into a curved line,.

how to draw a dragon step by step full body Sasha
Then connect the marks using curved lines. Add legs to the bottoms of the curves on the body. Web welcome to the best online education program for artists. Use light, smooth strokes to begin. Draw a series of long, curved lines on the top and right side of the outer edge of the wing.
Web Want To Learn How To Draw A Dragon Easy?
Learn how to draw a realistic dragon with cartooning club how to draw. Add legs to the bottoms of the curves on the body. Web for the rest of the body you can borrow muscles from any other animal with the same style of motion like your dragon. Then connect the marks using curved lines.
From The Neck, Draw The Body Using A Slightly Curved Line.
Extending from the back of the circle we're going to make the guidelines for our dragon's body. On the right side of the page, start with a straight line, loop it downward and lead into a curved line, then sketch two triangles at the end. Web while we won't go into great detail on this in this tutorial, it's important to have a good understanding of drawing these elements before attempting a full body dragon. Web learn how to draw a flying dragon step by step easy.
Web Use Light, Smooth Strokes To Begin.
Try to draw an uneven and inclined half circle, positioning it near the center of the drawing sheet. Begin with a circle for the dragon’s head and a curved line to create the neck. Draw an uneven line underneath, then sketch a curved line for the bottom of the eye. 1) draw a basic body shape, usually in oval or egg shape.
How To Draw A Flying Dragon.
3) draw feet and hands on each side of the dragon. Lightly sketching the features of the dragon; First, we will draw some long, thin and pointy shapes extending from the frame into the leathery portions as shown in the reference image. Sketch another curved line on top and a third line that connects the two.