Drawing A Rottweiler
Drawing A Rottweiler - With just a few simple tricks and tips, you can create a realistic, lifelike drawing of this intimidating pup in no time. Inside the muzzle, draw a small oval as a guide for the rottweiler's nose. Notice the overlap at the sides of the mouth and below it. A sheet of photocopy paper (a4 or letter) (if you are a patron you can download the template below and print that out for the class) set of pencil (2h, h , hb, b, 2b, 4b, 6b, 9b) pen shaped eraser (like a tombow mono) kneaded. Finally, draw a curved line below the teeth to complete the bottom of the mouth. Use a darker value to further shape the muzzle. Web ***download your free copy of 'how to draw a horse' here: This circle should fit snugly between the horizontal construction line and the bottom edge of the big circle. Draw the hind leg on the other side using the last line as a guide. Draw a circle for the head, and add a line for the snout.
Draw a few long strokes on the muzzle for whiskers. Next, outline the body and limbs. Then, draw a small sphere on the lower portion of the head as a guide for your rottweiler’s muzzle. Draw the head and torso. With just a few simple tricks and tips, you can create a realistic, lifelike drawing of this intimidating pup in no time. Subscribe to our youtube channel: This tutorial shows the sketching and drawing steps from start to finish. Detail the face with curved lines around the mouth and eyes. Enclose the head of your cartoon rottweiler using a series of overlapping curved lines. Finally, draw a curved line below the teeth to complete the bottom of the mouth.
Another free animals for beginners step by step. Web drawing a rottweiler might initially seem challenging, but by breaking it down into simple steps, anyone can create a realistic and detailed representation of this beautiful dog breed. Next, outline the body and limbs. This is a part of my dog drawing series. Then, draw two small triangles on either side of the line to create the teeth. Use the remaining lines as guides to draw the rest of the rottweiler's body. When shading the eyes, use a value that's lighter than the pupils. Add a dot in each eye for the pupils. Draw the toes at the end of the paw. Draw a curved line from the bottom of the nose, extending downward.

How to Draw a Rottweiler Really Easy Drawing Tutorial
With just a few simple tricks and tips, you can create a realistic, lifelike drawing of this intimidating pup in no time. This circle should fit snugly between the horizontal construction line and the bottom edge of the big circle. Draw the eyes in an oval shape and draw the nose approximately in the middle of the head. Draw the.

How To Draw A Realistic Rottweiler, Step by Step, Drawing Guide, by
Draw the eyes in an oval shape and draw the nose approximately in the middle of the head. Web learn to draw a rottweiler (dog) a very quick and easy version with this video loblogue. Enclose the head of your cartoon rottweiler using a series of overlapping curved lines. Draw a rectilinear line like a triangle on the left of.

Marouchka H Artiste peintre on Instagram “rottweiler petstagram
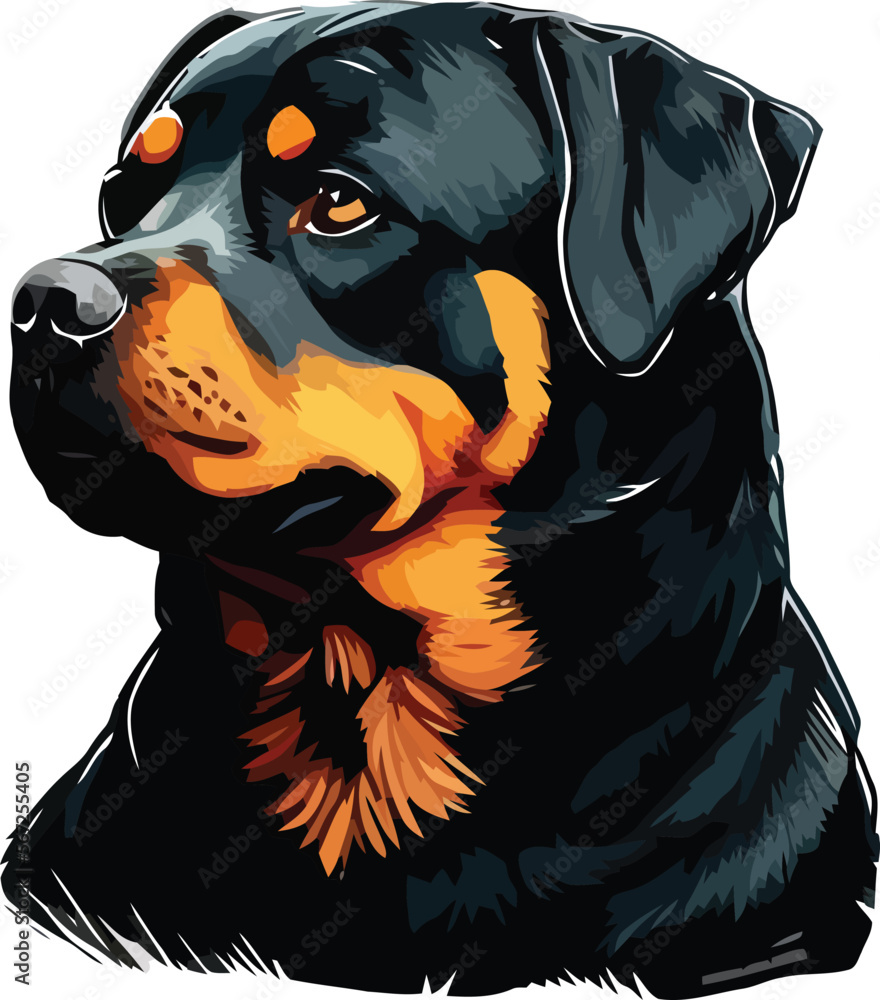
The mouth of a rottweiler is usually open slightly, showing a bit of teeth. So, grab your drawing supplies and let’s get to it! Draw u shaped lines below the mouth to indicate the sagging, drooping jowls. This circle should fit snugly between the horizontal construction line and the bottom edge of the big circle. Draw the eyes in an.
Rottweiler Dog Watercolor Sketch Hand Drawn Artwork Painting Drawing
This is a part of my dog drawing series. Did you trace this cause i saw this picture in real life!!!! Web add a small line in the eye for the actual eyeball. This step by step tutorial makes it easy. Web shade the chin and neck using a slightly darker value, especially on the creases.
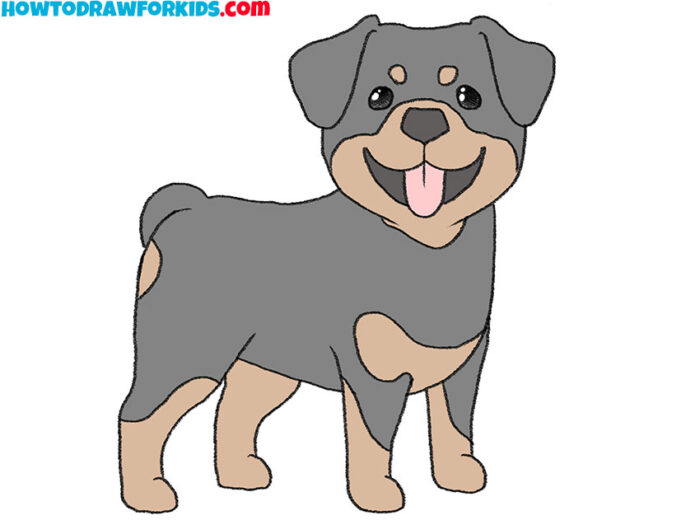
How to Draw a Rottweiler Easy Drawing Tutorial For Kids
Inside the muzzle, draw a small oval as a guide for the rottweiler's nose. Add a dot in each eye for the pupils. Next, outline the body and limbs. Web the lower left corner should graze the main circle's edge. Start drawing the elements of the muzzle.

21 Creative Rottweiler sketch drawing for Pencil Drawing Ideas
Draw a longer, curved line at the top to finish the guide. Use a darker value to further shape the muzzle. Then, draw two small triangles on either side of the line to create the teeth. Only darken the lines that make up the leg once you get the structure correct. Here is a how to draw a rottweiler for.

Coloured pencil drawing, Rottweiler, by Lydia Quayle Dog breeds
Inside the muzzle, draw a small oval as a guide for the rottweiler's nose. The mouth of a rottweiler is usually open slightly, showing a bit of teeth. The exacted same picture of a real dog in the same pose!!! Draw the rottweiler's nose inside. Draw a small circle on the lower part of the head as a guide for.

The Rottweiler sketch I just finished. Done in graphite pencil in 8x10
Draw a tiny circle inside each eye to represent glare. A sheet of photocopy paper (a4 or letter) (if you are a patron you can download the template below and print that out for the class) set of pencil (2h, h , hb, b, 2b, 4b, 6b, 9b) pen shaped eraser (like a tombow mono) kneaded. Enclose the head of.

How to draw a Rottweiler YouTube
Detail the face with curved lines around the mouth and eyes. Shade in the rest of the rottweiler's eye except for the tiny circle that represents glare. This is a part of my dog drawing series. Web add a sloping line at the top to complete the triangular guide for the rottweiler's ear. Draw a longer, curved line at the.

Pencil drawing of Rottweiler by Lydia Quayle, prismacolor pencils on
When shading the eyes, use a value that's lighter than the pupils. Draw 2 interconnecting lines within the head to aid draw the rottweiler’s facial features afterward. It's a good idea to use reference as you draw for a more accurate depiction of a rottweiler. Draw an angled line similar to a triangle on the left side of the head.
Draw Two Intersecting Lines Inside The Head To Help Draw The Rottweiler's Facial Features Later On.
Web learn to draw a rottweiler (dog) a very quick and easy version with this video loblogue. Draw the head and torso. Draw a small circle on the lower part of the head as a guide for the rottweiler's muzzle. Below the rottweiler's head, draw two vertical lines as guides for the neck.
Draw Another Circle Below The Horizontal Line As A Guide For The Rottweiler's Muzzle.
Web add a small line in the eye for the actual eyeball. Draw u shaped lines below the mouth to indicate the sagging, drooping jowls. Draw a longer, curved line at the top to finish the guide. Use the remaining lines as guides to draw the rest of the rottweiler's body.
Draw The Rottweiler's Nose Inside.
For the class you will need: The mouth of a rottweiler is usually open slightly, showing a bit of teeth. Then, draw a small sphere on the lower portion of the head as a guide for your rottweiler’s muzzle. Finally, draw a curved line below the teeth to complete the bottom of the mouth.
Web How To Draw A Rottweiler Social Media:
Web the lower left corner should graze the main circle's edge. Draw a tiny circle inside each eye to represent glare. So, grab your drawing supplies and let’s get to it! A sheet of photocopy paper (a4 or letter) (if you are a patron you can download the template below and print that out for the class) set of pencil (2h, h , hb, b, 2b, 4b, 6b, 9b) pen shaped eraser (like a tombow mono) kneaded.