Drawing Of A Chocolate Bar
Drawing Of A Chocolate Bar - This is one of the most important steps because by measuring the distance between each segment you will determine the size of your chocolate bar. Use a measuring device if it helps you to draw it to exact scale. If you don't have a printer just keep this open. Make sure to keep the edges straight and clean for a polished look. Remember to keep practicing and exploring new techniques to. On the right side, depict the part of the wrapper using straight and curved lines. Start drawing the chocolate wrapper. Add more of the packaging. Add the butter to a large mixing bowl, and melt in microwave. Web visualize the entire drawing in your mind’s eye first.
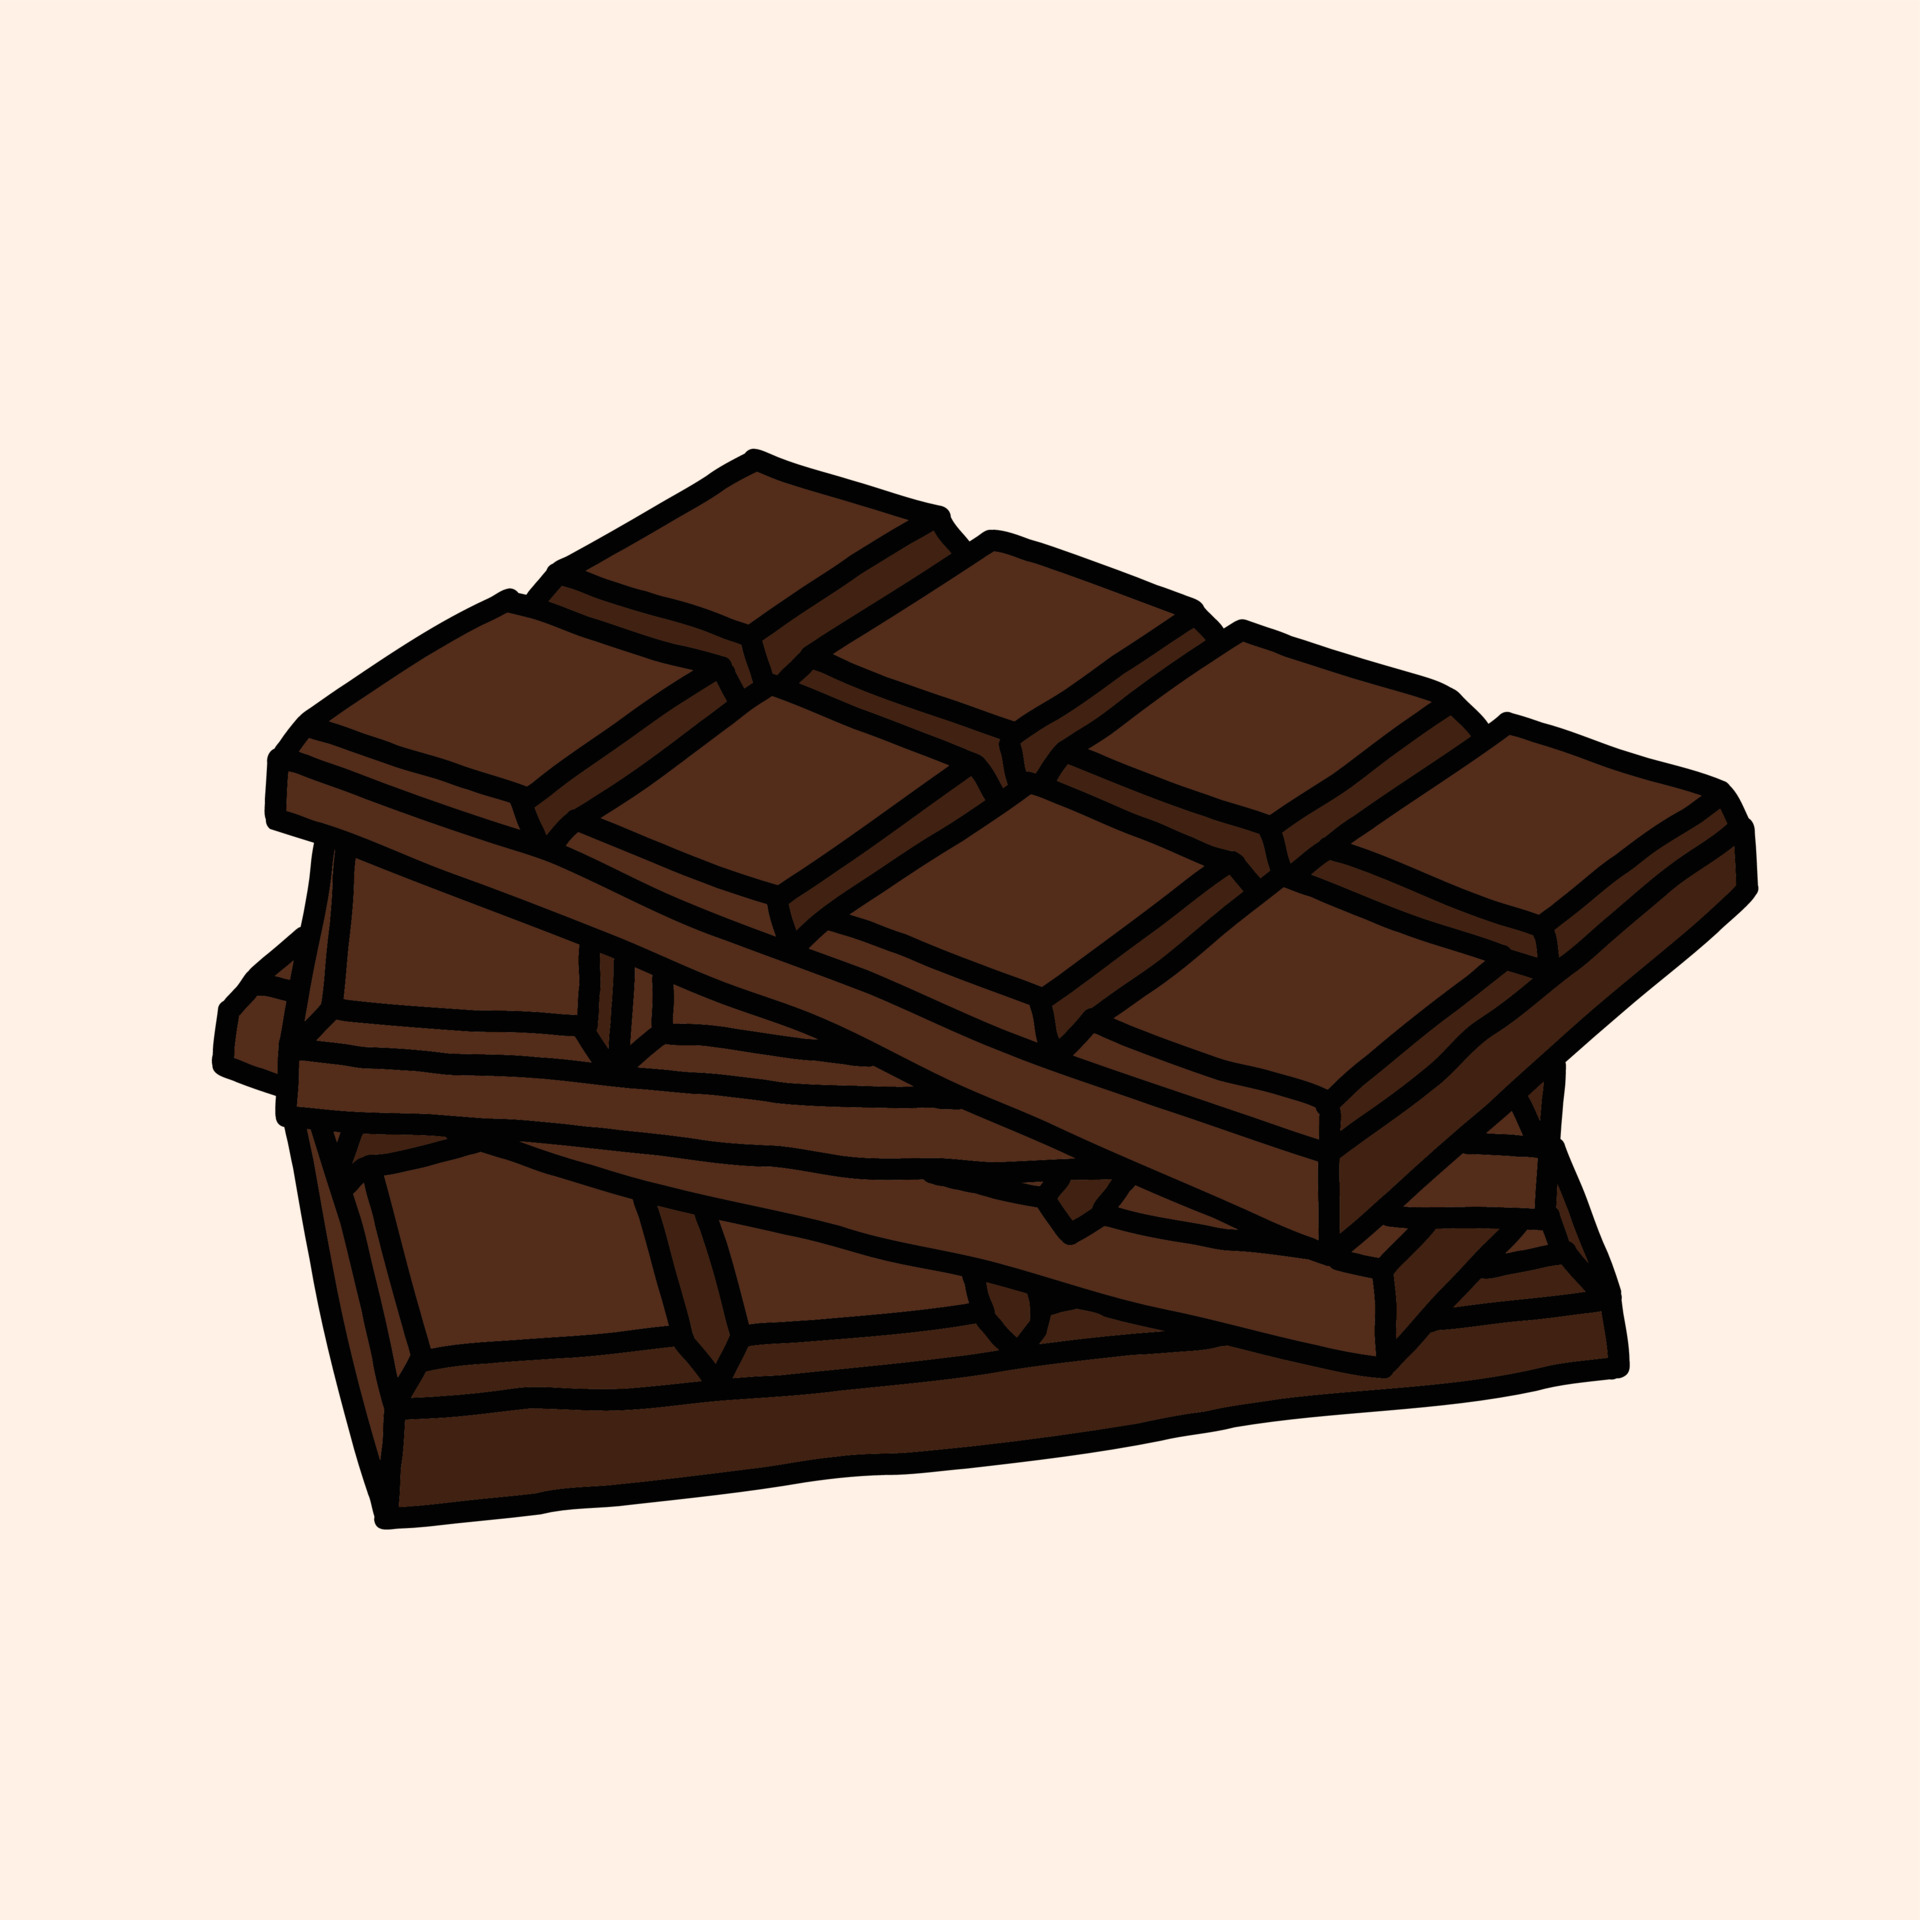
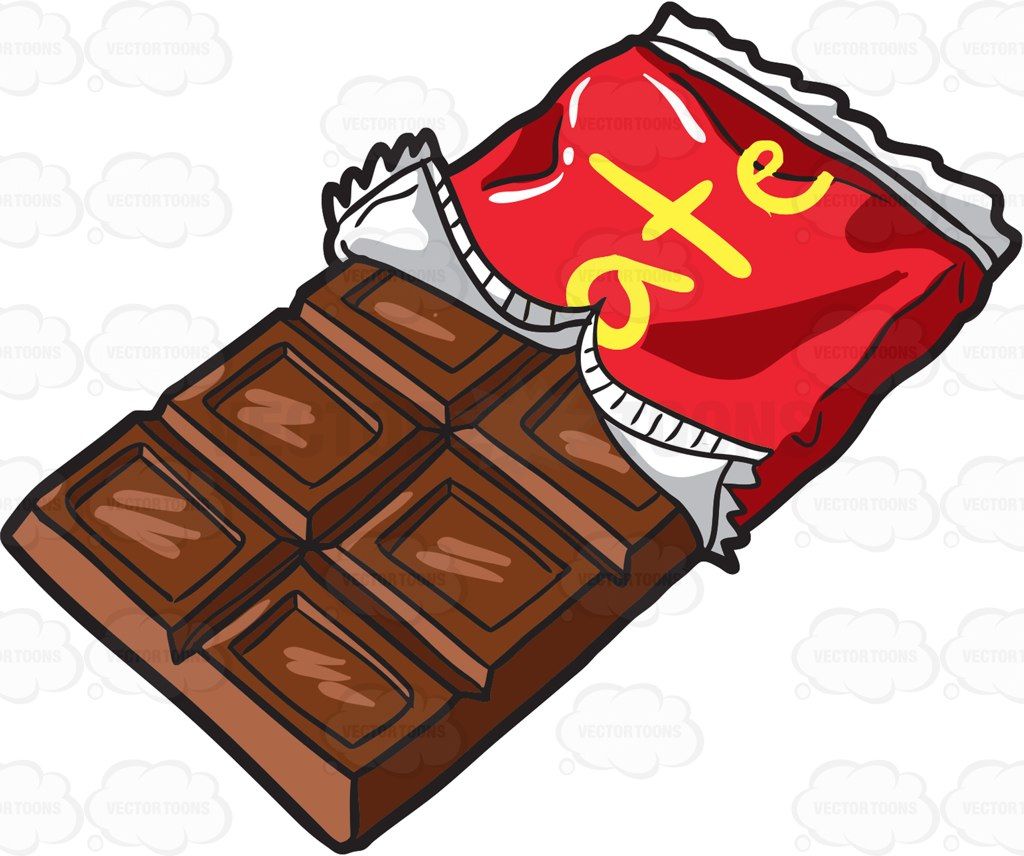
Web fancy artisanal chocolates are typically made of only cacao beans, sugar, and cocoa butter, and can cost up to $12 for one chocolate bar. Make the rectangle drawn in the first step slightly wider right before that and draw the seal itself as another long and narrow rectangle. Use a measuring device if it helps you to draw it to exact scale. Connect two of the lines with a curved line, indicating that a piece of the chocolate has been broken away. Add the butter to a large mixing bowl, and melt in microwave. Drawn chocolate bars, candies, chips and porous. On the left side, draw a shape that looks like a rectangle, depicted using curved lines. Add more of the packaging. Home catalog all drawing member exclusive folding surprise painting origami cutout sculpting art core parent & teacher info extras. Then, connect the ends of these lines with two straight.
Now, take your finished drawing and show it off to your friends and family. Connect two of the lines with a curved line, indicating that a piece of the chocolate has been broken away. Web visualize the entire drawing in your mind’s eye first. Web follow along with me and learn how to draw friends, a chocolate bar and strawberry! Be sure to draw accurately and leave a little distance between the segments so that the details have room to add a bit of realism. On the top right corner of the bar, draw a double rectangle, and connect each set of corners within the outside rectangle, with short rectangle lines. Add those tiny lines to give its final look. Make the rectangle drawn in the first step slightly wider right before that and draw the seal itself as another long and narrow rectangle. Web let's find a winner, he screams from a microphone. On the left side, draw a shape that looks like a rectangle, depicted using curved lines.

How to Draw a Chocolate Bar Really Easy Drawing Tutorial
Learn step by step drawing tutorial. We hope you enjoyed the process and learned some new drawing techniques. Use a measuring device if it helps you to draw it to exact scale. Web follow along with me and learn how to draw friends, a chocolate bar and strawberry! Start drawing the chocolate wrapper.
Doodling freehand outline sketch drawing of a chocolate bar. 3589285
Web this will add depth and dimension to your chocolate bar. Different kinds of chocolate vector illustration. Let’s complete the chocolate bar drawing by coloring the wrapper with a red crayon. Sketch the outline of the chocolate bar. Great job, you’ve completed our tutorial on how to draw a chocolate bar!

How to Draw a Chocolate Bar HelloArtsy
Web fancy artisanal chocolates are typically made of only cacao beans, sugar, and cocoa butter, and can cost up to $12 for one chocolate bar. They are often promoted as having the taste of the area. Draw two curved lines on each side of the chocolate bar, following the shape of the sections and extending beyond the edges. Learn step.
"Chocolate Bar drawing" by digsterdesigns Redbubble
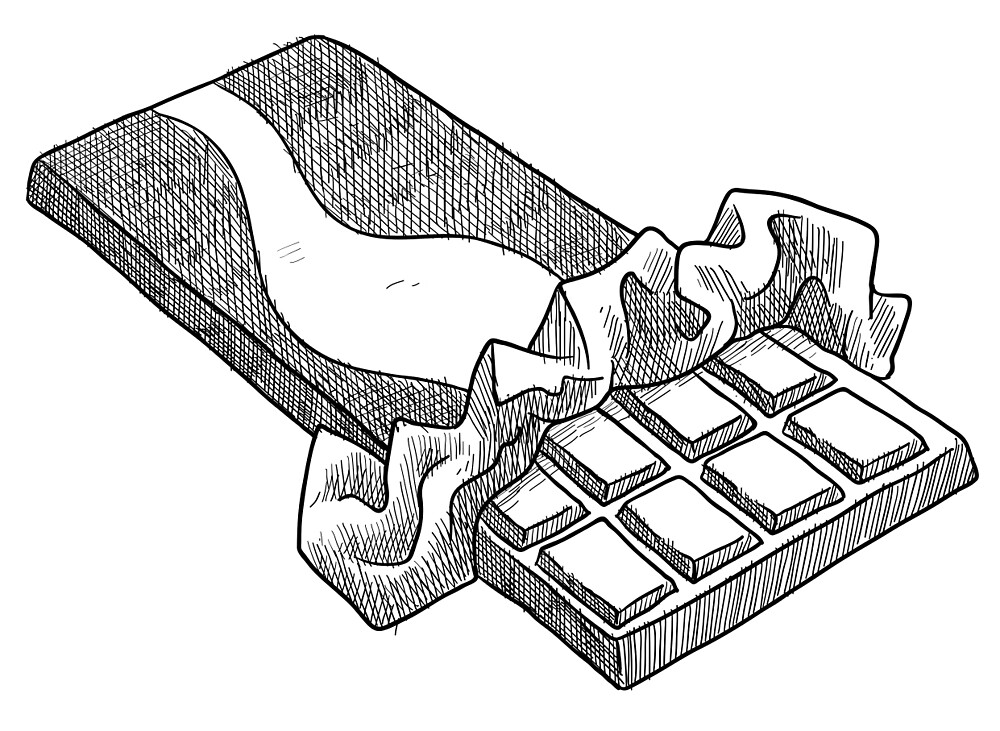
Web start by drawing the torn wrapper of the chocolate bar. Add the butter to a large mixing bowl, and melt in microwave. If you don't have a printer just keep this open. The popular bar of crisp peanut butter covered with a chocolatey layer. To honor baby's ruth chocolates.
Chocolate Bar Sketch at Explore collection of
Now it’s time to bring your chocolate to life by shading it. Let’s complete the chocolate bar drawing by coloring the wrapper with a red crayon. Great job, you’ve completed our tutorial on how to draw a chocolate bar! On the left side, draw a shape that looks like a rectangle, depicted using curved lines. Web preheat oven to 350℉.
Chocolate Bar Drawing at GetDrawings Free download
Be sure to draw accurately and leave a little distance between the segments so that the details have room to add a bit of realism. Add the brown sugar and white sugar, and mix until well combined. Web download a free printable outline of this video and draw along with us. Web let's find a winner, he screams from a.

Ink sketch of chocolate bar Royalty Free Vector Image
Add the brown sugar and white sugar, and mix until well combined. Follow along with me and learn how to draw friends, a chocolate bar and strawberry! Draw two curved lines on each side of the chocolate bar, following the shape of the sections and extending beyond the edges. Web complete the chocolate bar drawing. On the right side, depict.

How to Draw a Chocolate Bar Really Easy Drawing Tutorial
Web once upon a time, in a world filled with sweet delights, there was a scrumptious treat that captured the hearts and taste buds of people all around: If you don't have a printer just keep this open. Add the eggs, one at a time, beating well. On the right side, depict the part of the wrapper using straight and.

How to Draw a Chocolate Bar Really Easy Drawing Tutorial
Web fancy artisanal chocolates are typically made of only cacao beans, sugar, and cocoa butter, and can cost up to $12 for one chocolate bar. There is a bite at the upper left corner of the chocolate bar. Get the latest updates, news, and exciting announcements from art for kids hub delivered straight to your inbox! Great job, you’ve completed.
How to draw Chocolate bar Step by Step for Beginners YouTube
On the right side, depict the part of the wrapper using straight and curved lines. Web this will add depth and dimension to your chocolate bar. Web how to draw a cute chocolate barsubscribe: Be sure to draw accurately and leave a little distance between the segments so that the details have room to add a bit of realism. Whether.
Add The Butter To A Large Mixing Bowl, And Melt In Microwave.
Home catalog all drawing member exclusive folding surprise painting origami cutout sculpting art core parent & teacher info extras. If you don't have a printer just keep this open. Begin outlining the edges of the candy. Remember to keep practicing and exploring new techniques to.
Add Those Tiny Lines To Give Its Final Look.
There is a bite at the upper left corner of the chocolate bar. In this drawing lesson, we’ll show how to draw chocolate bar step by step total 6 phase, and it will be easy tutorial. Add more of the packaging. Web pay attention to any ridges, cracks, or uneven surfaces that you see on a real chocolate bar.
Web Start By Drawing The Torn Wrapper Of The Chocolate Bar.
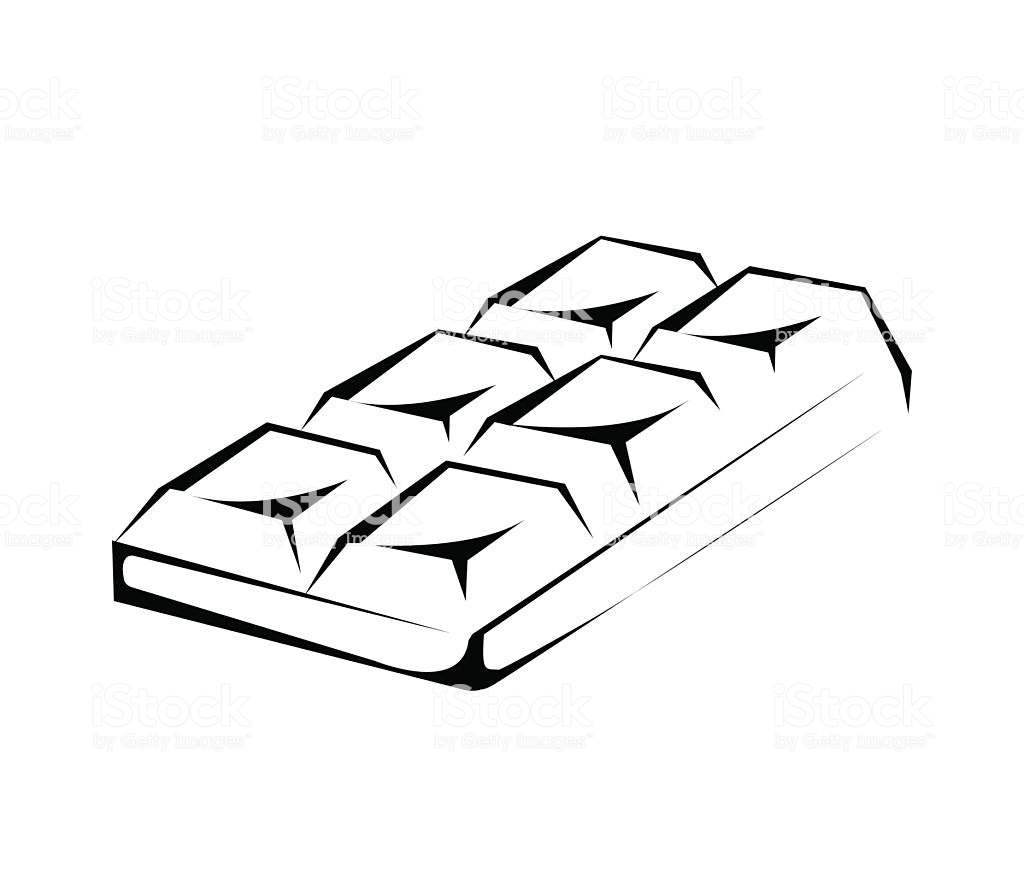
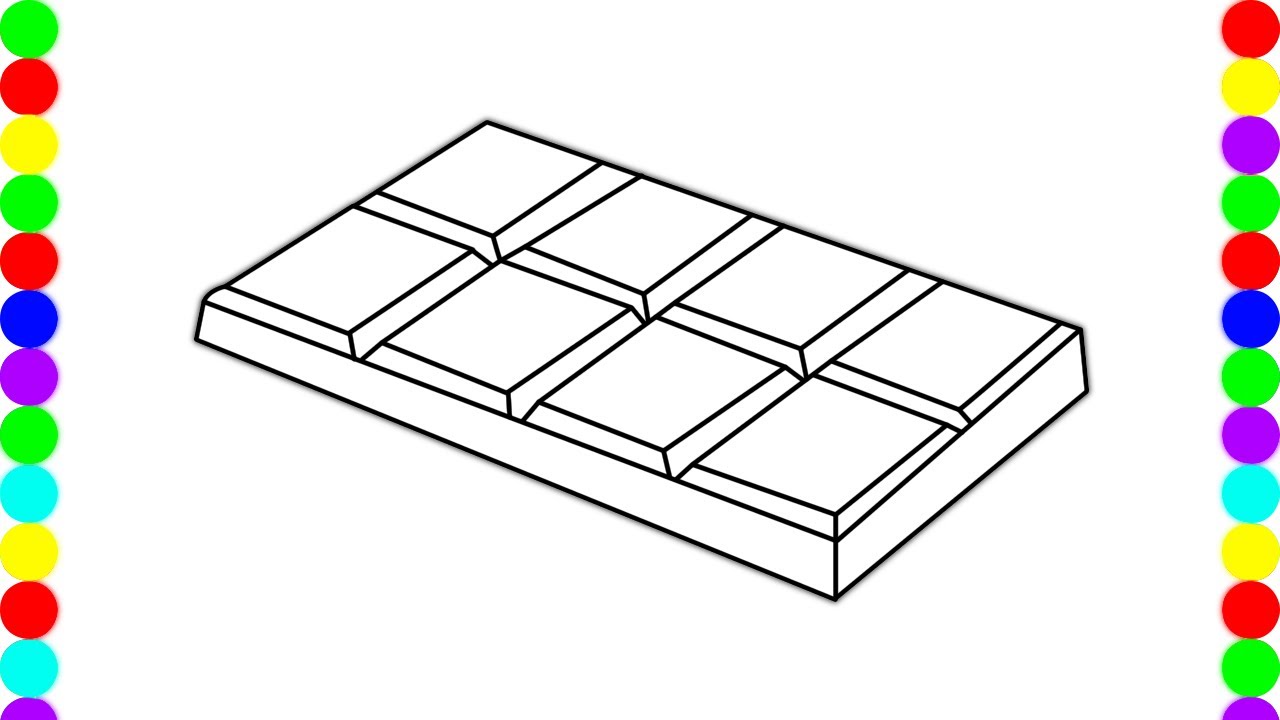
Web begin by drawing a rectangle that represents the length and width of the candy bar. A hand holding a peanut butter. Start drawing the chocolate wrapper. Web the famous 3 musketeers chocolate bar.
Web Learn How To Draw A Chocolate Candy Bar!🎨 Art Supplies We Love (Amazon Affiliate Links):
Web to complete this step, you need to draw three straight lines of different lengths. On the right side, depict the part of the wrapper using straight and curved lines. Whether you’re a parent, teacher, or. Web place in the oven preheated to 350°f.