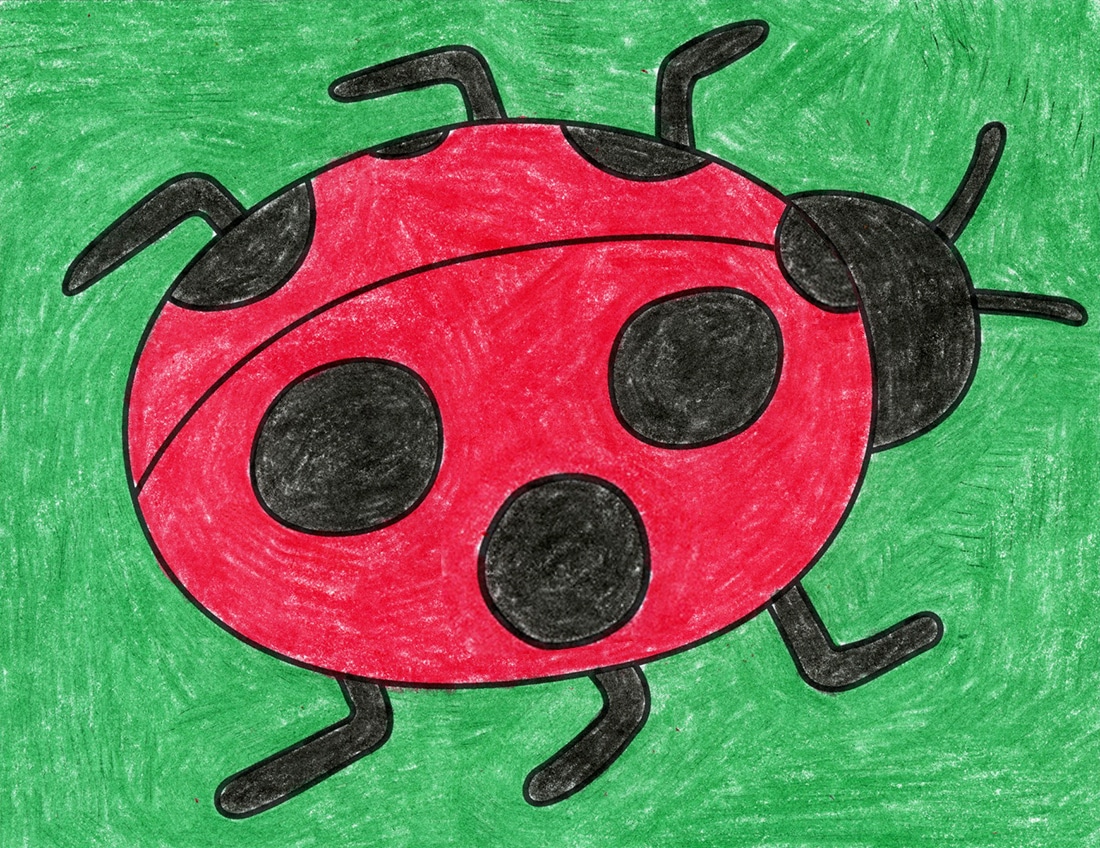
Easy Ladybug Drawing
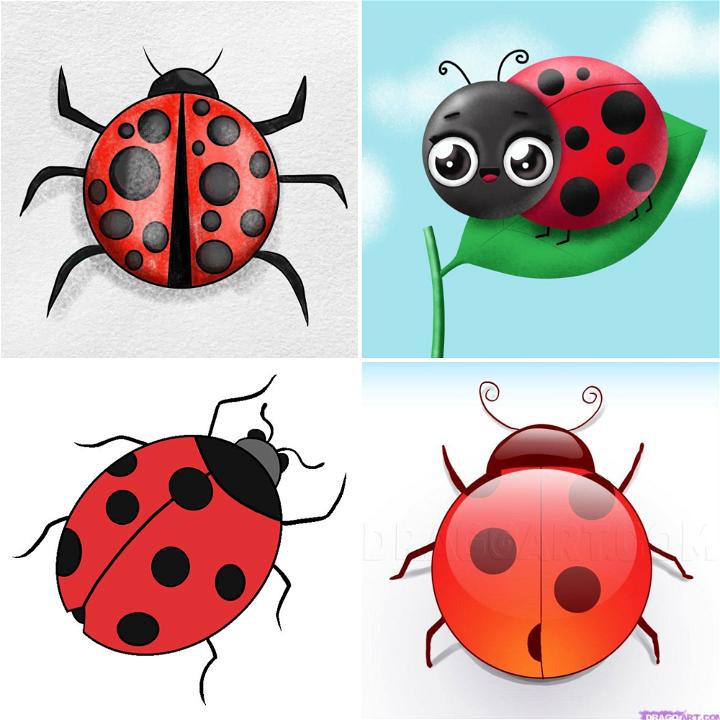
Easy Ladybug Drawing - Then, draw a curved line across the body behind the head. Web how to draw a ladybug easy step by step for kids, beginners, children 2☞ fanpage facebook drawing for kids: Get some paper and something to sketch with (pencil, pen, marker, etc.) pull up some reference photos of ladybugs. Amazingly, the wings of a ladybug beat 85 times per second when it is in flight! Then quickly sketch out as many ladybug drawings as you can before you run out of time. Set a timer for three or five minutes. Simply draw the red lines in each step and within a few minutes you’ll have yourself a fantastic drawing of a. Then, sketch the front legs at the bottom of the pronotum. Web in this drawing lesson we’ll show you how to draw a ladybug in 6 easy steps. Add a pair of wobbly antennae and two mandibles to the top of the head.
Web in this drawing lesson we’ll show you how to draw a ladybug in 6 easy steps. Draw a curved line on the bottom side of the oval and connect this line with the one you just drew. This will form the cartoon ladybug's head. Add a pair of wobbly antennae and two mandibles to the top of the head. Then, sketch the front legs at the bottom of the pronotum. They should extend up to the very top of the body. Add the antennae and front legs. Then, draw a curved line across the body behind the head. The mandibles should be significantly thicker and shorter than the antennae. This free and easy step by step ladybug drawing lesson progressively builds upon each previous step until you get to the final rendering of the ladybug.
Then quickly sketch out as many ladybug drawings as you can before you run out of time. Get some paper and something to sketch with (pencil, pen, marker, etc.) pull up some reference photos of ladybugs. Draw a curved line on the bottom side of the oval and connect this line with the one you just drew. Keep your lines loose and relaxed. Then, draw a curved line across the body behind the head. This will form the cartoon ladybug's head. Add the antennae and front legs. Then, sketch the front legs at the bottom of the pronotum. This free and easy step by step ladybug drawing lesson progressively builds upon each previous step until you get to the final rendering of the ladybug. They should extend up to the very top of the body.
Easy How to Draw a Ladybug Tutorial and Ladybug Coloring Page — JINZZY
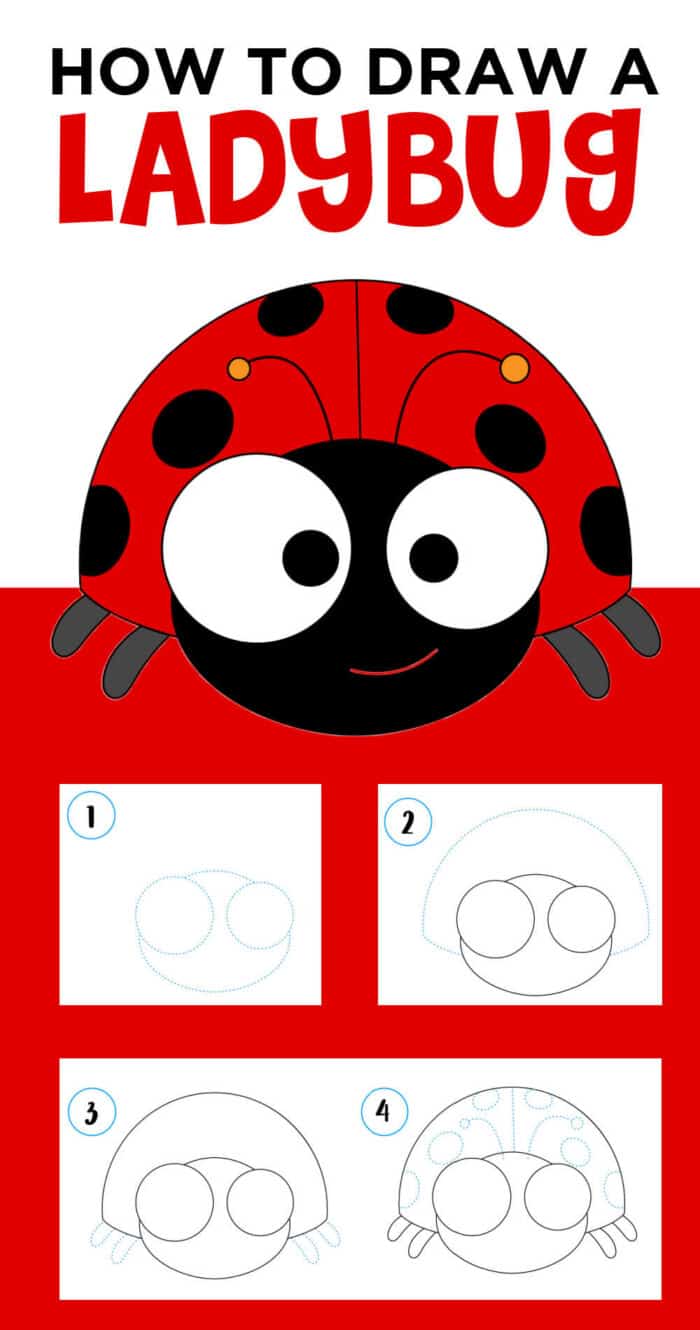
Web how to draw a ladybug easy step by step for kids, beginners, children 2☞ fanpage facebook drawing for kids: Keep your lines loose and relaxed. Simply draw the red lines in each step and within a few minutes you’ll have yourself a fantastic drawing of a. Web how to draw a cartoon ladybug! Set a timer for three or.
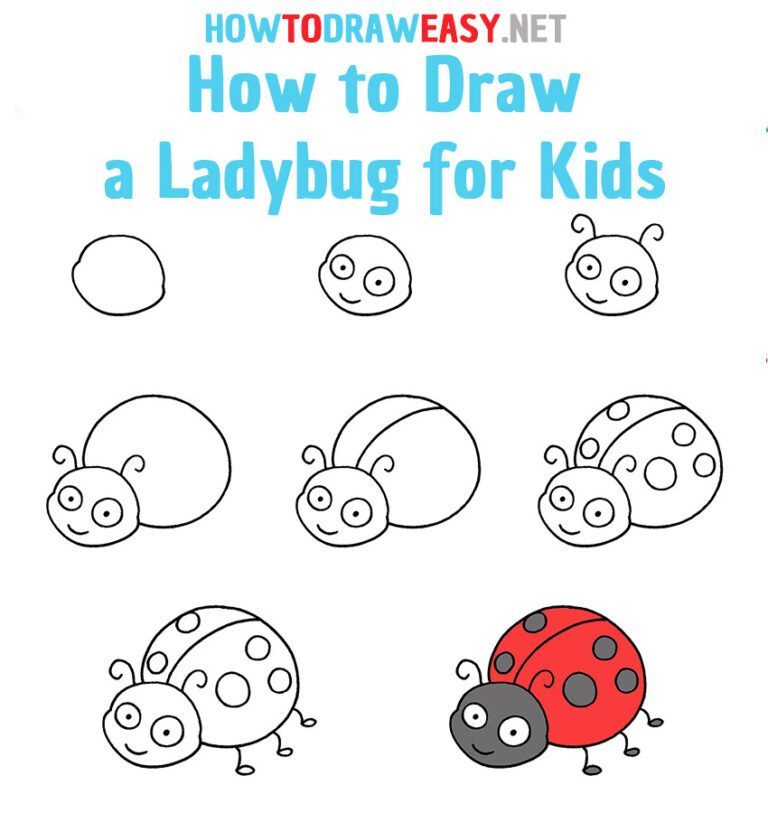
How to Draw a Ladybug for Kids How to Draw Easy
The mandibles should be significantly thicker and shorter than the antennae. Web how to draw a ladybug easy step by step for kids, beginners, children 2☞ fanpage facebook drawing for kids: Draw a curved line on the bottom side of the oval and connect this line with the one you just drew. Then, sketch the front legs at the bottom.
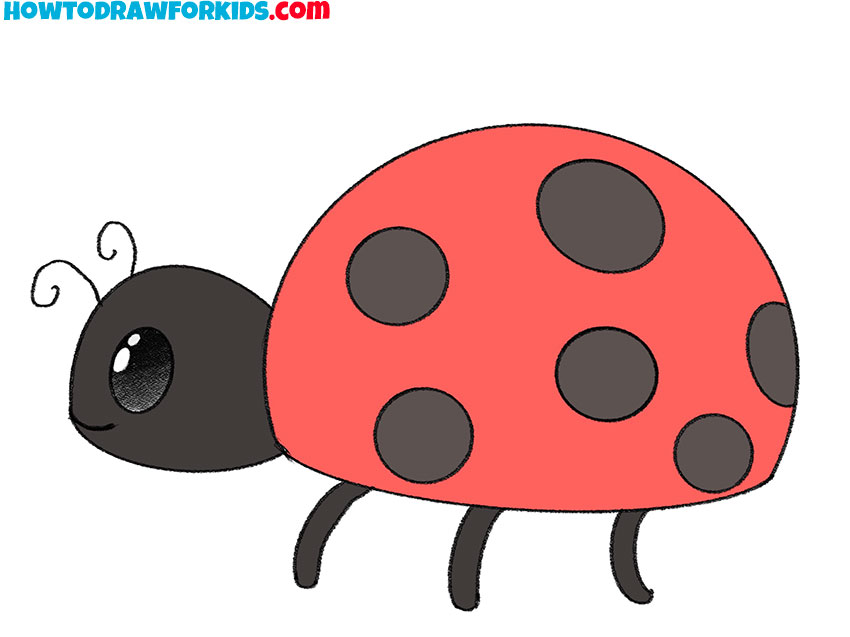
How to Draw a Ladybug Easy Drawing Tutorial For Kids
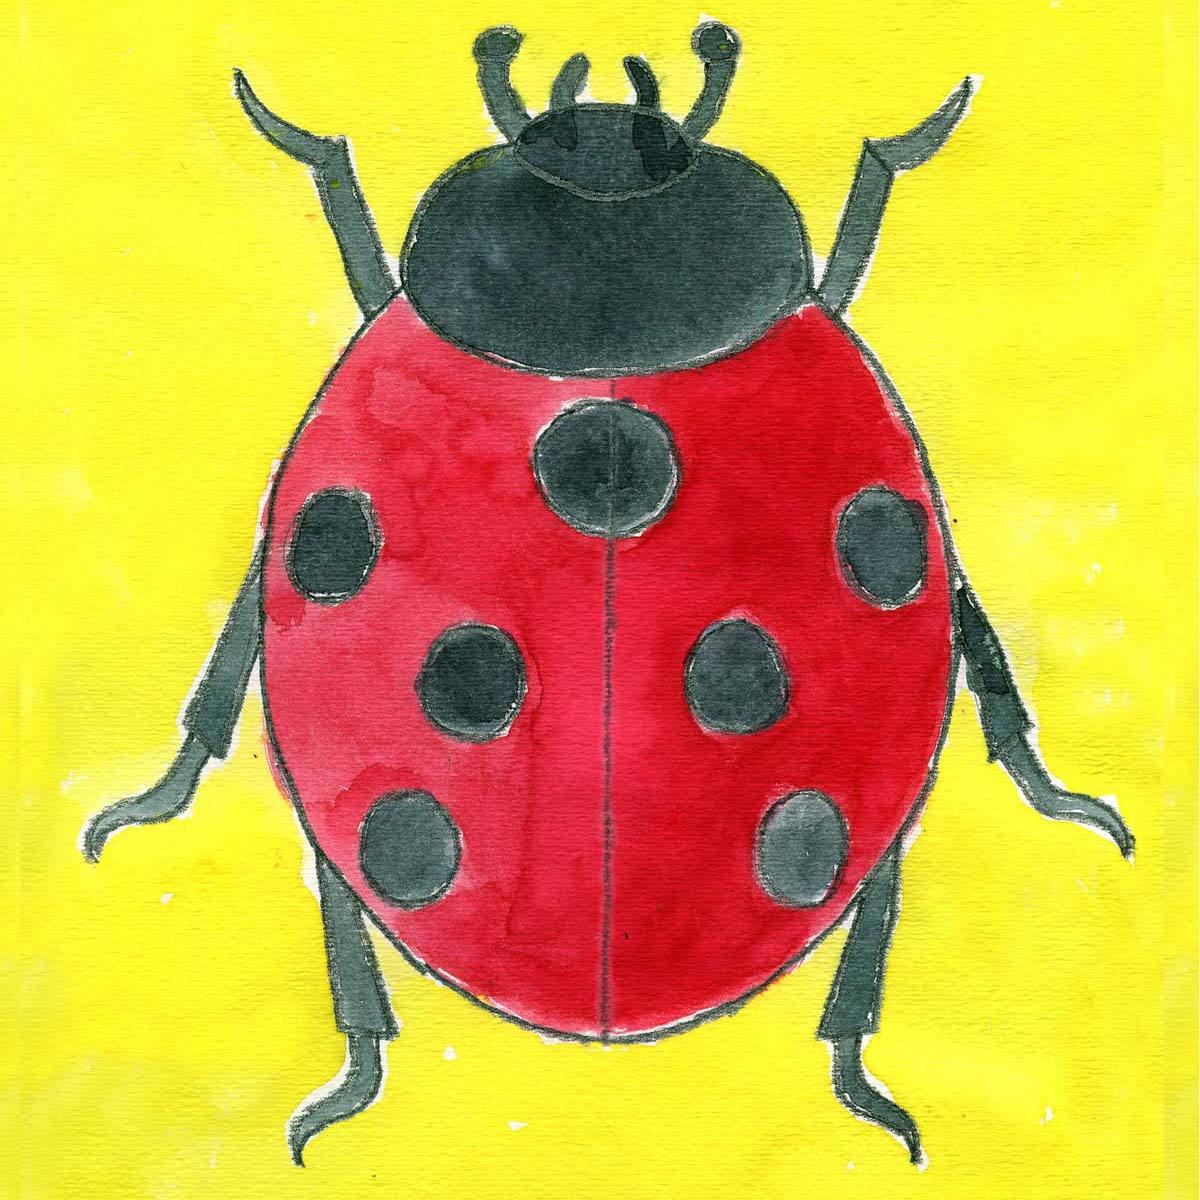
The mandibles should be significantly thicker and shorter than the antennae. This indicates the thorax, or middle body section, of the bug. Web then learn how to draw a ladybug from the first spot to the last with our easy to follow step by step drawing tutorial. In the gap we left in step 1, we’re going to add lines.

How to Draw a Ladybug Really Easy Drawing Tutorial
Draw a curved line on the top of the oval using a darker pencil stroke. Add a pair of wobbly antennae and two mandibles to the top of the head. Get some paper and something to sketch with (pencil, pen, marker, etc.) pull up some reference photos of ladybugs. Afterward, return your attention to the upper section of the ladybug..
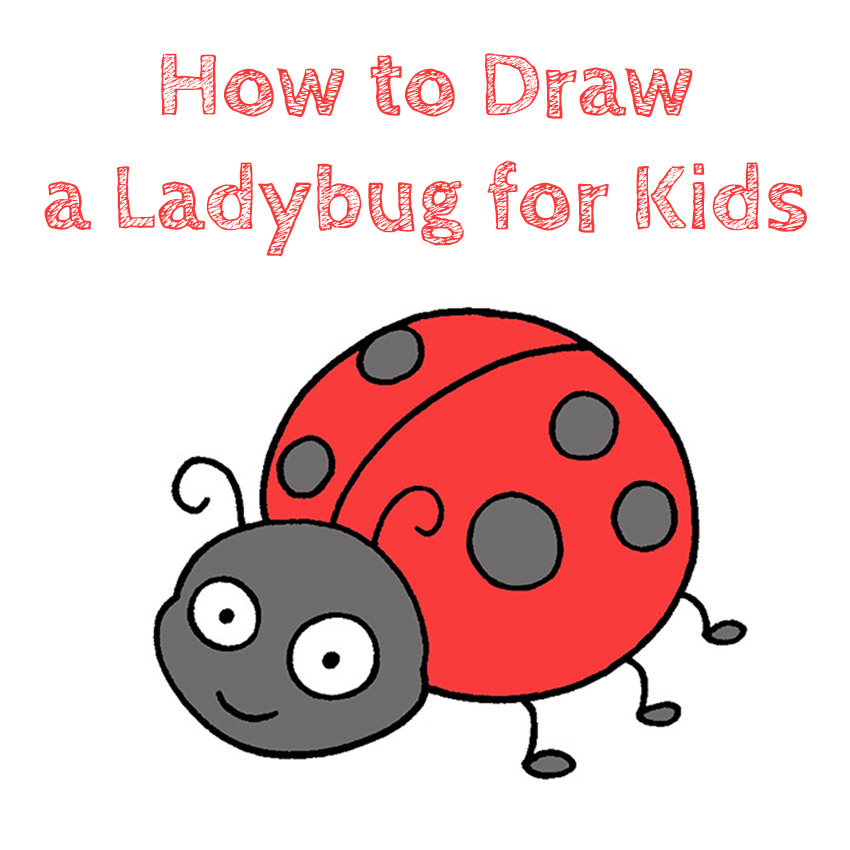
How to Draw a Ladybug for Kids How to Draw Easy
Amazingly, the wings of a ladybug beat 85 times per second when it is in flight! Get some paper and something to sketch with (pencil, pen, marker, etc.) pull up some reference photos of ladybugs. Then quickly sketch out as many ladybug drawings as you can before you run out of time. They should extend up to the very top.

How to Draw a Ladybug Easy Peasy and Fun
Set a timer for three or five minutes. Keep your lines loose and relaxed. Web then learn how to draw a ladybug from the first spot to the last with our easy to follow step by step drawing tutorial. Draw a curved line on the top of the oval using a darker pencil stroke. Add a pair of wobbly antennae.
15 Easy Ladybug Drawing Ideas How to Draw a Ladybug
Then, draw a curved line across the body behind the head. They should extend up to the very top of the body. Draw a small half circle at one end of the oval. The mandibles should be significantly thicker and shorter than the antennae. To draw the wings, draw two straight lines on either side of the gap.
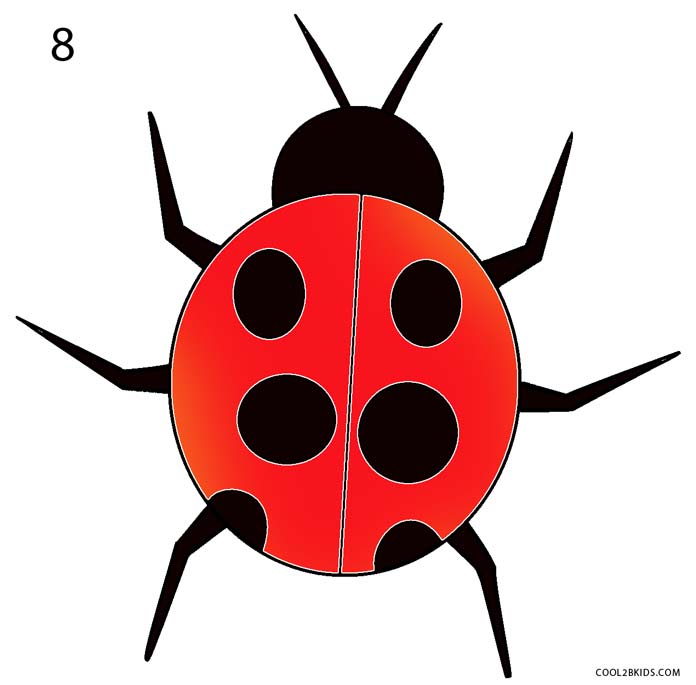
How to Draw a Ladybug (Step by Step Pictures) Cool2bKids
Web then learn how to draw a ladybug from the first spot to the last with our easy to follow step by step drawing tutorial. Web how to draw a cartoon ladybug! In the gap we left in step 1, we’re going to add lines to show the wings. This tutorial is simple enough for kids to follow and will.
Easy How to Draw a Ladybug Tutorial and Ladybug Coloring Page — JINZZY
This indicates the thorax, or middle body section, of the bug. Set a timer for three or five minutes. Draw a small half circle at one end of the oval. They should extend up to the very top of the body. Add a pair of wobbly antennae and two mandibles to the top of the head.
How To Draw A Ladybug Made with HAPPY
Then draw the “m” letter shape at. Keep your lines loose and relaxed. Add the antennae and front legs. Then quickly sketch out as many ladybug drawings as you can before you run out of time. This will form the cartoon ladybug's head.
Web How To Draw A Cartoon Ladybug!
Afterward, return your attention to the upper section of the ladybug. Then quickly sketch out as many ladybug drawings as you can before you run out of time. The mandibles should be significantly thicker and shorter than the antennae. This free and easy step by step ladybug drawing lesson progressively builds upon each previous step until you get to the final rendering of the ladybug.
Add The Antennae And Front Legs.
Set a timer for three or five minutes. This indicates the thorax, or middle body section, of the bug. Simply draw the red lines in each step and within a few minutes you’ll have yourself a fantastic drawing of a. Keep your lines loose and relaxed.
This Will Form The Cartoon Ladybug's Head.
Get some paper and something to sketch with (pencil, pen, marker, etc.) pull up some reference photos of ladybugs. Then draw the “m” letter shape at. Draw a curved line on the top of the oval using a darker pencil stroke. Web then learn how to draw a ladybug from the first spot to the last with our easy to follow step by step drawing tutorial.
They Should Extend Up To The Very Top Of The Body.
Add a pair of wobbly antennae and two mandibles to the top of the head. Then, draw a curved line across the body behind the head. Draw a curved line on the bottom side of the oval and connect this line with the one you just drew. In the gap we left in step 1, we’re going to add lines to show the wings.