Easy Pumpkin Pictures To Draw
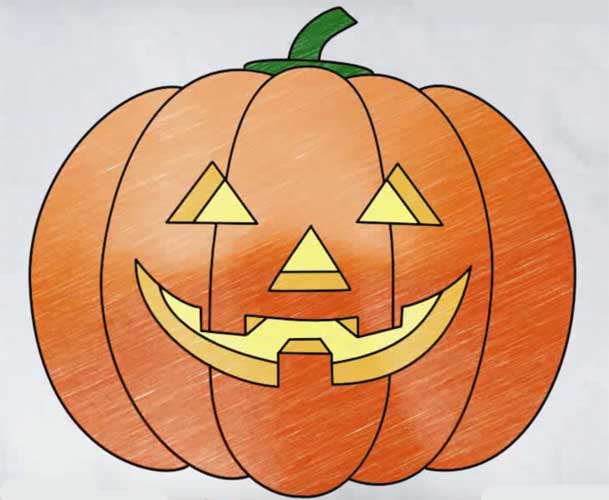
Easy Pumpkin Pictures To Draw - The final drawing will be shaded with color creating artwork you will love! Search through 110835 colorings, dot to dots, tutorials and silhouettes. Take notice that the blue outlines are used to indicate the newest components being drawn in each in each of the steps. Finally, let’s light our halloween. Web mark off the width and height of the picture. Web outline your cartoon halloween pumpkin, filling in the nose with black. Create the pumpkin’s eyes by drawing two triangles and a mouth. Next, use a brown crayon to fill in the visible edges of the pumpkin’s skin on the carvings. The drawing will take 6 steps to complete as we continue to draw each section moving closer to the completed drawing. Take a look at the middle arch on top and on the bottom.
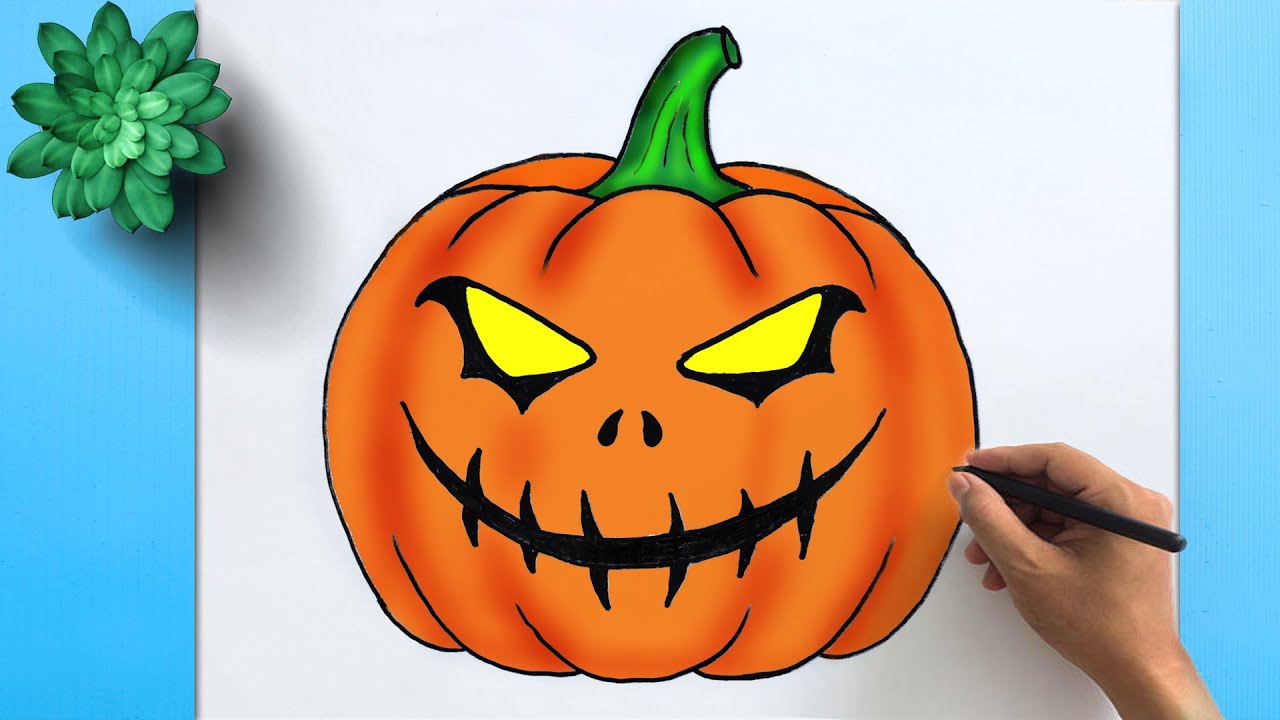
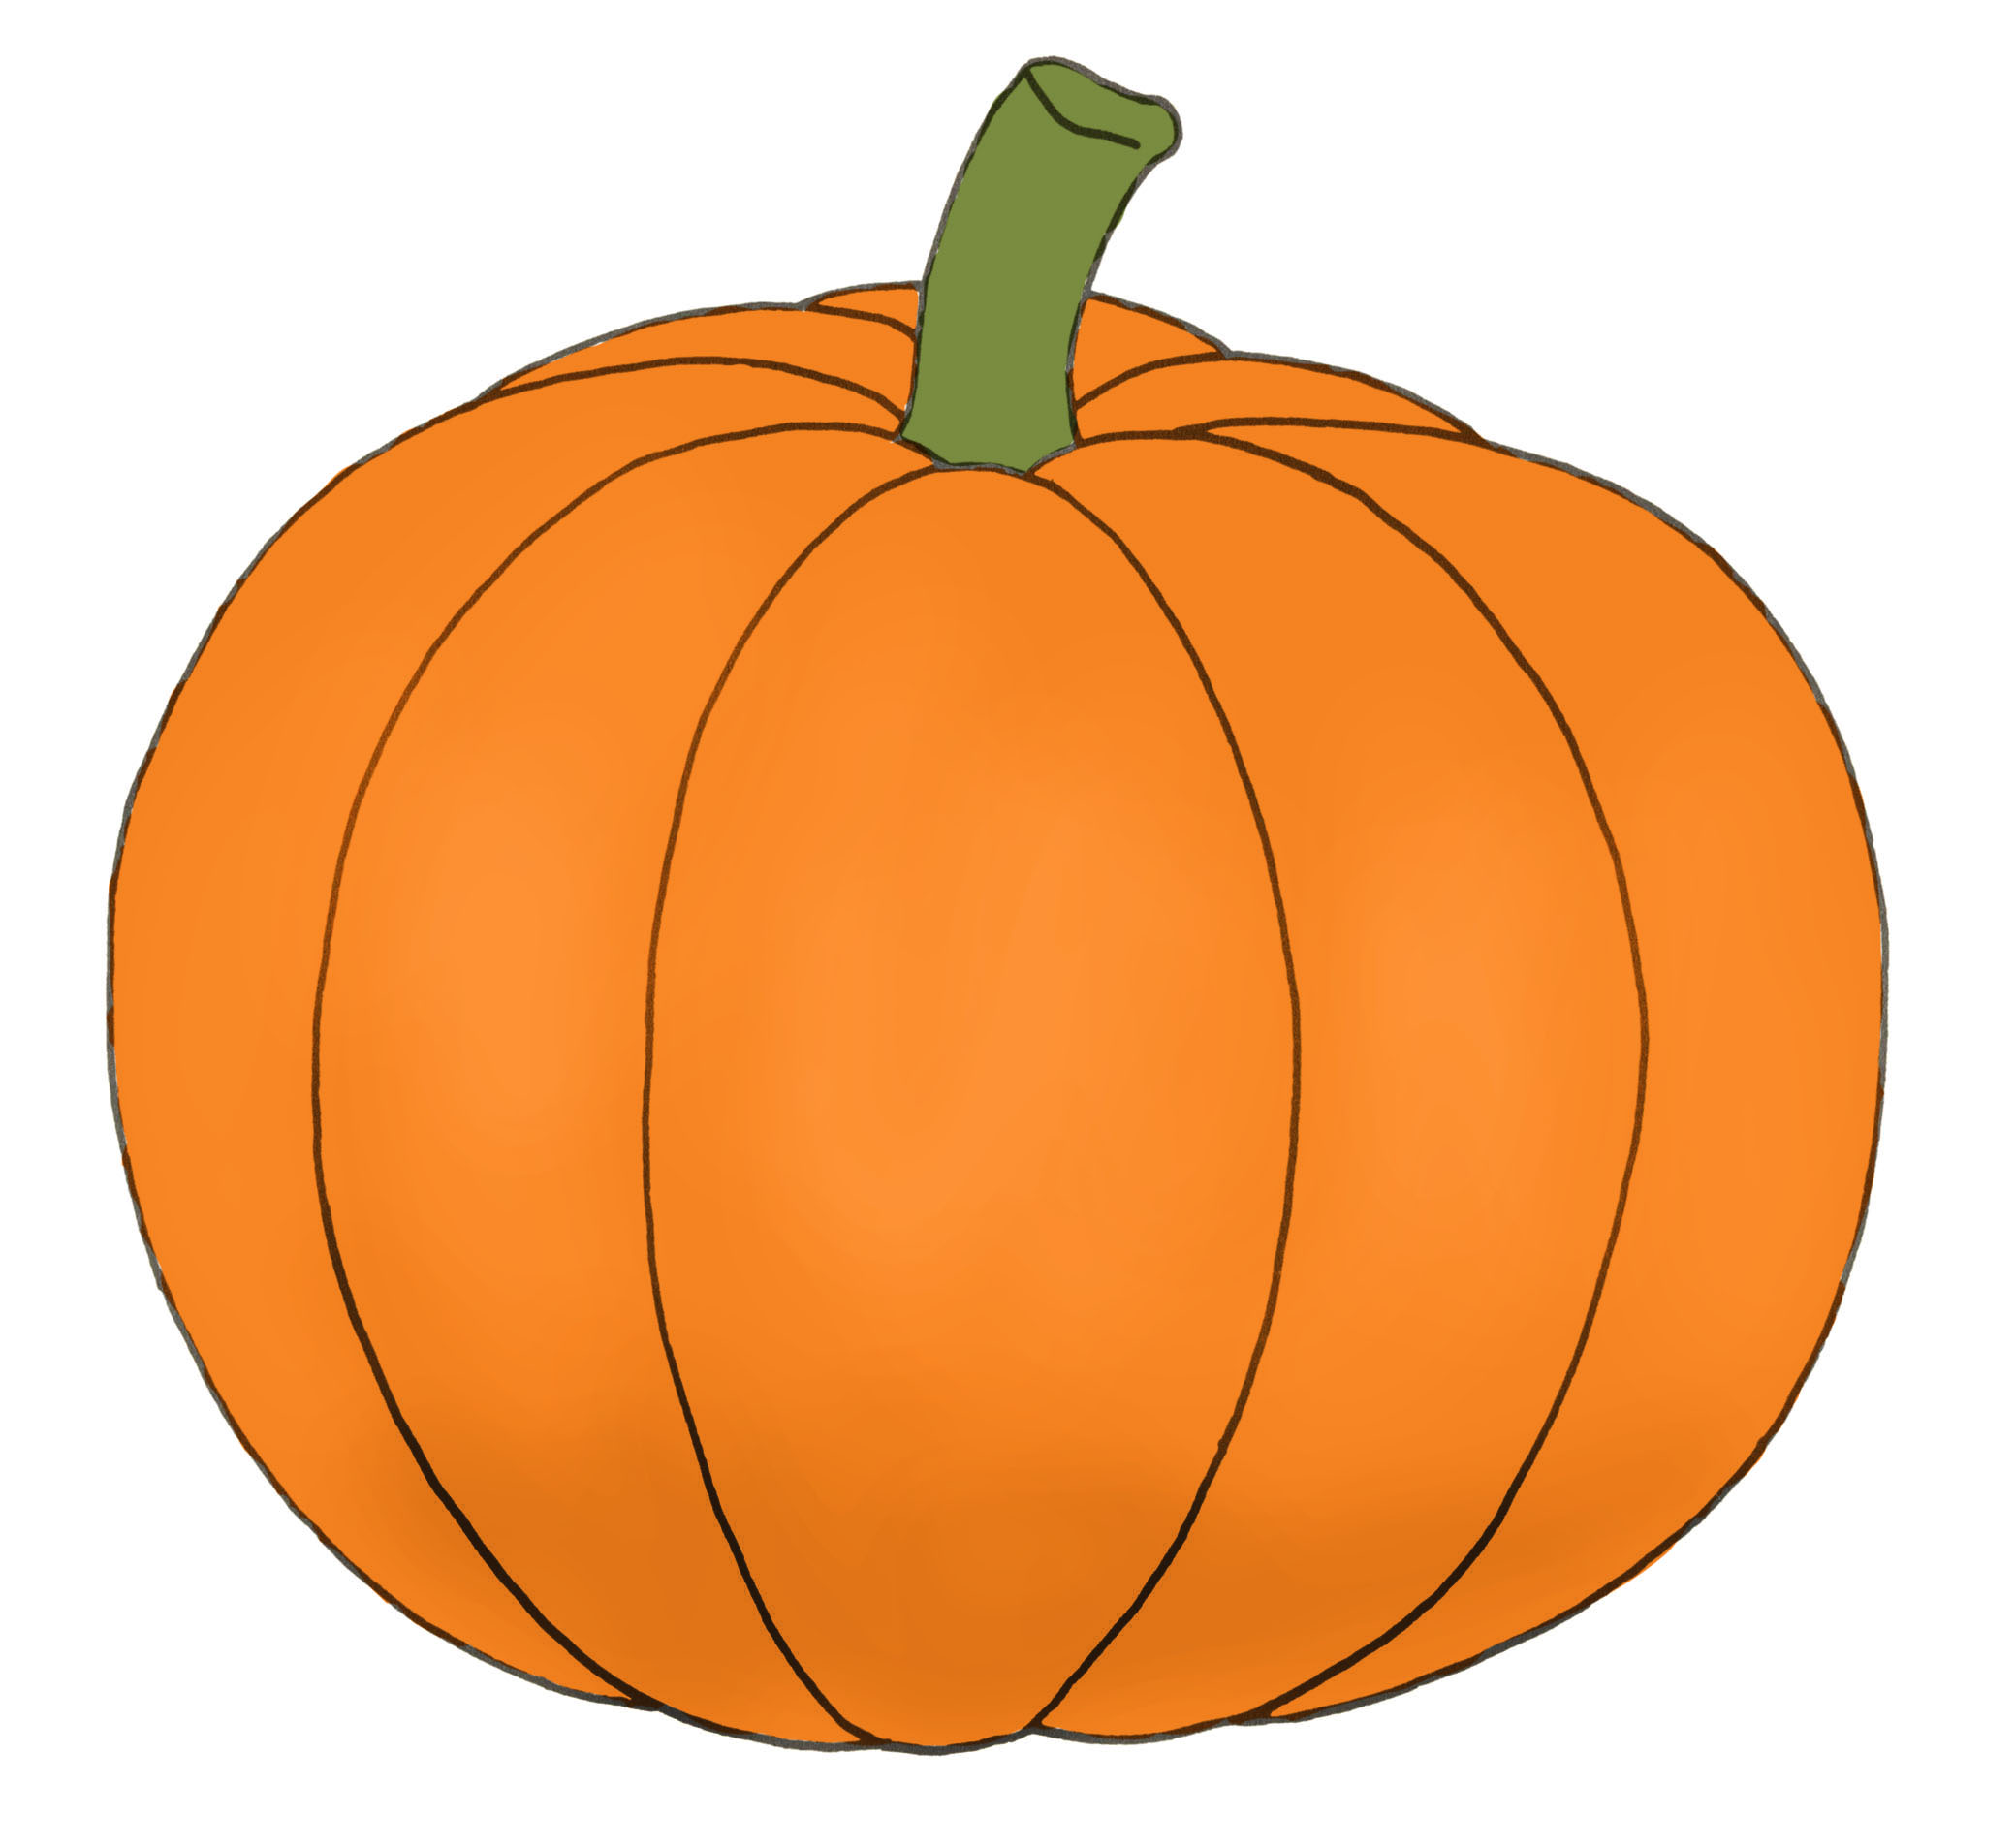
Color your pumpkin with your favorite shade of bright orange. Use additional short lines to begin enclosing the ribs visible behind the stem. At this stage of your drawing you can make your stem just a rough sketch. Take a look at the middle arch on top and on the bottom. Draw two large, round eyes near the top of the pumpkin. Show, with light lines, the main proportions of the pumpkin, its leaf and its stem. Web outline your cartoon halloween pumpkin, filling in the nose with black. Finally, color your pumpkin using colored pencils or markers. Draw another curved line across it to give the tip of the stem an oval shape. This one can be a bit wider.
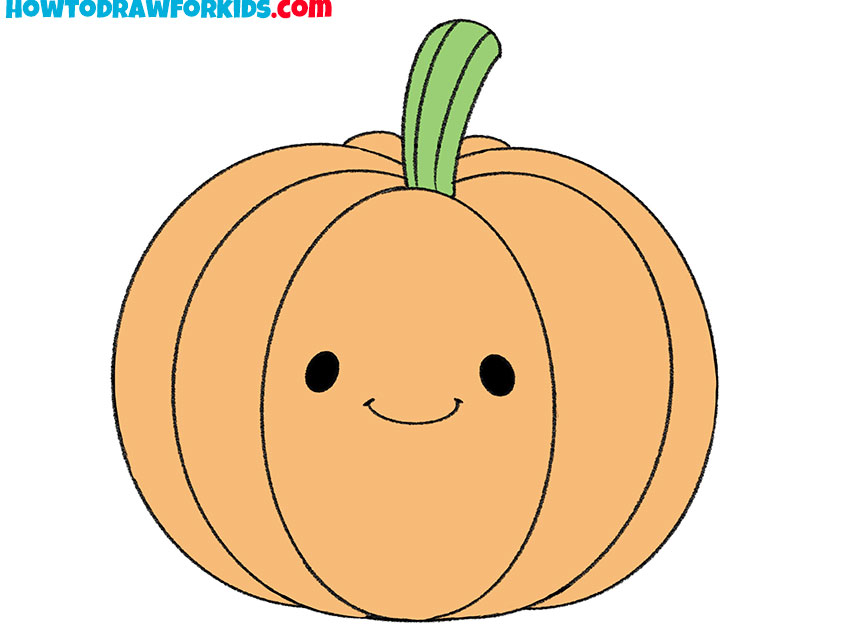
Now, color the stem with a green crayon. Web we will arrive at a finished drawing of the pumpkin face by tackling one area at a time. Make the stem green and the eyes bright yellow. The simplest pumpkin drawing method uses just circles and basic curved lines. Web outline your cartoon halloween pumpkin, filling in the nose with black. Web how to draw pumpkin in easy steps for beginners lesson.tutorial of drawing technique.drawing tutorial,art tutorial youtube videoyou can watch the video at. The drawing will take 6 steps to complete as we continue to draw each section moving closer to the completed drawing. And then draw your stem coming out of that curved line. Now we will add a little line at the top of the stem to give it some depth. This charming design will surely make your little one giggle!
How to Draw a Pumpkin Step by Step easy for Halloween, Cute, Realistic
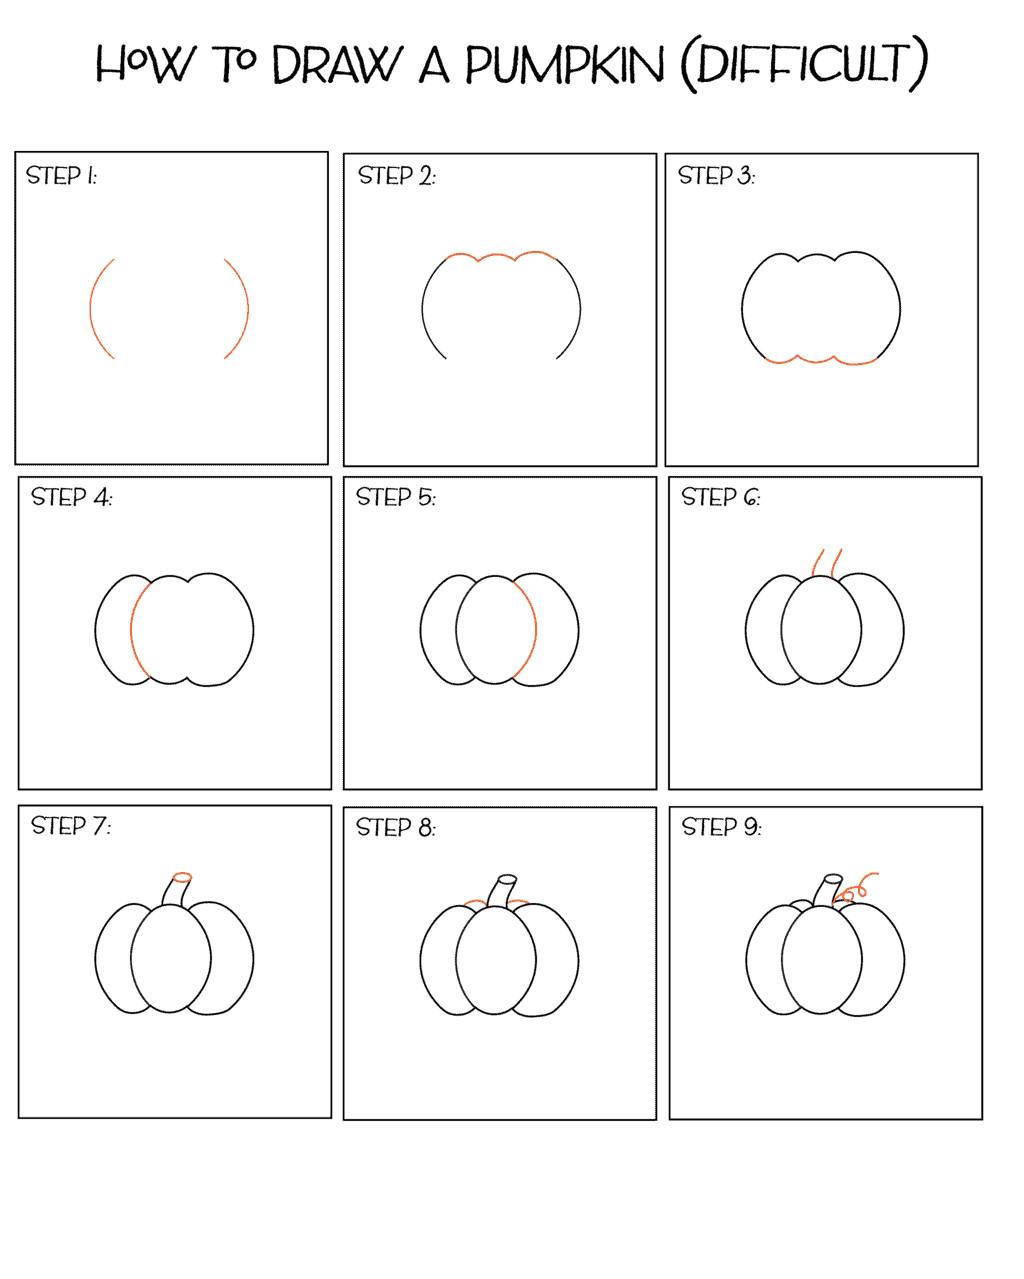
Start at the stem of the gourd and sketch a slightly rounded shape connecting to. Take notice that the blue outlines are used to indicate the newest components being drawn in each in each of the steps. Web to do this, begin by drawing a curved line towards the top of your pumpkin. Web easy pumpkin drawing. Make the stem.
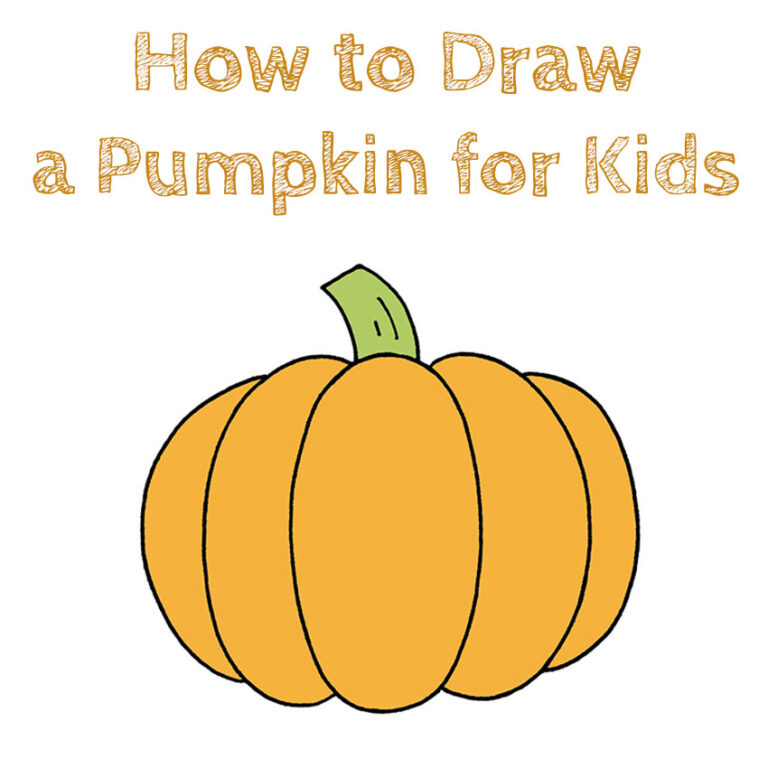
How to Draw a Pumpkin for Kids How to Draw Easy
This completes the first segment of the pumpkin shell. Draw 2 curved lines at the top. A slice of pumpkin for seasoned artists. Draw an adjoining segment to build the pumpkin shell. Add new lines to show the shape of the pumpkin.
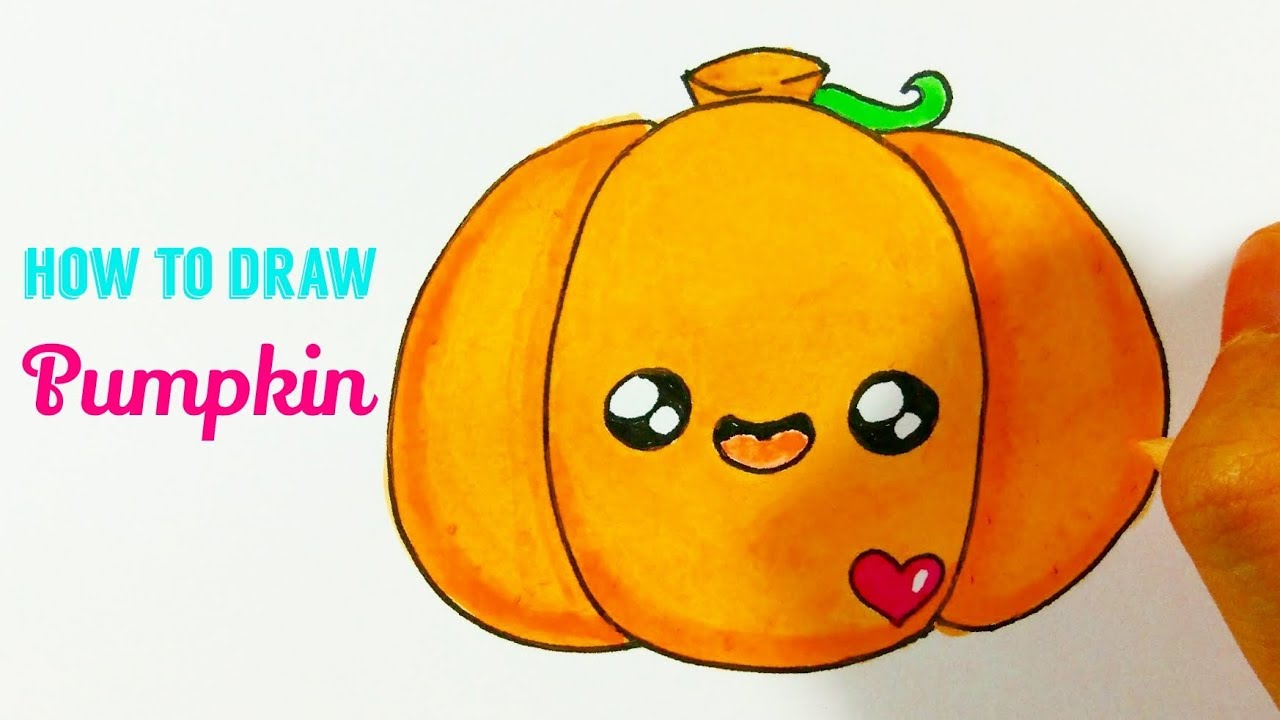
HOW TO DRAW HALLOWEEN PUMPKIN Cute Pumpkin Easy Drawing For Kids
Draw them in a way similar to how you drew the straight cracks. This one can be a bit wider. Then draw some curved lines behind the stem to make your pumpkin look more dimensional. Draw two large, round eyes near the top of the pumpkin. Web we will arrive at a finished drawing of the pumpkin face by tackling.
How To Draw A Pumpkin StepByStep & Free Printables So Festive!
Draw 2 curved lines at the top. Take notice that the blue outlines are used to indicate the newest components being drawn in each in each of the steps. Now, color the stem with a green crayon. The drawing will take 6 steps to complete as we continue to draw each section moving closer to the completed drawing. The final.

Pumpkin Drawing Easy at GetDrawings Free download
These lines will create sections on your pumpkin. Add new lines to show the shape of the pumpkin. Web how to draw pumpkin in easy steps for beginners lesson.tutorial of drawing technique.drawing tutorial,art tutorial youtube videoyou can watch the video at. Finally, let’s light our halloween. At this stage of your drawing you can make your stem just a rough.
Halloween pumpkin drawing easy How to Draw Halloween Pumpkin Easy
Let’s complete our halloween pumpkin drawing by adding some color! The final drawing will be shaded with color creating artwork you will love! You could even draw your pumpkin onto watercolor paper and color it un using watercolors. Draw an adjoining segment to build the pumpkin shell. Pumpkin drawing step by step (very easy) watch on.

How to draw easy and cute Halloween pumpkin stepbystep
This one can be a bit wider. Let’s complete our halloween pumpkin drawing by adding some color! Web we will arrive at a finished drawing of the pumpkin face by tackling one area at a time. Next, use a brown crayon to fill in the visible edges of the pumpkin’s skin on the carvings. Draw a circle connecting the two.
Easy Pumpkin Drawing (4 Steps)! The Graphics Fairy
The drawing will take 6 steps to complete as we continue to draw each section moving closer to the completed drawing. Add some curved lines all around to add ridges to your pumpkin. Add new lines to show the shape of the pumpkin. The final drawing will be shaded with color creating artwork you will love! Add a smiling mouth.
How to Draw a Cute Pumpkin Easy Drawing Tutorial For Kids
Connect the dots 3 times. You could even draw your pumpkin onto watercolor paper and color it un using watercolors. This charming design will surely make your little one giggle! Make the stem green and the eyes bright yellow. Web keep drawing lines that radiate generally toward the center of the stump under the pumpkin.
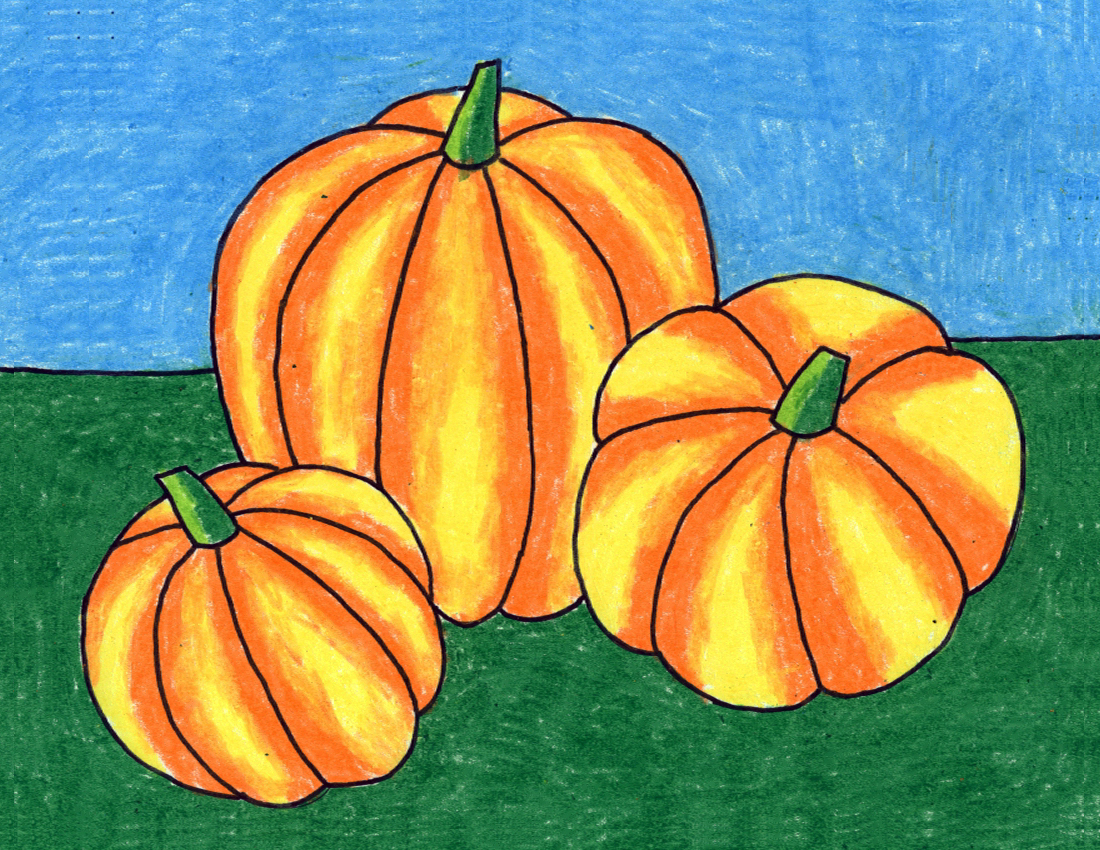
How to Draw Pumpkins · Art Projects for Kids
The drawing will take 6 steps to complete as we continue to draw each section moving closer to the completed drawing. Markers are fun for kids to use and make for a vibrant finish. Web 7 steps to make a realistic looking pumpkin. Search through 110835 colorings, dot to dots, tutorials and silhouettes. Turning our attention back to the pumpkin,.
Web Outline Your Cartoon Halloween Pumpkin, Filling In The Nose With Black.
The simplest pumpkin drawing method uses just circles and basic curved lines. Show, with light lines, the main proportions of the pumpkin, its leaf and its stem. Draw them in a way similar to how you drew the straight cracks. You could even draw your pumpkin onto watercolor paper and color it un using watercolors.
Start By Using An Orange Crayon To Color The Pumpkin’s Skin.
Add new lines to show the shape of the pumpkin. On the left and right sides of the rectangular, draw two curved lines to form the pumpkin’s ridges. Web 7 steps to make a realistic looking pumpkin. Divide the oval into 5 parts using curved lines.
Web Mark Off The Width And Height Of The Picture.
Color the mouth and space behind the eyes black to give your. Web keep drawing lines that radiate generally toward the center of the stump under the pumpkin. Then, texture the stem with curved lines. Add a smiling mouth below the eye.
Use A Loose Touch With Your Pencil And Follow The General Curvature Of The Stump’s Edges.
And then draw your stem coming out of that curved line. Add a touch of mischief to your pumpkin with a silly winking face. Web easy pumpkin drawing. Now we will add a little line at the top of the stem to give it some depth.