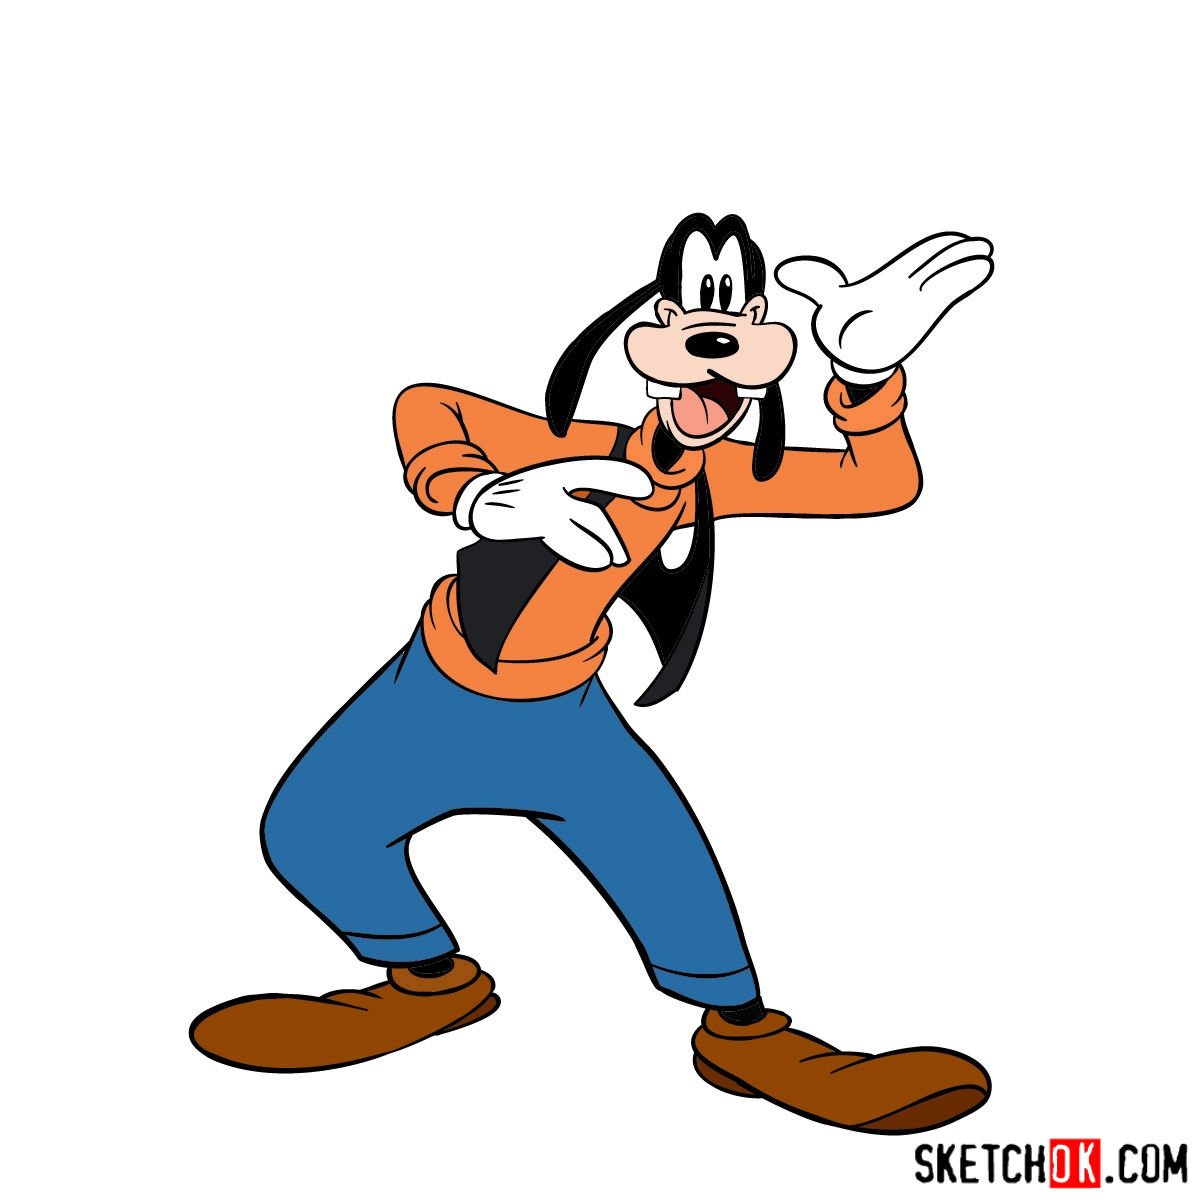
Goofy Drawing
Goofy Drawing - As you reach the final stages, you can choose to ink your sketch. Join our community of aspiring artists and get exper. Draw a big sideways arc on the lower left side of the head as a guide for goofy's muzzle. The first 2 steps are designed to help you form a basic structure for proportions, using light pencil strokes. Draw a horizontal line across the circle as a guide to help you place goofy's facial features later. Use overlapping curved lines to draw the tongue, and a short curved line to indicate the chin on the lower jaw. Draw a curved, vertical line on the top, left side for another guide line. Outline two small, rounded rectangles on the underside of the muzzle, indicating the teeth. Web this tutorial has 17 steps. Web drawing goofy is as much about capturing his personality as it is about getting his physical attributes right.
Draw a curved, vertical line on the top, left side for another guide line. Today i'll be showing you how to draw goofy from disney.subscribe, like and share this video and check out more of our step by step dr. Draw a pair of large, u shaped lines beneath them to form the open mouth. Web this tutorial has 17 steps. Draw a horizontal line across the circle as a guide to help you place goofy's facial features later. The first 2 steps are designed to help you form a basic structure for proportions, using light pencil strokes. Draw a big sideways arc on the lower left side of the head as a guide for goofy's muzzle. As you reach the final stages, you can choose to ink your sketch. Web drawing goofy is as much about capturing his personality as it is about getting his physical attributes right. Use overlapping curved lines to draw the tongue, and a short curved line to indicate the chin on the lower jaw.
Web drawing goofy is as much about capturing his personality as it is about getting his physical attributes right. Web this tutorial has 17 steps. However, remember to let the ink dry thoroughly before erasing the pencil lines to prevent any smudges. Draw a horizontal line across the circle as a guide to help you place goofy's facial features later. Outline two small, rounded rectangles on the underside of the muzzle, indicating the teeth. The first 2 steps are designed to help you form a basic structure for proportions, using light pencil strokes. Draw a pair of large, u shaped lines beneath them to form the open mouth. Draw a big sideways arc on the lower left side of the head as a guide for goofy's muzzle. Use overlapping curved lines to draw the tongue, and a short curved line to indicate the chin on the lower jaw. Draw a curved, vertical line on the top, left side for another guide line.

Goofy Wikipedia
The first 2 steps are designed to help you form a basic structure for proportions, using light pencil strokes. Today i'll be showing you how to draw goofy from disney.subscribe, like and share this video and check out more of our step by step dr. Join our community of aspiring artists and get exper. Use overlapping curved lines to draw.
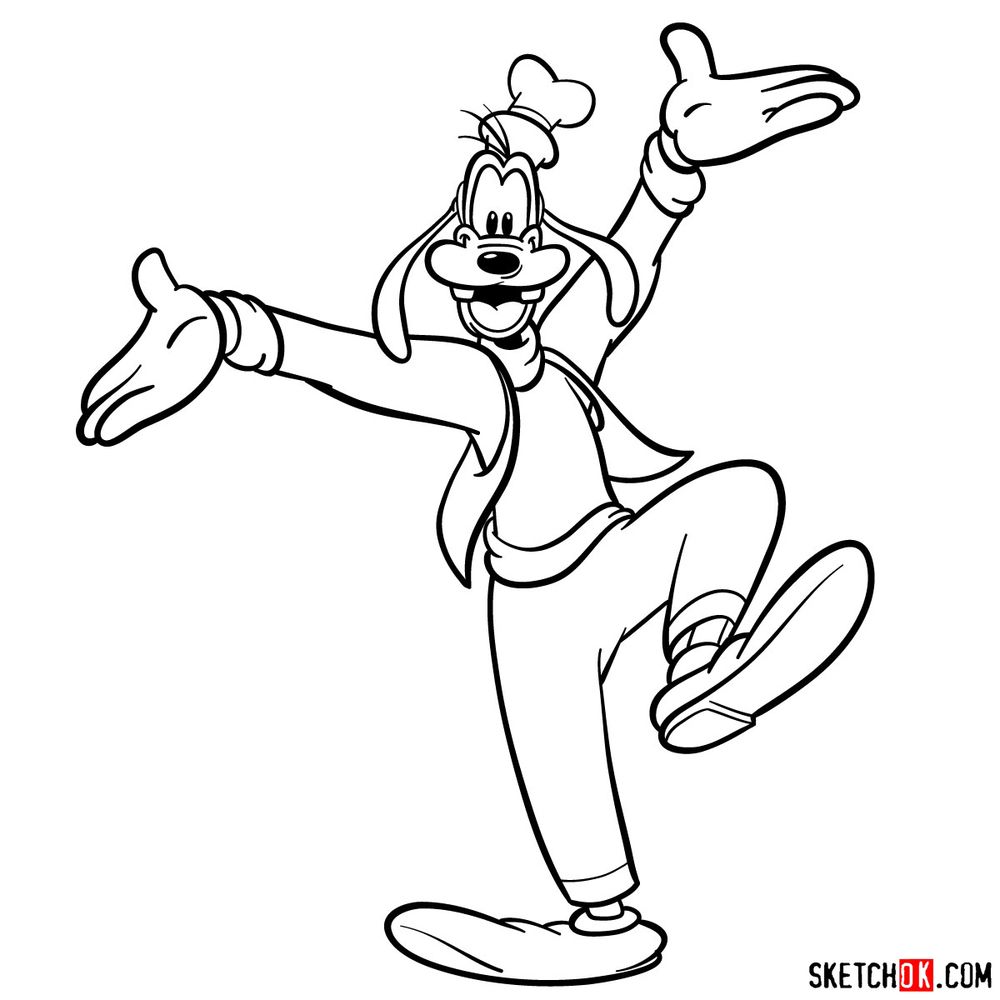
Draw happy Goofy stepbystep Sketchok easy drawing guides
Draw a curved, vertical line on the top, left side for another guide line. However, remember to let the ink dry thoroughly before erasing the pencil lines to prevent any smudges. Outline two small, rounded rectangles on the underside of the muzzle, indicating the teeth. Draw a horizontal line across the circle as a guide to help you place goofy's.

How to Draw Goofy Really Easy Drawing Tutorial
Use overlapping curved lines to draw the tongue, and a short curved line to indicate the chin on the lower jaw. Draw a curved, vertical line on the top, left side for another guide line. Draw a horizontal line across the circle as a guide to help you place goofy's facial features later. Draw a big sideways arc on the.

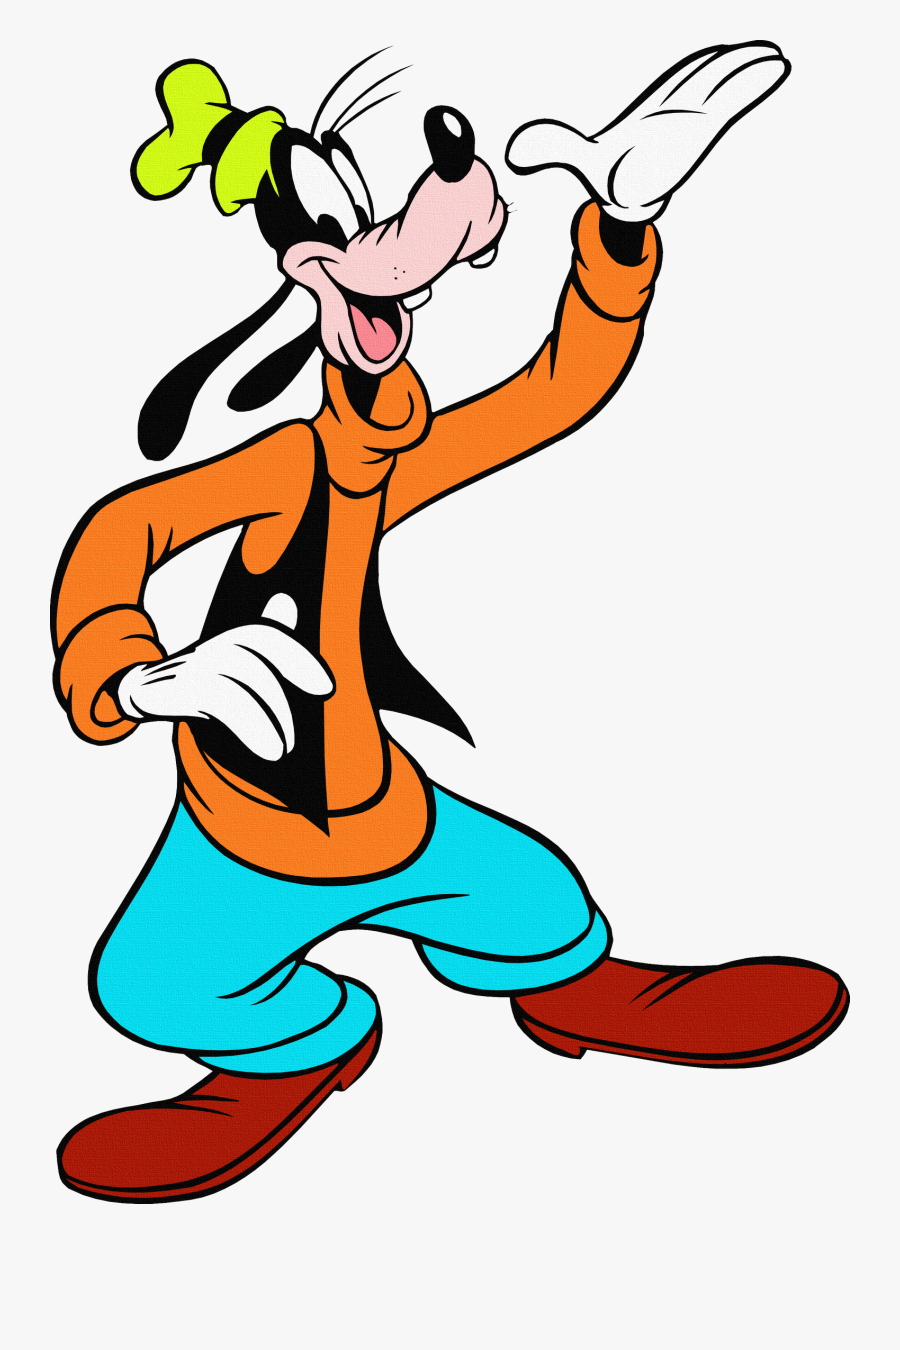
Goofy by vanv Goofy drawing, Disney character drawings, Cute disney
Draw a curved, vertical line on the top, left side for another guide line. Web drawing goofy is as much about capturing his personality as it is about getting his physical attributes right. Draw a horizontal line across the circle as a guide to help you place goofy's facial features later. Use overlapping curved lines to draw the tongue, and.
How to draw Goofy Sketchok easy drawing guides
Today i'll be showing you how to draw goofy from disney.subscribe, like and share this video and check out more of our step by step dr. Web this tutorial has 17 steps. The first 2 steps are designed to help you form a basic structure for proportions, using light pencil strokes. As you reach the final stages, you can choose.

cool Walt Disney Goofy Pictures Coloring Page Goofy pictures, Cartoon
Today i'll be showing you how to draw goofy from disney.subscribe, like and share this video and check out more of our step by step dr. Draw a big sideways arc on the lower left side of the head as a guide for goofy's muzzle. Web this tutorial has 17 steps. Outline two small, rounded rectangles on the underside of.

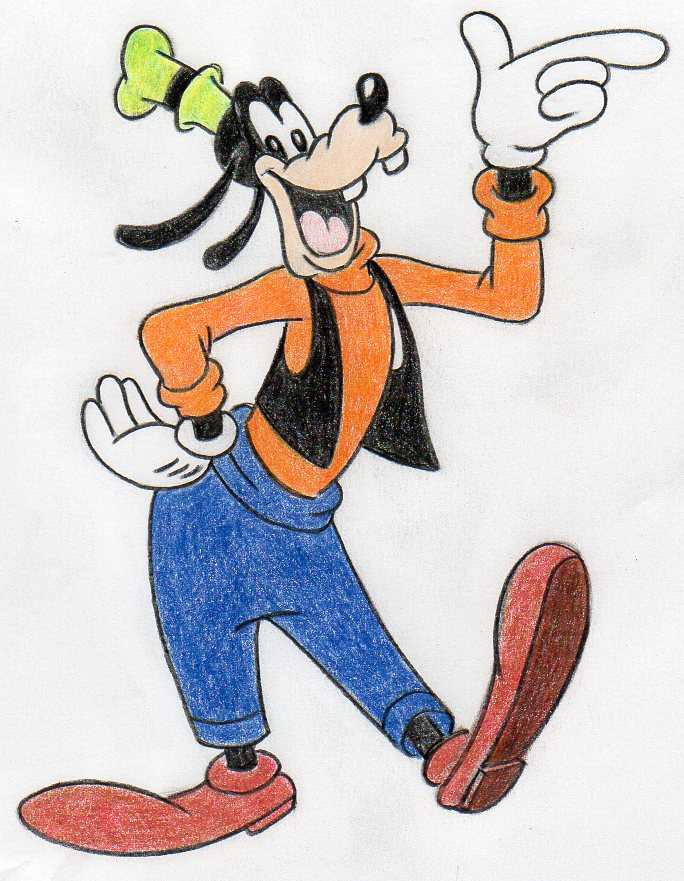
Goofy Drawing (Colored) by SereenaG on DeviantArt
Draw a horizontal line across the circle as a guide to help you place goofy's facial features later. Web this tutorial has 17 steps. Use overlapping curved lines to draw the tongue, and a short curved line to indicate the chin on the lower jaw. Draw a curved, vertical line on the top, left side for another guide line. The.

How to Draw Goofy Really Easy Drawing Tutorial
Draw a pair of large, u shaped lines beneath them to form the open mouth. Web this tutorial has 17 steps. Outline two small, rounded rectangles on the underside of the muzzle, indicating the teeth. Draw a horizontal line across the circle as a guide to help you place goofy's facial features later. As you reach the final stages, you.
Goofy Disney Cartoon Characters Drawing On Mickey Mouse Goofy , Free
Draw a pair of large, u shaped lines beneath them to form the open mouth. Draw a curved, vertical line on the top, left side for another guide line. Today i'll be showing you how to draw goofy from disney.subscribe, like and share this video and check out more of our step by step dr. Draw a big sideways arc.
How To Draw Goofy
Join our community of aspiring artists and get exper. Draw a pair of large, u shaped lines beneath them to form the open mouth. However, remember to let the ink dry thoroughly before erasing the pencil lines to prevent any smudges. Web this tutorial has 17 steps. Outline two small, rounded rectangles on the underside of the muzzle, indicating the.
Draw A Horizontal Line Across The Circle As A Guide To Help You Place Goofy's Facial Features Later.
Draw a pair of large, u shaped lines beneath them to form the open mouth. Use overlapping curved lines to draw the tongue, and a short curved line to indicate the chin on the lower jaw. Web drawing goofy is as much about capturing his personality as it is about getting his physical attributes right. Today i'll be showing you how to draw goofy from disney.subscribe, like and share this video and check out more of our step by step dr.
Draw A Curved, Vertical Line On The Top, Left Side For Another Guide Line.
Outline two small, rounded rectangles on the underside of the muzzle, indicating the teeth. Join our community of aspiring artists and get exper. Draw a big sideways arc on the lower left side of the head as a guide for goofy's muzzle. Web this tutorial has 17 steps.
However, Remember To Let The Ink Dry Thoroughly Before Erasing The Pencil Lines To Prevent Any Smudges.
As you reach the final stages, you can choose to ink your sketch. The first 2 steps are designed to help you form a basic structure for proportions, using light pencil strokes.