How To Build Wooden Drawer Slides
How To Build Wooden Drawer Slides - Web it uses simple setups and reduces fussing around to a minimum. Web repeat the process on the second mount/drawer side. Move the fence in 1/8th inch and pass the blank through again. Depth rather than over it. Mock assemble the box and drill at least three pilot holes at each joint. Wider than the actual drawer sides and the correct length. Install the slide to the face frame, securing it with one screw, photo below. Again run both edges of the workpieces. Web simply get some gloves or an old rag, put a bit of the wax on it, then slather it on the middle and side rails. Web cut a channel on either side of the stem width.
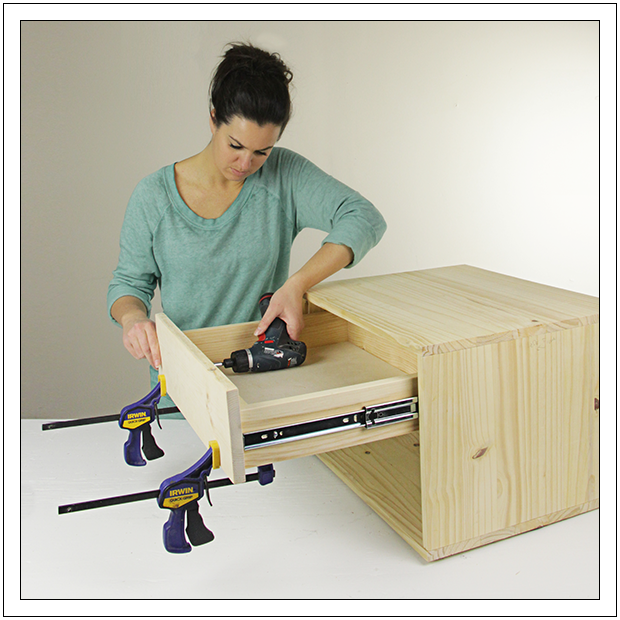
Set your drawer slide on top of the strip, lined up with the front edge. However, wax can build up over time and cause the drawers to stick even more. I had previously marked the position of the wood slides but due to an, um “error”, i had to change the position of the slides. The wax paste should be dried within a few minutes so you can slide your drawers back into place. Youmight need to angle the screwslightly to avoid the frame above. The goal is to place the slides so that the top of the dado rests on them and the drawer bottom clears the lower stretcher by at least 1/8″. So instead of using lower quality and finicky drawer slides, i have decided to make my own. Mark a line ⅜ from both ends of the longer side pieces. A loaded drawer may snap off a thinner bottom when extended. Again run both edges of the workpieces.
This dry lubricant is the perfect solution for sticky wooden. Shorter than the total length of the drawer sides (do not include the applied front when measuring the drawer length). Web repeat the process on the second mount/drawer side. Again, my purpose here is not to tell you how to build a drawer or a cabinet. Instead of using wax, try using a dry lubricant such as graphite powder or paraffin wax. A coat or two of water based po. Web cut a channel on either side of the stem width. Break off any remaining wood and clean up the cuts with a chisel and some sand paper. Web for inset drawers, the slides must be 1/4 in. Mount the slide 1/32 back fromthe front of the face frame.
How To Make Wooden Drawers Slide Easy / How To Install Drawer Slides On
To subscribe to the channel click here: Web some other tips to make wooden drawers slide easy 1. Slide the plywood strips out and set the drawer on top of the strips. Drill three countersink holes along this line. Move the fence in 1/8th inch and pass the blank through again.
How to Install Drawer Slides Build Basic
Web it uses simple setups and reduces fussing around to a minimum. Web simply get some gloves or an old rag, put a bit of the wax on it, then slather it on the middle and side rails. If your wood drawer is getting stuck in certain areas you can also wax those places. Web cut a channel on either.

Wooden Drawer Slides Plans How To build a Amazing DIY Woodworking
I had previously marked the position of the wood slides but due to an, um “error”, i had to change the position of the slides. Web some other tips to make wooden drawers slide easy 1. To subscribe to the channel click here: Wider than the actual drawer sides and the correct length. Simply spray the silicone onto the drawer.
How To UnderMount Drawer Slides Woodworking YouTube
Shorter than the total length of the drawer sides (do not include the applied front when measuring the drawer length). If you're making your own drawers, wood slides are a great diy option. Screw the slides into place on the drawer. Web how to make simple wooden drawer runners / drawer slides for chest of drawers, dresser or cabinet. Move.

How to Build Shop Drawers with Euro Slides YouTube
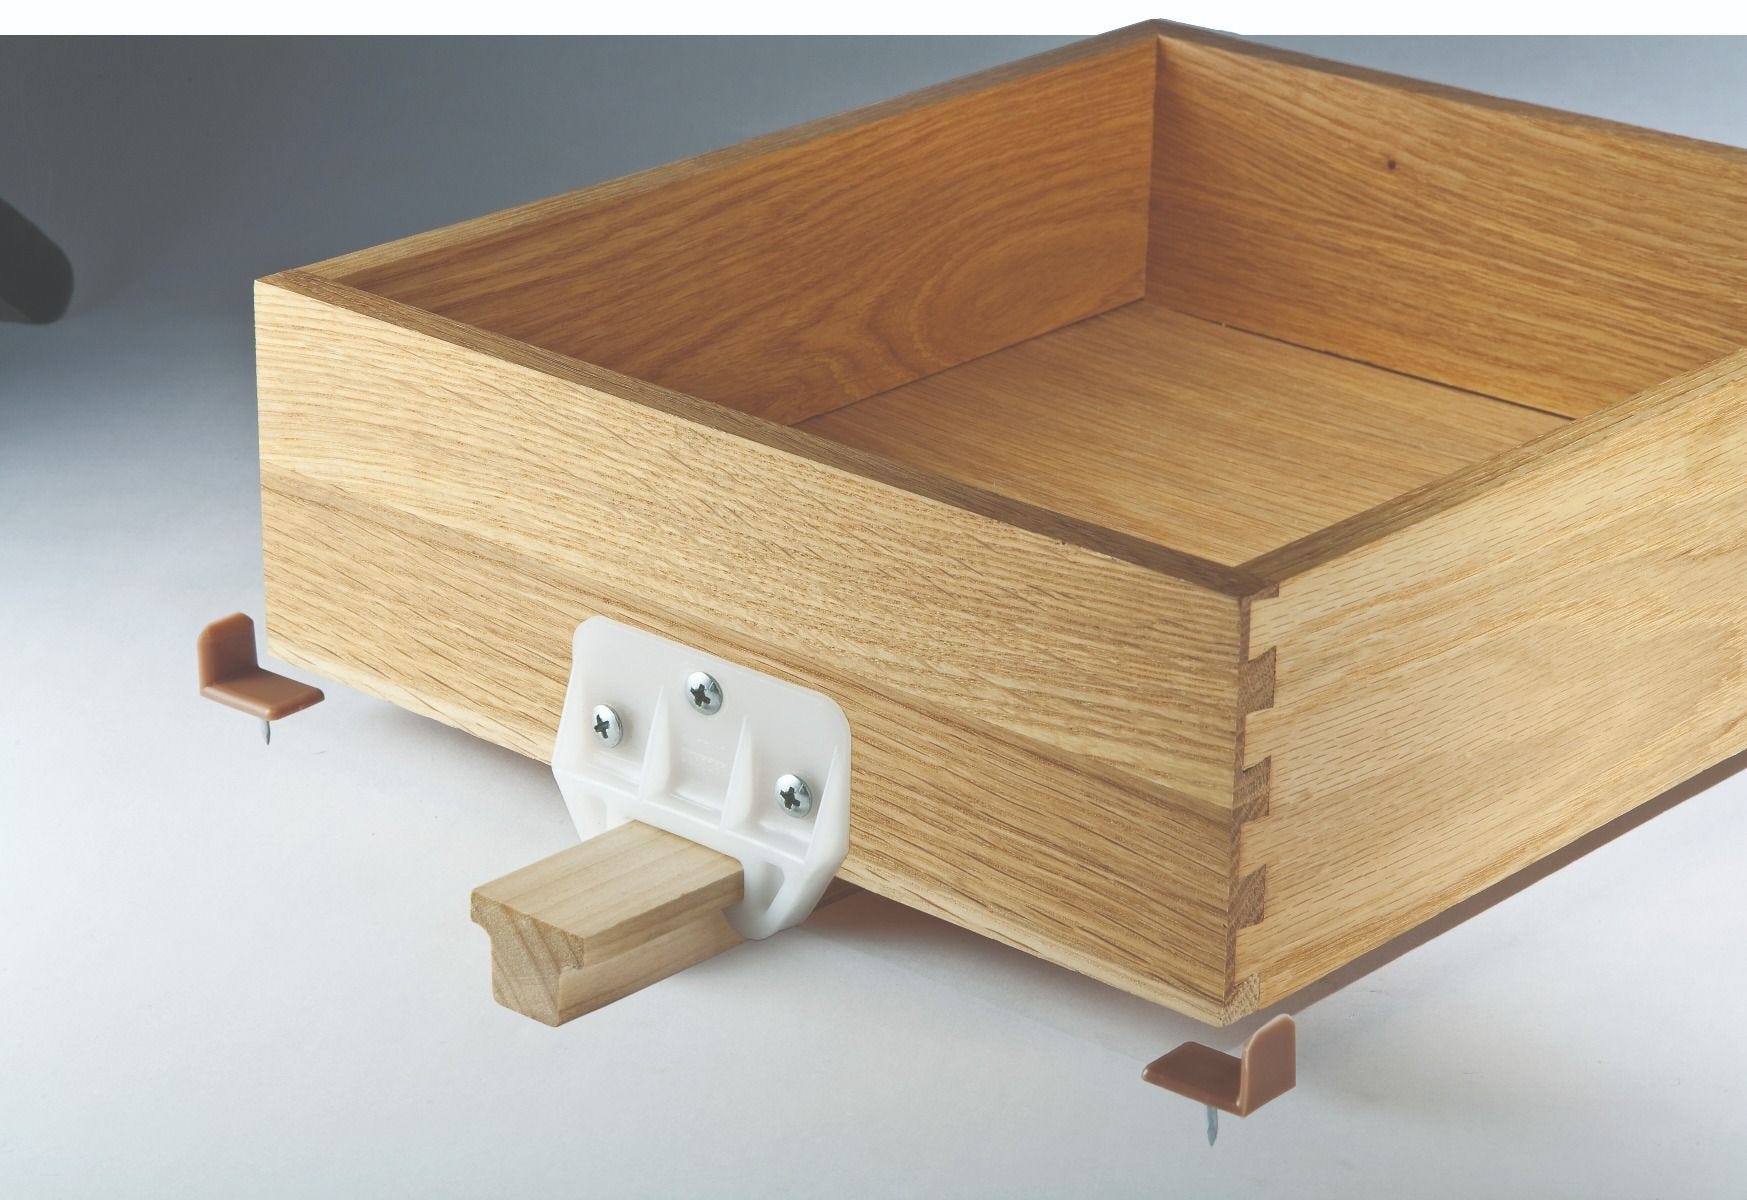
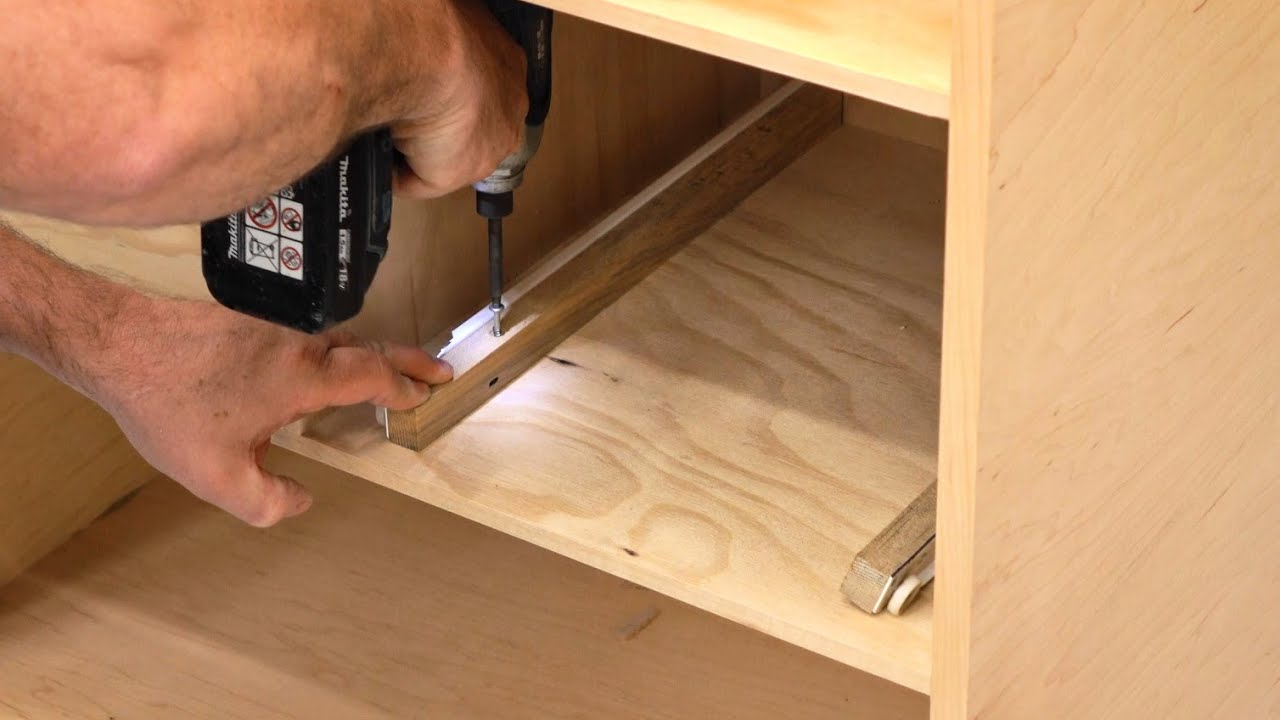
It measures 31.5w x 17.7d x 49.2h after assembled. The wax paste should be dried within a few minutes so you can slide your drawers back into place. Install the slide to the face frame, securing it with one screw, photo below. Mount the slide 1/32 back fromthe front of the face frame. More potential for malfunctions over time.

Top 21 Diy Wood Drawer Slides Home, Family, Style and Art Ideas
Mount the slide 1/32 back fromthe front of the face frame. Screw the slides into place on the drawer. Versions for about $40 a pair. The goal is to place the slides so that the top of the dado rests on them and the drawer bottom clears the lower stretcher by at least 1/8″. It measures 31.5w x 17.7d x.
Wooden Full Extension Drawer Slides Experiment YouTube
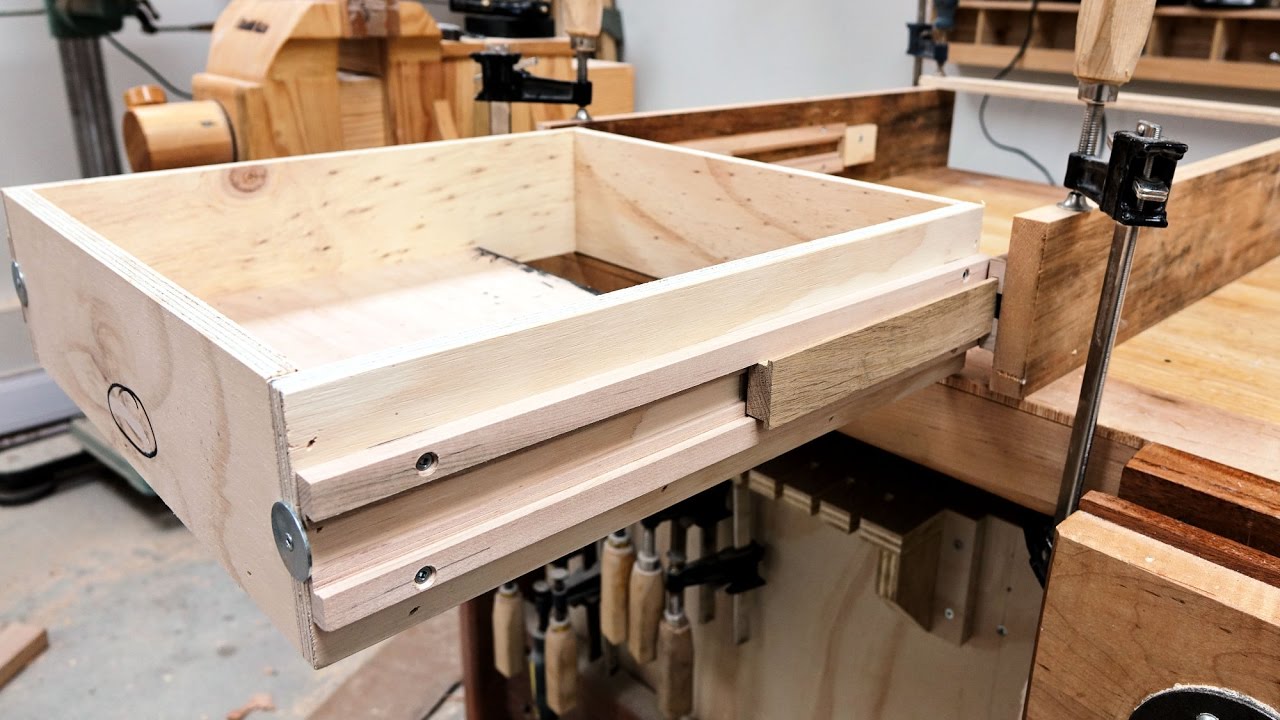
Slide the plywood strips out and set the drawer on top of the strips. The attributes of this design are as follows: Web ️ project plans for sale: Extend the slide out and screw into place in the box. Mount the bottom to the underside of the drawer rather than capture it in grooves.
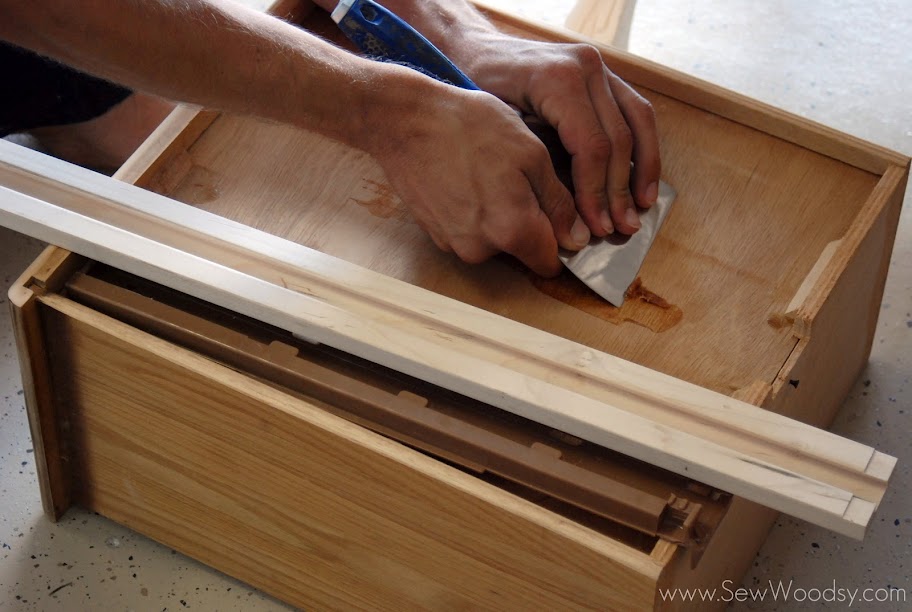
{Modifying} Classic Wood Center Mount Drawer Slides Sew Woodsy
Web ️ project plans for sale: If your wood drawer is getting stuck in certain areas you can also wax those places. Web i have a few more refinements to do with it, but i'm very impressed with how well these work even in this fairly rough state. More potential for malfunctions over time. Web cut a channel on either.

How To Install Drawer Slides Easily and Accurately YouTube
Screw the slides into place on the drawer. When the drawer is halfway open, a pin engages the slider and pulls it out along with the drawer, and when the drawer and slider reach full extension, another pin stops them. It measures 31.5w x 17.7d x 49.2h after assembled. A loaded drawer may snap off a thinner bottom when extended..

How To Make Wooden Drawers Slide Easy / How To Install Drawer Slides On
Install the slide to the face frame, securing it with one screw, photo below. Web for inset drawers, the slides must be 1/4 in. Drill three countersink holes along this line. Web next, after sanding the wooden drawers with the sanding blocks, apply a small amount of the paste wax on a paper towel (because it’s disposable and easy) and.
So Instead Of Using Lower Quality And Finick.
Youmight need to angle the screwslightly to avoid the frame above. Step by step instructions for making wood drawers slide easier. Web measure and cut the side pieces. Web simply get some gloves or an old rag, put a bit of the wax on it, then slather it on the middle and side rails.
The Big Advantage Of These Slides Is That They Extend Fully, Giving You Complete Access To Everything In The Drawer.
If you have flooring that's more than 1/4 in. Countersinking the screws will allow the screw heads to sit flush with the side of the drawer box. Glue and nail the plywood to the frame using the plywood to square up the frame as you fasten it. If your wood drawer is getting stuck in certain areas you can also wax those places.
Place The Plywood Inside The Drawer Box And Drill Pilot Holes Around The Perimeter.
Continue to move the fence in and pass the blank through until you've reached the outside edge or removed most of the material. Versions for about $40 a pair. Web it uses simple setups and reduces fussing around to a minimum. Ensure that the box is square and fix for square as needed.
Break Off Any Remaining Wood And Clean Up The Cuts With A Chisel And Some Sand Paper.
I had previously marked the position of the wood slides but due to an, um “error”, i had to change the position of the slides. And adjust the fence back to the 10 degree bevel line marked on your workpiece. In fact, many of the antique furniture pieces in my own home. Mock assemble the box and drill at least three pilot holes at each joint.