How To Curve Text In Corel Draw
How To Curve Text In Corel Draw - First, select the lines you want to keep together, starting at the top and selecting in order. Adjust the curve settings, such as the radius and direction, to achieve your desired effect. Click in the text frame. Mirror vertically — flips the text characters from top to bottom. Web first, select all the type in your file. Go to the top menu under arrange, select convert to curves. Web hello, welcome to another interesting video tutorial. Click on the “curve text” button to open the curve settings dialog box. Typing on a horizontal line or within a rectangular box. Because you’re importing while the text tool is activated, coreldraw filters the search to show only file formats that support text, and not image formats.
Web click editfind and replacefind text. You've successfully converted your type to outlines. While dragging to adjust curvature, if you press shift you can snap to standard angles. You can also edit text by clicking textedit, and making changes to the text in the edit text dialog box. Web select the pick tool (shortcut key f10) and select the shape around which you want your name or text followed by selecting “text > fit text to path. you can change the color of the text by selecting the whole text and clicking the color in the color palette. Before you can curve the text, you need to convert it to curves. You can now send your file to print without fear of the font shifting. Once this is done, you will see the cursor on top of the shape. You can add as many nodes as you want! Web hello, welcome to another interesting video tutorial.
I opted for the script font pacifico. First, select the lines you want to keep together, starting at the top and selecting in order. In the “envelope” dialog box, select the “simple. Experiment with different curve shapes until you find the one that best suits your design. This allows coreldraw to manipulate the individual letters as separate objects. Type the text that you want to curve and select it. Click in the text frame. You can add as many nodes as you want! Web in a comprehensive m.l.s. This piles all the lines on top of each other.

CorelDraw Fit text to a Curve, Path, Shape, Figure or Graphic YouTube
Because you’re importing while the text tool is activated, coreldraw filters the search to show only file formats that support text, and not image formats. Typing on a horizontal line or within a rectangular box. I opted for the script font pacifico. Then add text by typing, pasting or importing. You can also achieve this by right clicking the object.
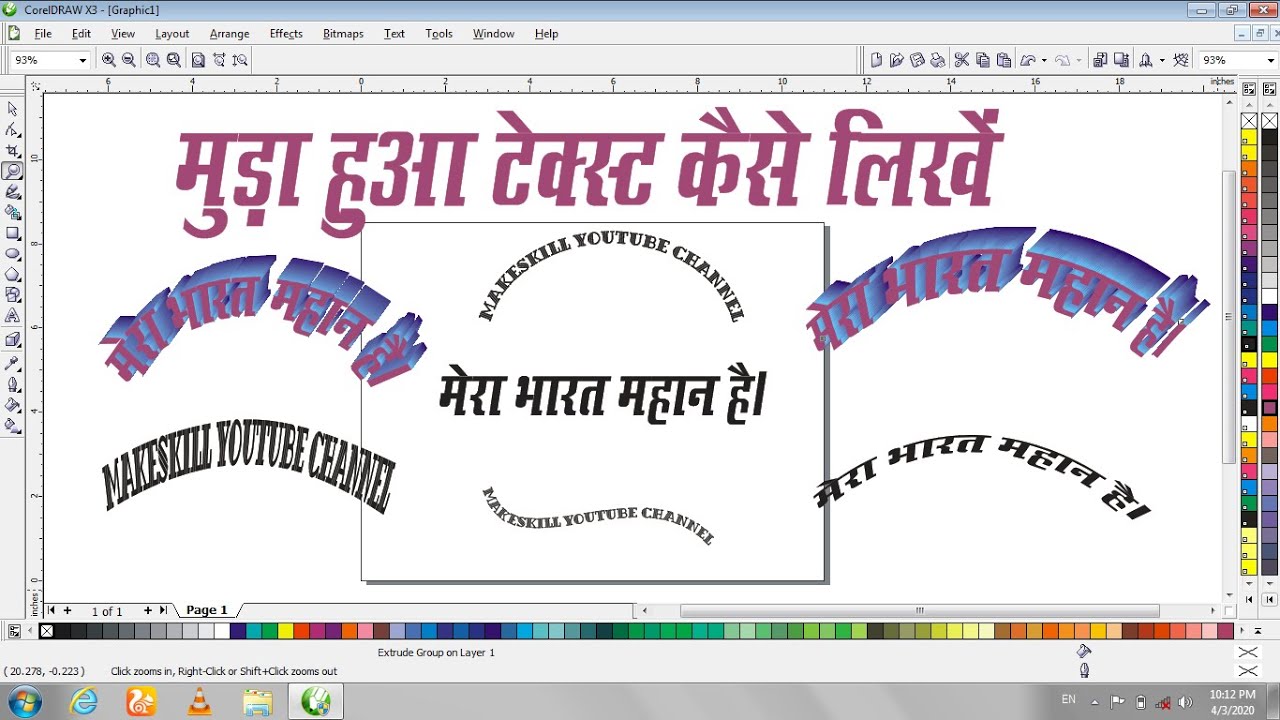
How to bend text in corel draw, curve text in corel draw makeskill
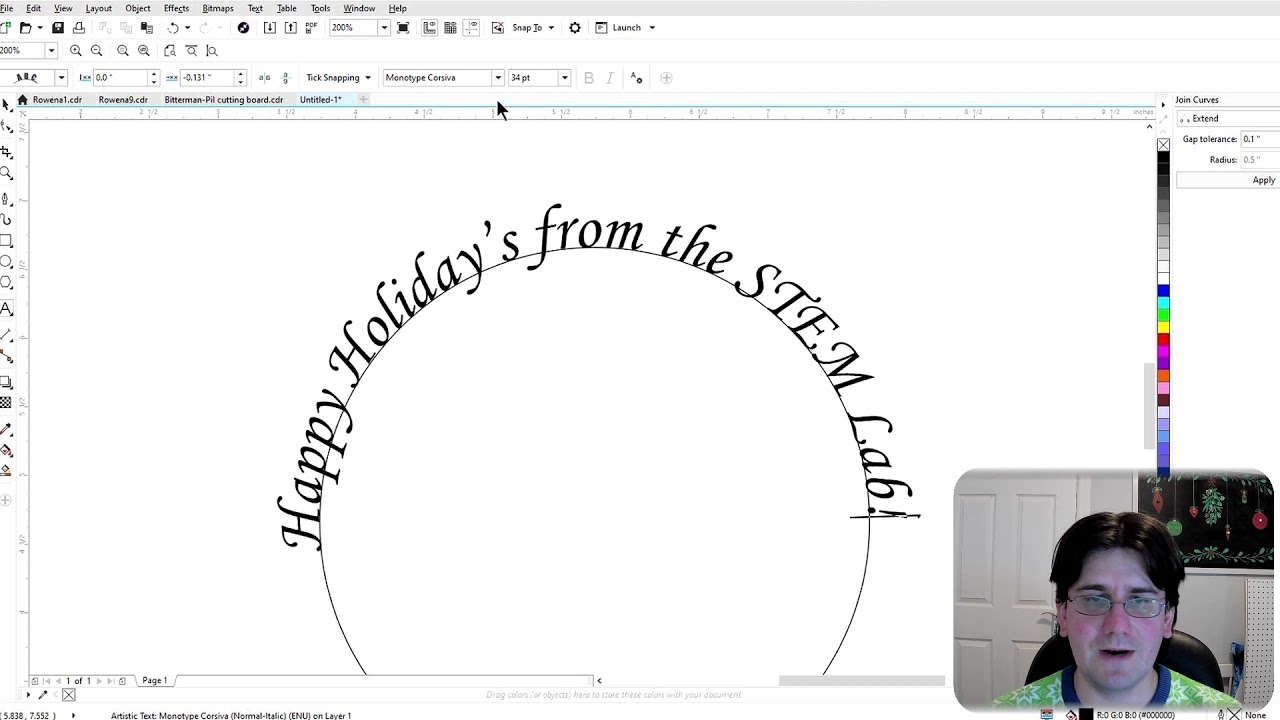
Before you can curve the text, you need to convert it to curves. Web open coreldraw and create a new document or open an existing document. Web click in the artistic text. Web curve the text manually. Grab the text tool from the toolbox, drag out a rectangle, and type out the word bakery.

How To Create A Curved Line Text In CorelDraw YouTube
Web hello, welcome to another interesting video tutorial. Now convert to paragraph text and adjust the line spacing. Type the text that you want to find in the find box. Go to the top menu under arrange, select convert to curves. Web first, select all the type in your file.
How to curve text in coreldraw YouTube
Select the file with the text you want to use. With the text selected, go to the “arrange” menu, choose “convert to curves,” or use the shortcut “ctrl + q”. I will be showing you how to create a curved text in coreldrawsubscribe to our channel for more coreldr. You can also achieve this by right clicking the object and.
How to make curved text with Corel Draw 2018 YouTube
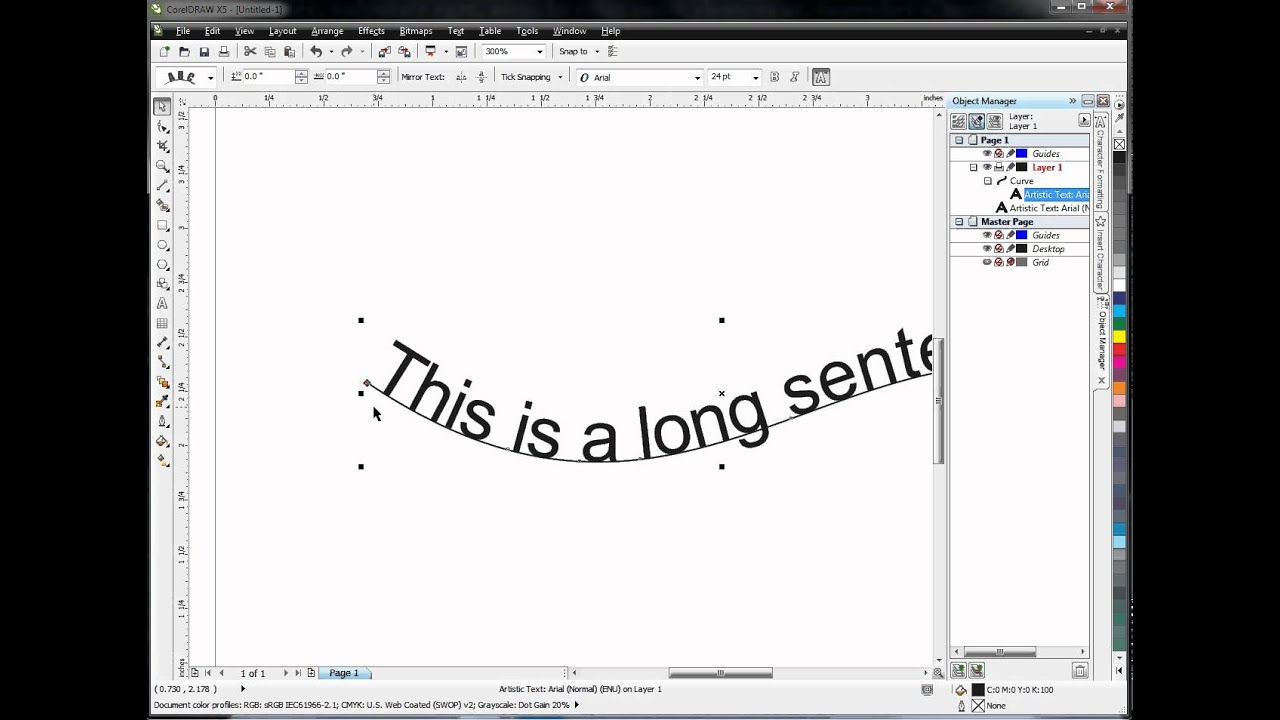
Select the file with the text you want to use. You will notice that the text follows the curve as you drag. Web first, select all the type in your file. Thus x3 and x4 versions will be a bit different. Web in order to edit this text and keep paragraphs together, use the following steps:

How To Curve Text In Coreldraw Easy Steps Visual Design Tips My XXX
While dragging to adjust curvature, if you press shift you can snap to standard angles. You can now send your file to print without fear of the font shifting. Click on the text tool in the toolbar or press the t key on your keyboard to activate the text tool. Mirror horizontally — flips the text characters from left to.
Corel Draw x5 Fit Text To Path (Curve Around Circle) YouTube
Web in a comprehensive m.l.s. You can also edit text by clicking textedit, and making changes to the text in the edit text dialog box. Open a new document and let's take it for a spin. You've successfully converted your type to outlines. There are several mapping options which control how the object fits within its envelope, such as original,.

How to Write Curved Text in Corel Draw YouTube
You can also mirror text by holding down ctrl and dragging a selection handle to the opposite side of the object. You can also find special characters by clicking the right arrowhead next to the find box, choosing a special character, and clicking. Web select the pick tool (shortcut key f10) and select the shape around which you want your.

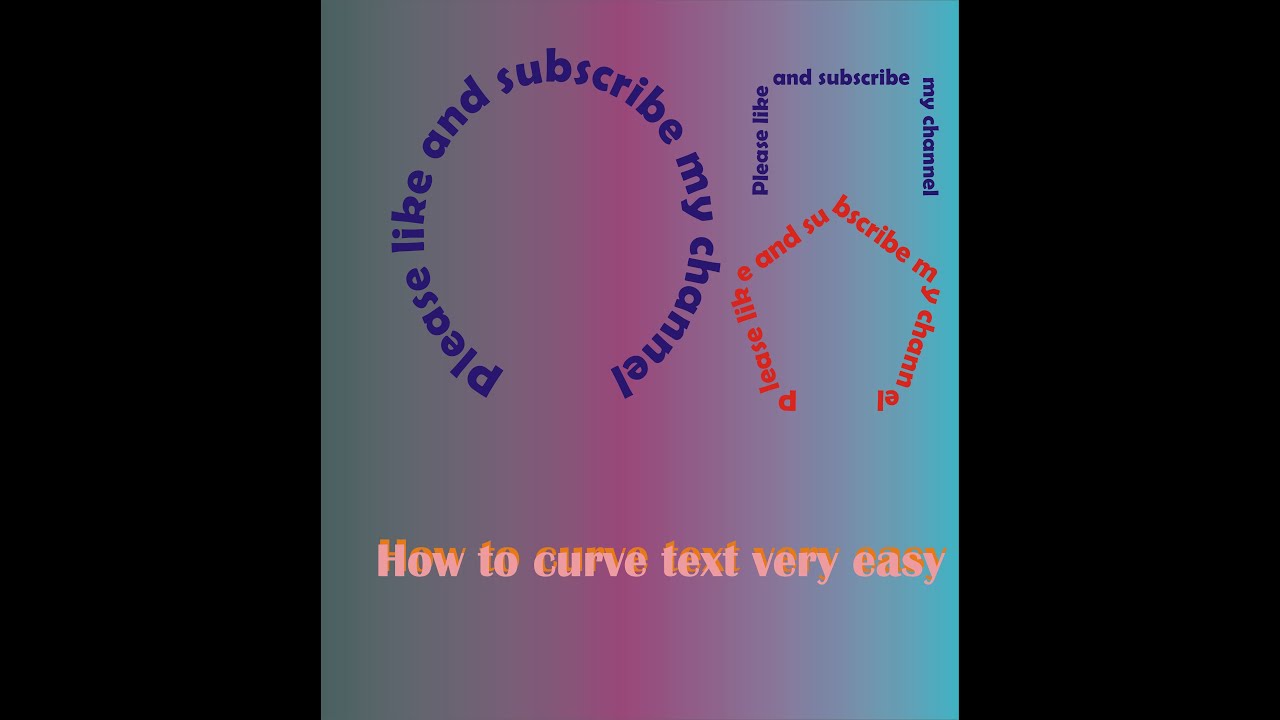
How to Curve Text in CorelDRAW Void Graphics
Click on the envelope tool. You can now send your file to print without fear of the font shifting. Click on the text tool in the toolbar or press the t key on your keyboard to activate the text tool. Web learn the process how to get editable text from curves. Program that covers ai and cybersecurity topics in healthcare,.

How to curve text in corel draw coreldraw X7 Curve Text YouTube
You've successfully converted your type to outlines. You can also mirror text by holding down ctrl and dragging a selection handle to the opposite side of the object. This is based on version 9 of coreldraw. Web curve the text manually. With the shape tool selected, click and drag on the text to create a curve.
Web Curve The Text Manually.
With the text selected, go to the “arrange” menu, choose “convert to curves,” or use the shortcut “ctrl + q”. Typing on a horizontal line or within a rectangular box. Thus x3 and x4 versions will be a bit different. First, select the lines you want to keep together, starting at the top and selecting in order.
Web Coreldraw Tutorial Covering How To Manipulate Text Using The Envelope Tool And Text To Path Options.
Click in the text frame. Web first, select all the type in your file. Web how to convert text to curves in coreldraw. I opted for the script font pacifico.
Web In A Comprehensive M.l.s.
Once this is done, you will see the cursor on top of the shape. Text that has been converted to curves cannot be edited. There are several mapping options which control how the object fits within its envelope, such as original,. If you want to find the exact case of the text that you specified, enable the matchcase check box.
Locate The Toolbar At The Top Of The Screen And Find The “Curve Text” Option.
Then add text by typing, pasting or importing. This is the easiest function of the text tool (f8): Web to create curves, start by dragging to define the starting direction, then click the next point and drag, and so on. You can now send your file to print without fear of the font shifting.