How To Draw A Tree With Pencil
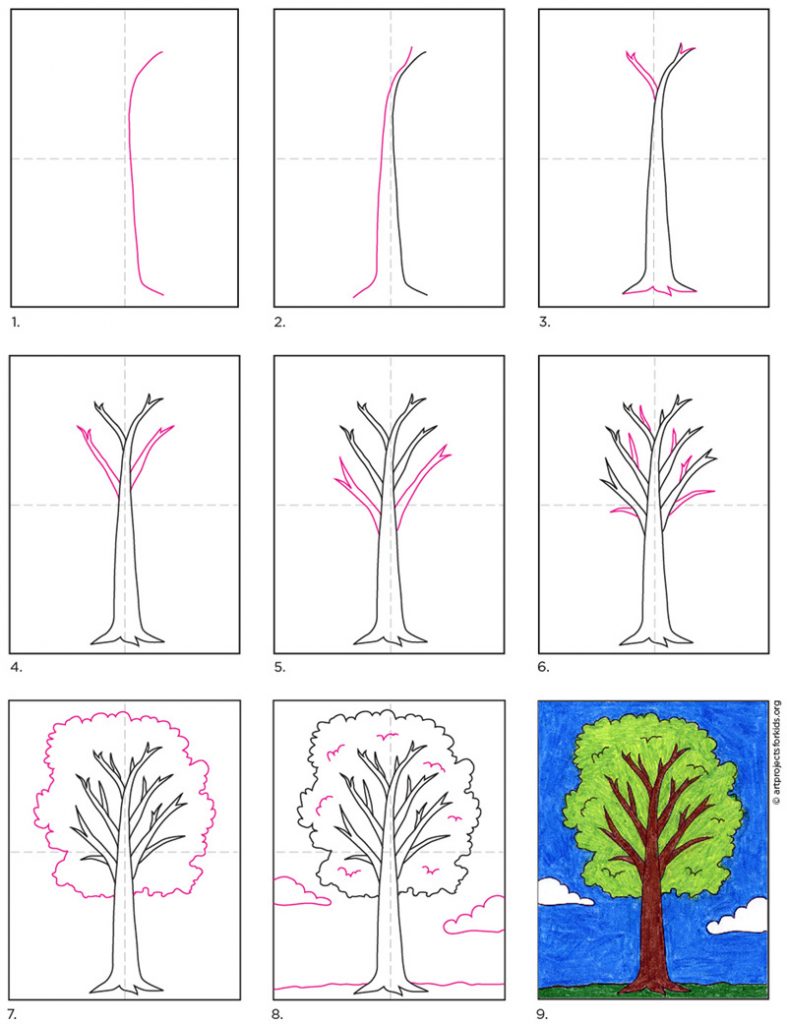
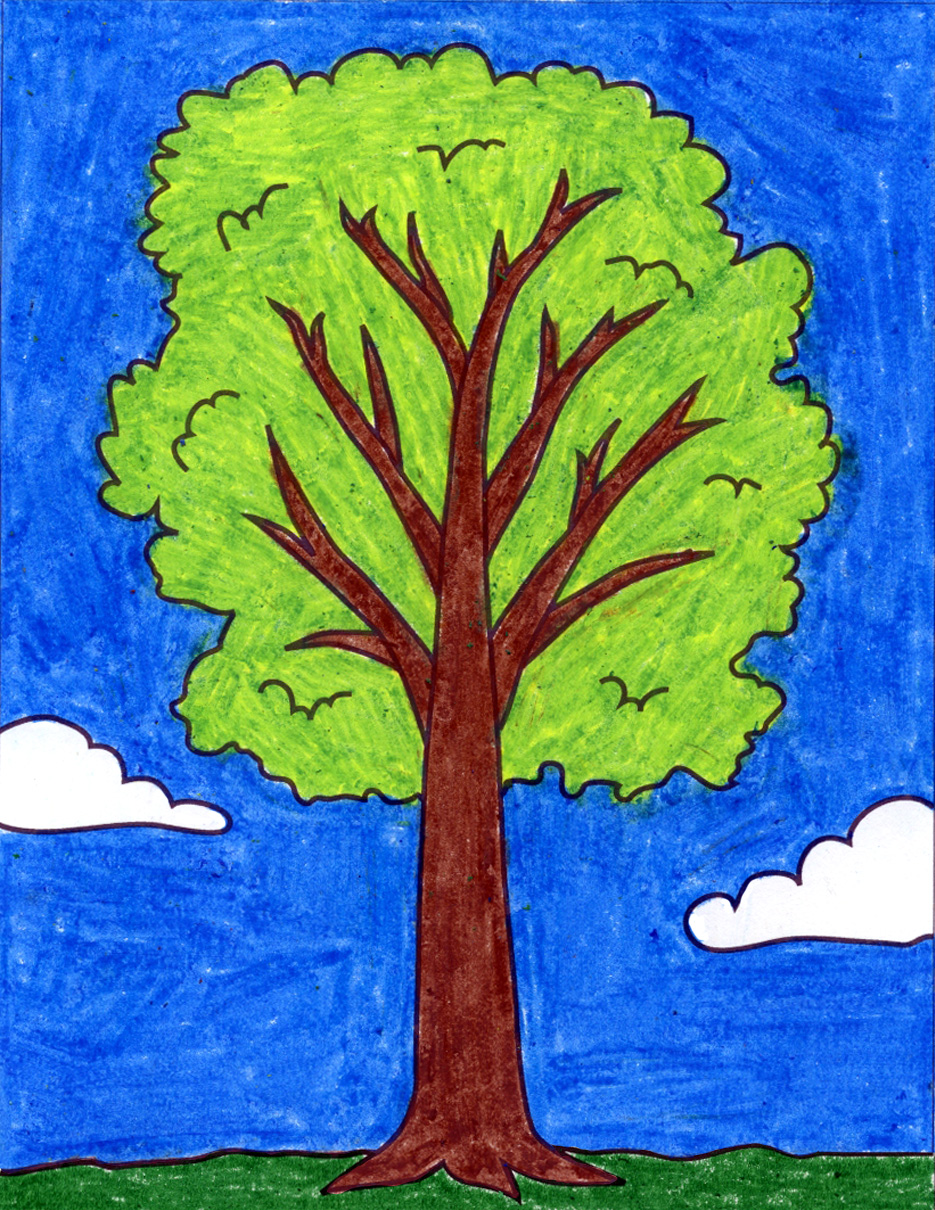
How To Draw A Tree With Pencil - Begin your simple tree drawing by creating the base for your tree, or the ground upon which it will stand. You can use different colors for the leaves to create a realistic effect. Web six steps for a realistic tree drawing. Change and vary the weight of your pencil stroke to help develop depth in your tree. Web also the bark of the tree will gradually get more dense on the edges as it wraps itself around the tree. Instead of drawing thin twigs that come off from the branches, draw the branches so they narrow before becoming small. Web vary the level of detail. This is the fourth lesson in a se. Next, draw a line for the ground. As before, it’s thicker towards the bottom, and comes to a point on top.
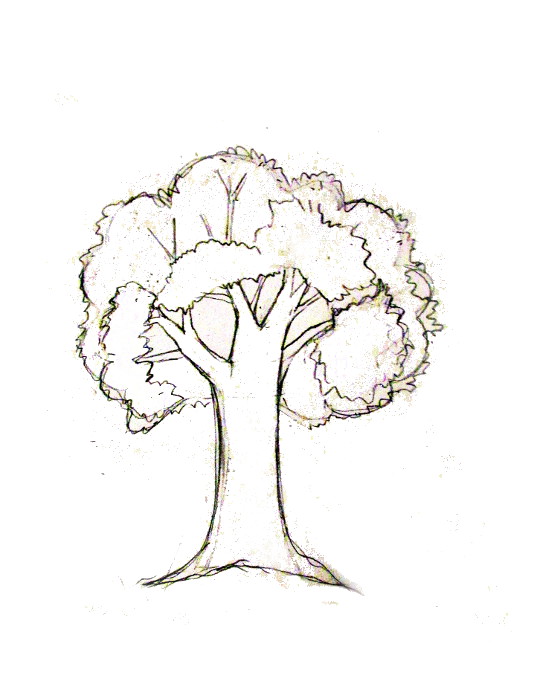
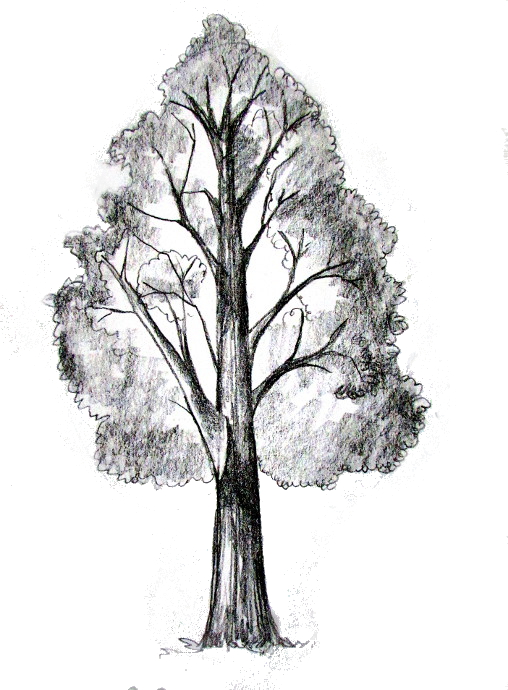
You can use different colors for the leaves to create a realistic effect. For this tree, nugent chose to start. Then draw an irregular contour for the outer edges of all the leaves. For the middle pencil, a two b. For the light pencil, a two h or an hb. A basic line will do, and you can experiment with the thickness of your base or add details like grass and flowers. Web learn how to draw a realistic tree using a structured approach. Sketch the outline of a tree. Change and vary the weight of your pencil stroke to help develop depth in your tree. Instead of drawing thin twigs that come off from the branches, draw the branches so they narrow before becoming small.
Web about press copyright contact us creators advertise developers terms privacy policy & safety how youtube works test new features nfl sunday ticket press copyright. Start out with a few leading lines to indicate the general shape and guide the direction of the tree branches. Start out with a few leading lines to indicate the general shape and guide the direction of the tree branches. For trees that have a complex structure, with many branches, you can use a pencil to draw the basic shapes. For this tree, nugent chose to start. Showing how to draw a variety of trees. Instead of drawing thin twigs that come off from the branches, draw the branches so they narrow before becoming small. You can use the reference as a rough guide or create a similar irregular shape. Web about press copyright contact us creators advertise developers terms privacy policy & safety how youtube works test new features nfl sunday ticket press copyright. Web vary the level of detail.
Easy How to Draw a Tree Tutorial Video and Tree Coloring Page
Begin your simple tree drawing by creating the base for your tree, or the ground upon which it will stand. For this tree, nugent chose to start. Start out with a few leading lines to indicate the general shape and guide the direction of the tree branches. [4] vary the sizes of the branches so they look more natural. Web.
How To Draw A Tree
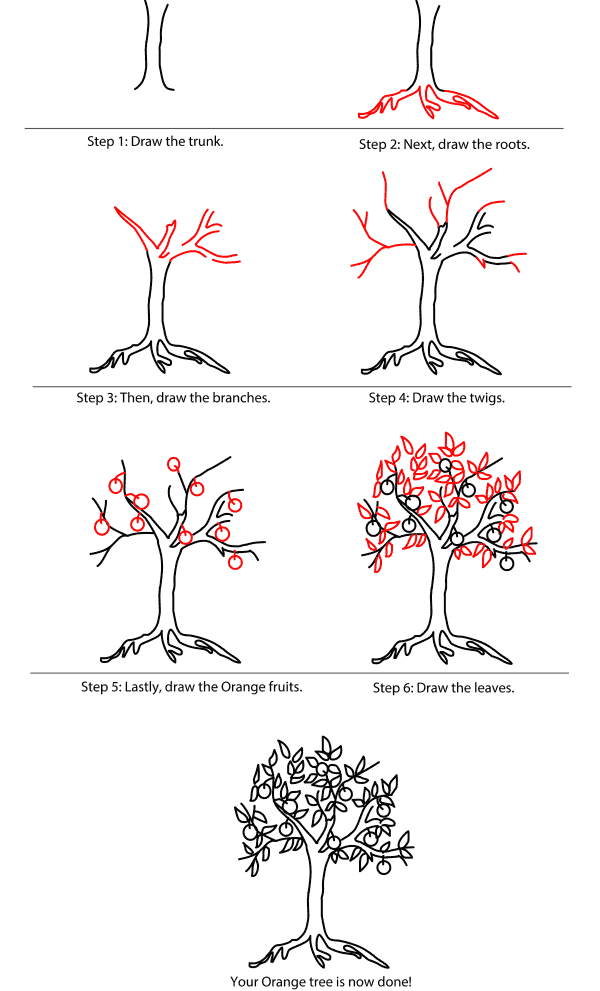
Web the instructions explain step by step how you can draw a tree with just a few strokes. Make the branches taper as they move away from the trunk. Next, add some leaves to the branches. Start out with a few leading lines to indicate the general shape and guide the direction of the tree branches. Web learn how to.

How to Draw a Tree Draw Central
The further away a tree is, the less detail you should draw. Use the pencil to trace the contours. As before, i drew the line and the crown, but this tree is being bent by the wind, so the tree will be bending down a bit. I extend the trunk shape up. Finally, add some shading to give the tree.
How to draw a Tree with pencil step by step YouTube
I really hope this is helpful in some way. 3 keys to drawing trees. [4] vary the sizes of the branches so they look more natural. Web about press copyright contact us creators advertise developers terms privacy policy & safety how youtube works test new features nfl sunday ticket press copyright. Instead of drawing thin twigs that come off from.

How To Draw A Tree (Step By Step Image Guides) Tree drawings pencil
Color and value is part of this picture. With pixel‑perfect precision, low latency, tilt sensitivity, and support for palm rejection, apple pencil is incredibly easy to use and ready when inspiration strikes. A basic line will do, and you can experiment with the thickness of your base or add details like grass and flowers. Start out with a few leading.
How To Draw A Tree (Step By Step Image Guides)
Web how to draw realistic drawing || pencil drawing #drawing #artwork #video #shorts #shading how to draw realistic drawing || pencil drawing #drawing #artwor. Draw a vertical line for the trunk, and then add two horizontal lines for the branches. Web instead, we'll breakdown the tree into three simple aspects. Web first, draw the branch that overlaps a tree, then.

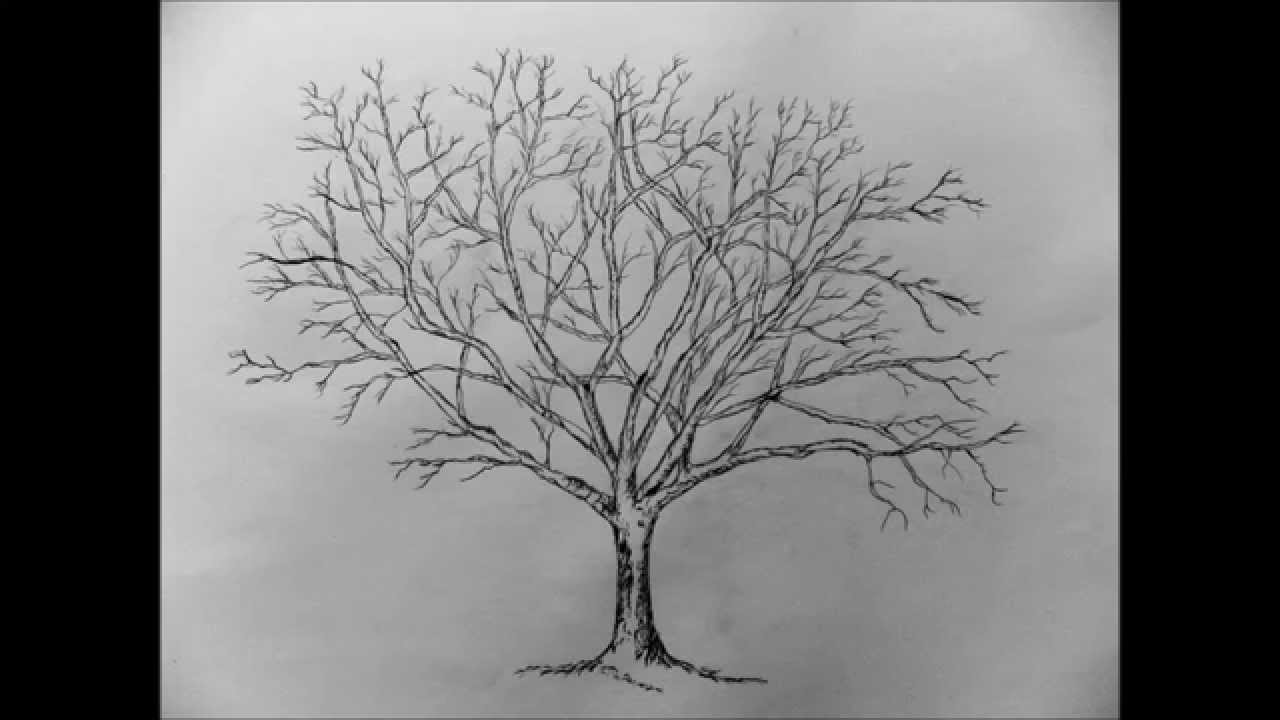
How to draw trees Oaks Tree drawing, Tree drawings pencil, Tree sketches
Instead of drawing thin twigs that come off from the branches, draw the branches so they narrow before becoming small. Drawing lightly with the 2h pencil, we'll concentrate only on the outer contours. How to draw foreshortened branches: Use the pencil to trace the contours. In the middle of your paper, draw 2 parallel lines that extend to about the.
How to Draw a Tree How to Draw a Tree Step by Step Easy Parker
This is the fourth lesson in a se. Web how to draw a tree with pencil step by stepfeel free to share, like and comment! When you are happy with the result, you can draw over it with a pen, and gently erase the pencil marks. Web six steps for a realistic tree drawing. Drawing lightly with the 2h pencil,.
How To Draw A Tree
Showing how to draw a variety of trees. Use the hard pencil (hb, h2) to lightly sketch the contours. Change and vary the weight of your pencil stroke to help develop depth in your tree. For this step you need to make a simple outline of a tree’s trunk, we’re going to use it as our base to practice the.

Branching Out Learn How to Draw a Realistic Tree in 8 Simple Steps
Web to draw a tree, you’ll need to start with the trunk. Follow along as artist and illustrator spencer nugent shows you an easy and effective way to draw a deciduous tree, step by step. Web see how to draw a simple tree in this fully narrated pencil drawing tutorial for beginners. Instead of drawing thin twigs that come off.
Blend The Base Of The Tree To Its Surroundings.
For this tree, nugent chose to start. Use the pencil to trace the contours. Showing how to draw a variety of trees. The closer an object is, the more clearly you can see the details of that object.
I Really Hope This Is Helpful In Some Way.
A basic line will do, and you can experiment with the thickness of your base or add details like grass and flowers. Web to begin, use a 2h pencil to draw something very similar to a tree you might have drawn in grade school. Web six steps for a realistic tree drawing. How to draw foreshortened branches:
Start Out With A Few Leading Lines To Indicate The General Shape And Guide The Direction Of The Tree Branches.
In the middle of your paper, draw 2 parallel lines that extend to about the top third of the page. Web how to draw a tree step by step for beginners in 8 minuteshere comes new video where i am drawing a tree in 8 minutes. Make the branches taper as they move away from the trunk. Next, draw a line for the ground.
Sketch The Outline Of A Tree.
Web see how to draw a simple tree in this fully narrated pencil drawing tutorial for beginners. Color and value is part of this picture. As before, it’s thicker towards the bottom, and comes to a point on top. In this guide, we will look at how.