How To Mark All Imessages As Read On Mac
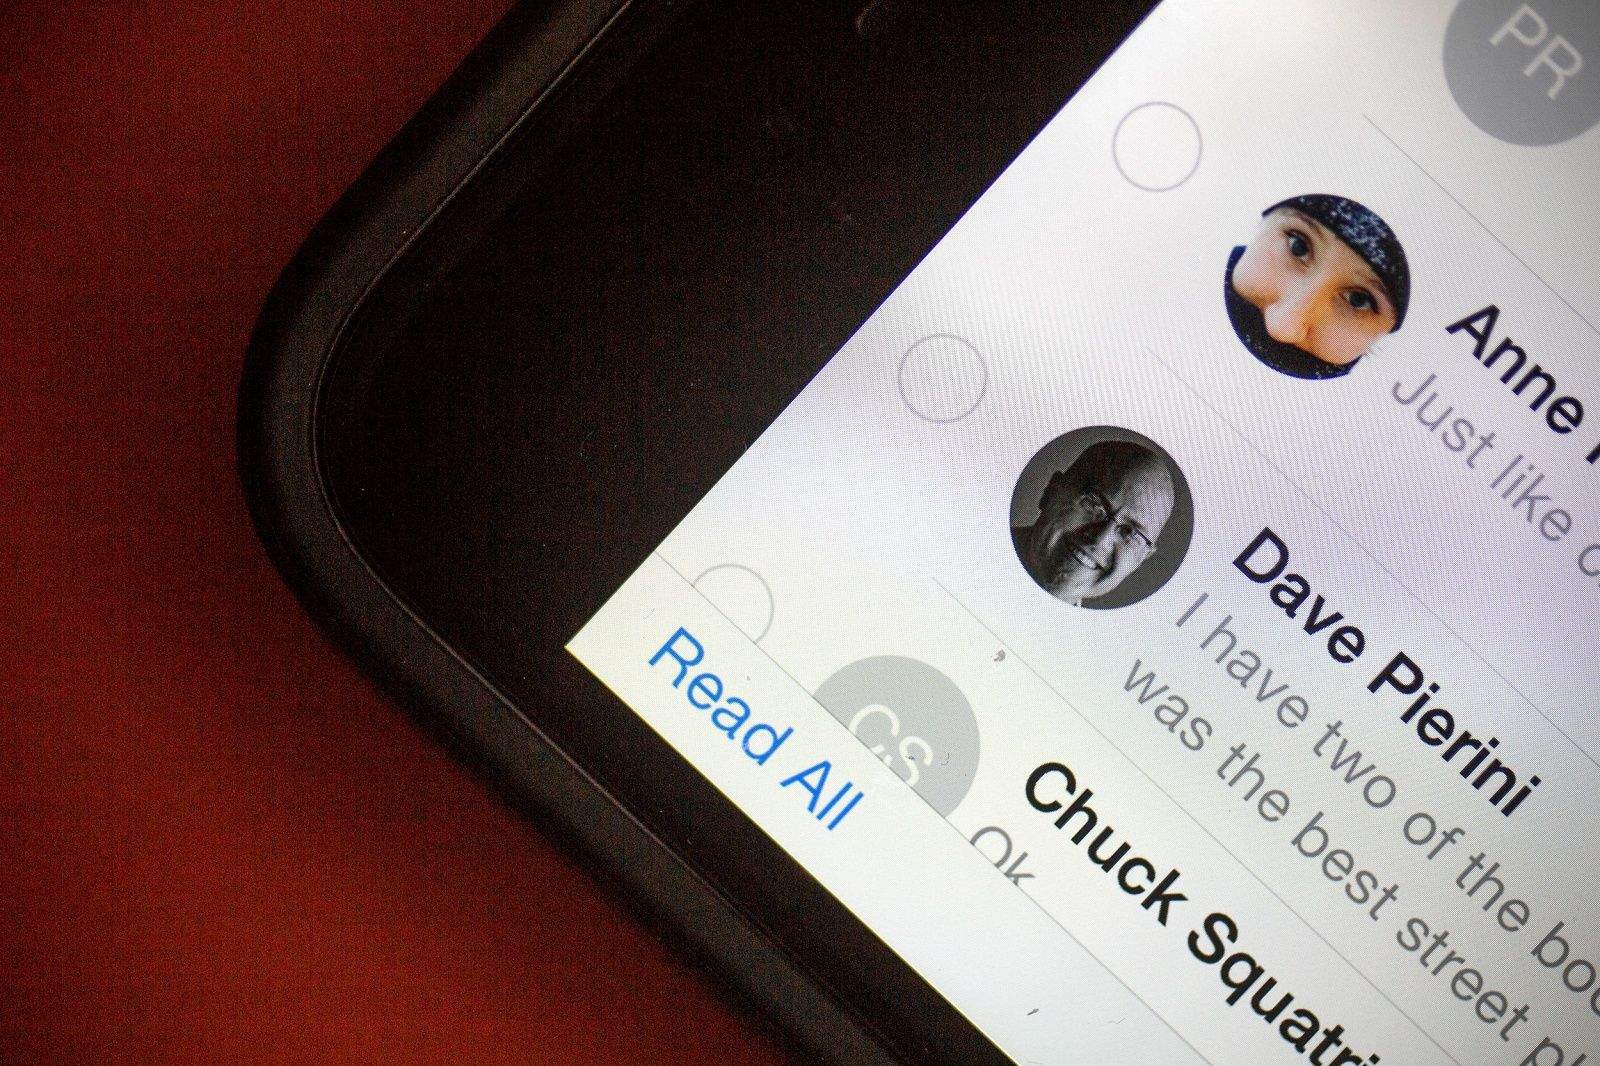
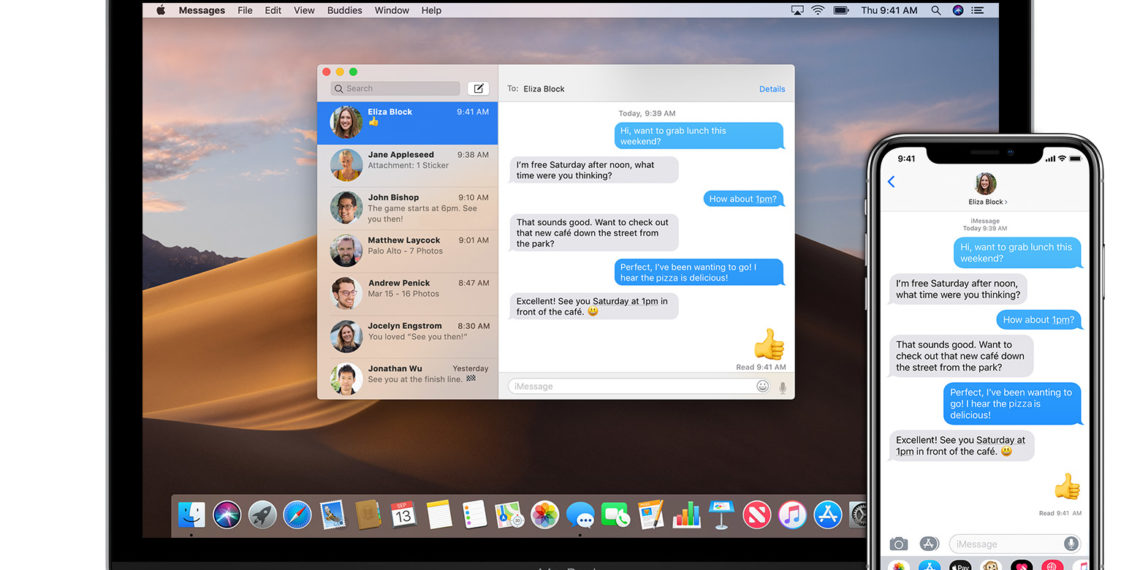
How To Mark All Imessages As Read On Mac - Web ordinary americans have already got creative in response to the flood of indictments by mocking up pictures of the former president in an orange jump suit a la guantánamo prison and in printing t. The messages from your other devices that use the same apple id appear on your mac. You’ll new see a read all button. Hold the command button and click on other messages you want to label as read. Web select disk utility from the list in macos recovery, then click continue and follow the steps to repair your startup disk with disk utility. On your mac, open the messages app. Tap on ‘select messages’ from the menu that appears. When done, restart your mac… You can be reached for messages. Web amber neely | sep 28, 2022.
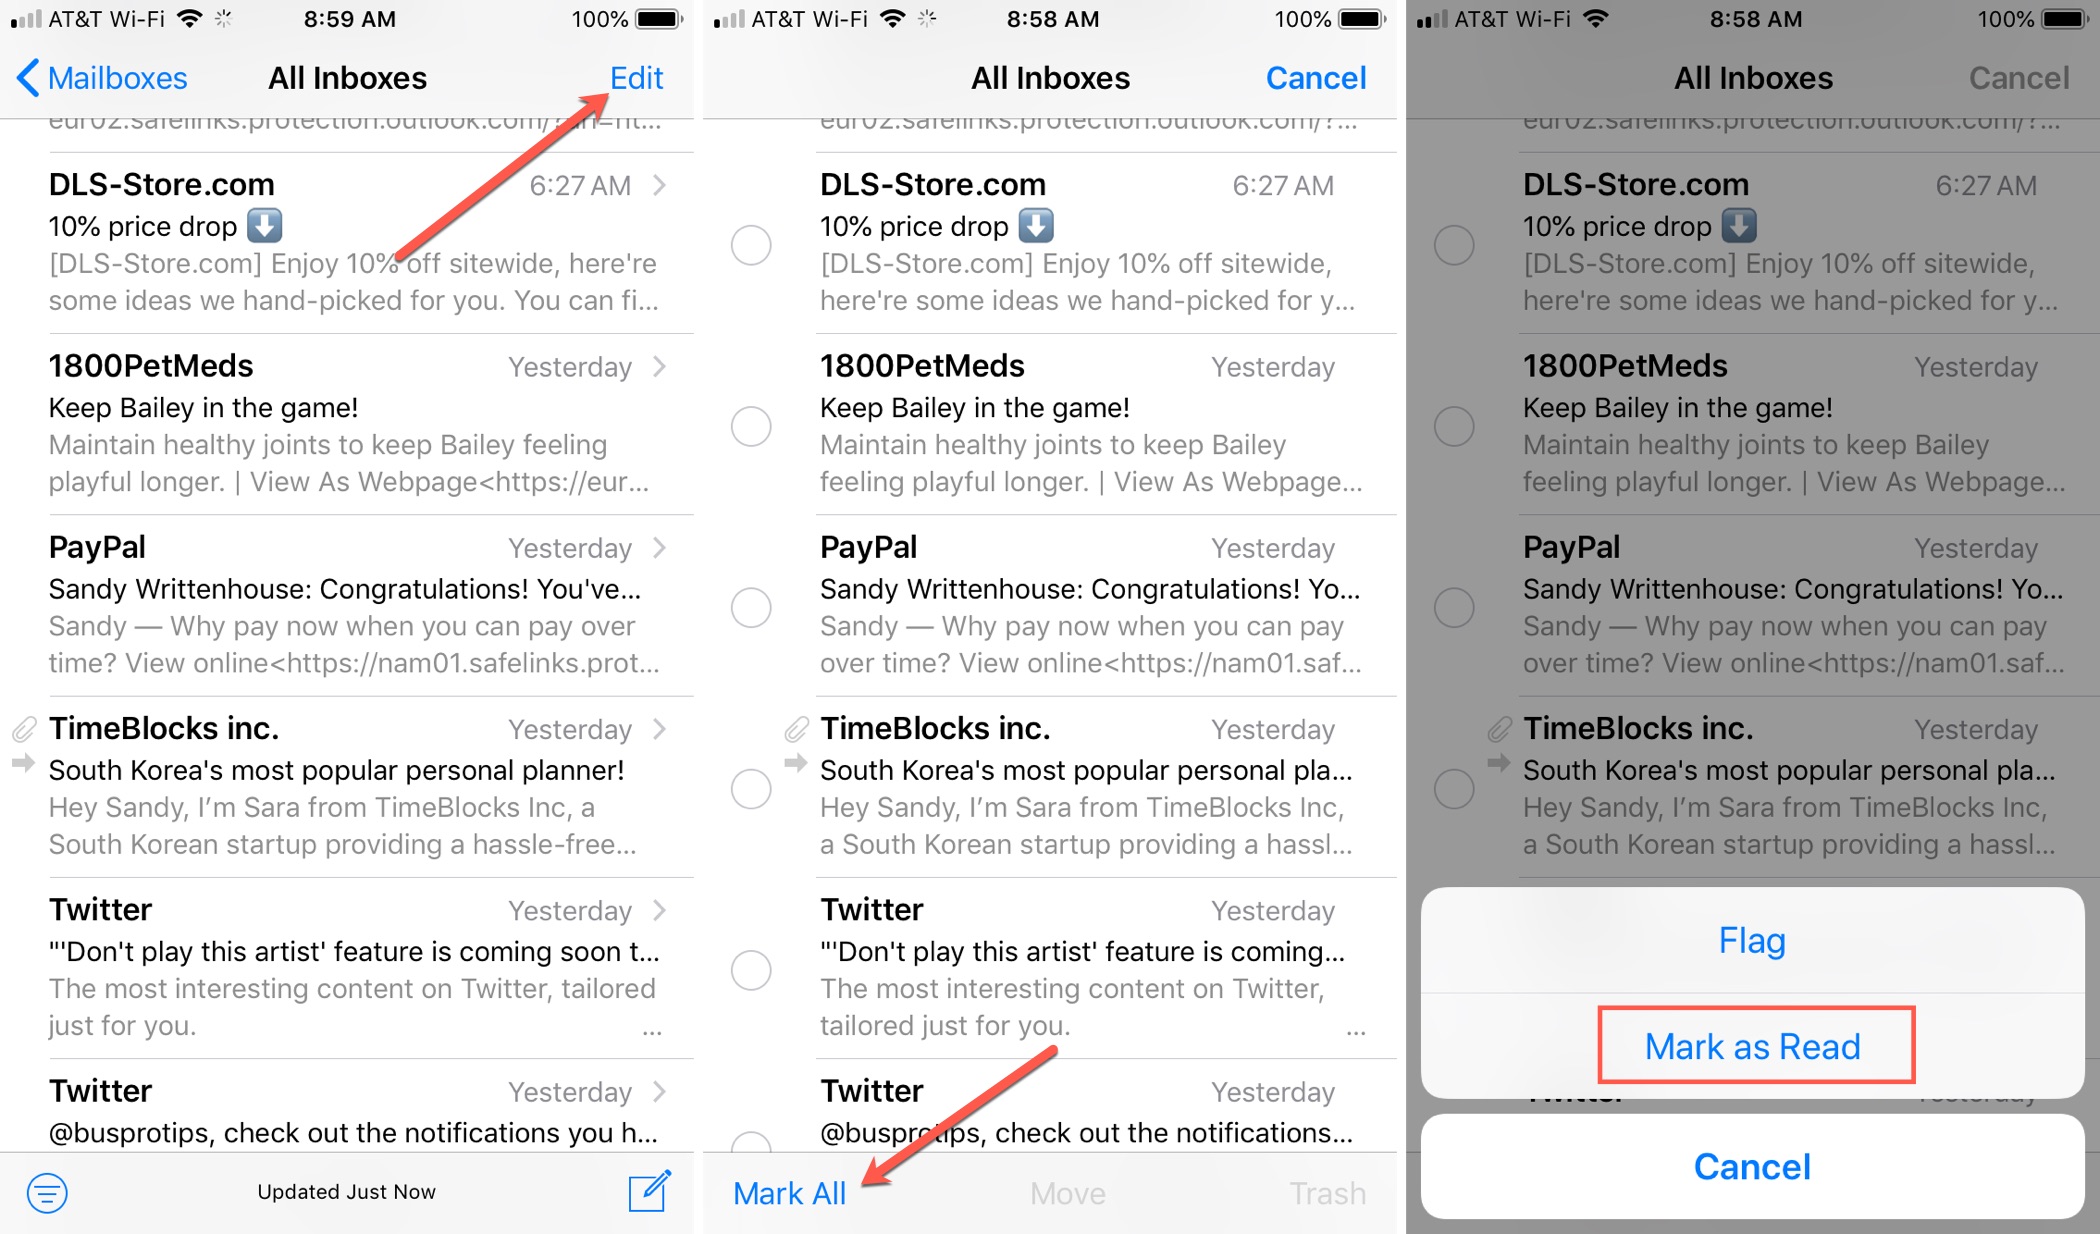
In the left pane (with the list of messages), select the first message. Select the first message by clicking on it. Web here’s how to select multiple emails on mac in apple mail and mark them all as read: Web if it’s off, see set up your apple id password and security information. This will add the link to your safari. Web how to mark all imessages as read on iphone and ipad mark all messages as read in messages app. Web i discovered that if you swipe on an imessage notification (either on the lock screen or in notification center) and tap on clear, it will mark the message as read. It’s still awfully convenient to mark all messages as read. But when i turn on my macbook, it currently says '379'. Here's how to do it.
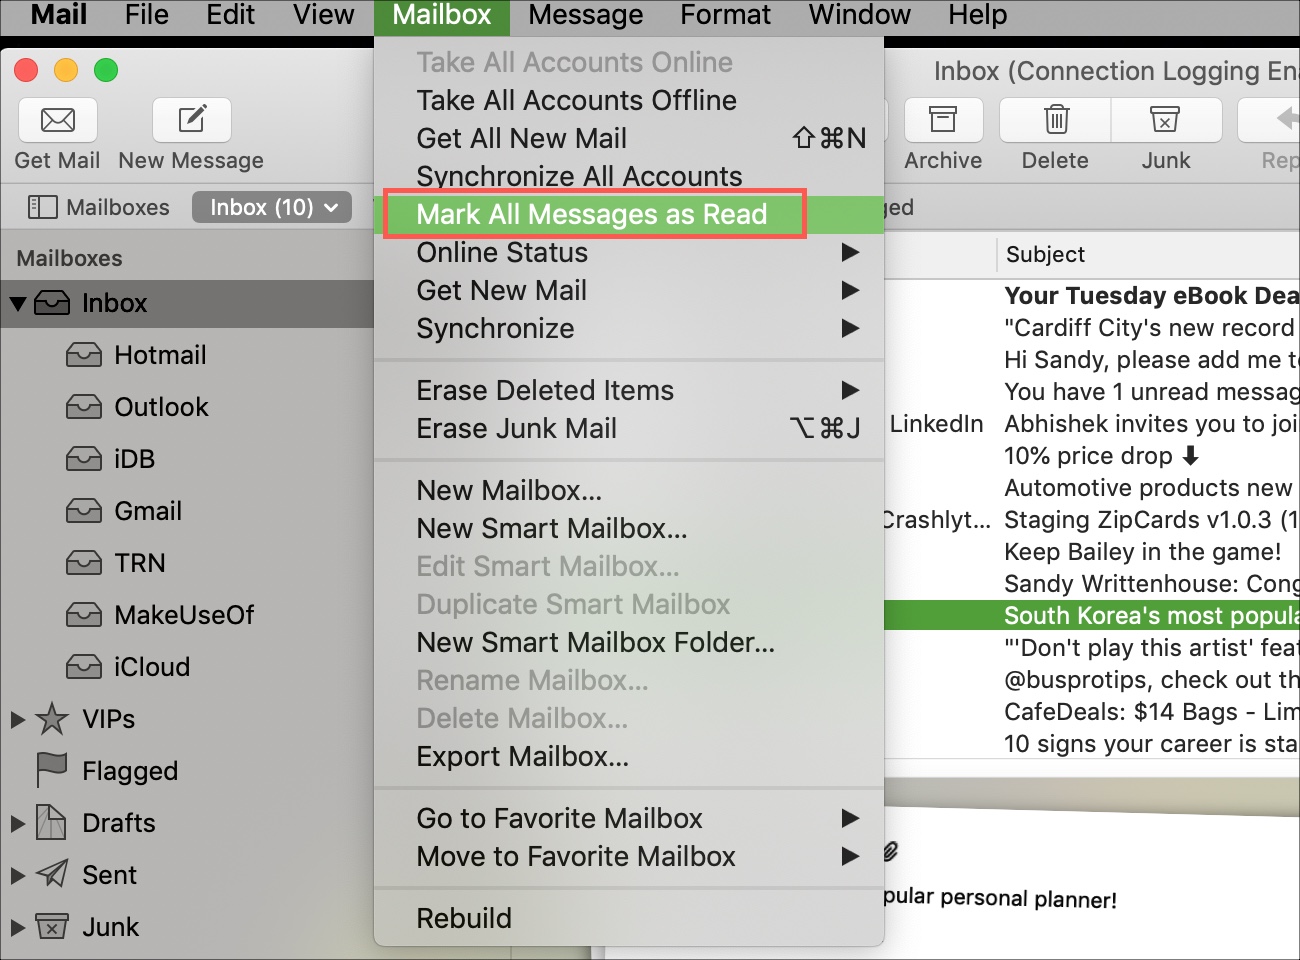
Click settings, then select enable messages in icloud. To see a list of your unread messages, choose view > unread messages. See access your messages on all your apple devices. Mark one message in the message list: You can be reached for messages. Tap that and all your imessages are magically transformed. Web then, tap ‘all messages’ from the filters. This will add the link to your safari. On your mac, open the messages app. Hold the command button and click on other messages you want to label as read.

How to Mark All iMessages as Read on iPhone & iPad Instantly
Here's how to do it. Select one or more messages, then choose. Select the chat from the left sidebar, and click conversation > mark as unread. Click the three dots at the top right corner. You’ll new see a read all button.
How to mark all iMessages as read on your iPhone
Is there a way to mark all these as read? Click settings, then select enable messages in icloud. See access your messages on all your apple devices. Select the chat from the left sidebar, and click conversation > mark as unread. In the messages app on your mac, choose messages > settings, then click imessage.
How to mark all your emails as Read on iPhone, iPad and Mac Mid
In the messages app on your mac, choose messages > settings, then click imessage. This is because clear is essentially the same thing as what a mark as read… Web select disk utility from the list in macos recovery, then click continue and follow the steps to repair your startup disk with disk utility. Web how to mark all imessages.
Imessages Not Working on Mac Problem Faced By Mac Users CKAB
But when i turn on my macbook, it currently says '379'. Mark multiple messages in the message list: See access your messages on all your apple devices. Click the three dots at the top right corner. Web luckily, it's easy to mark every one of your unread messages as read in the blink of an eye, but the feature is.

How to Recover Deleted iMessages on Macbook (3 Best Methods)
Mark one message in the message list: Here's how to do it. Web i discovered that if you swipe on an imessage notification (either on the lock screen or in notification center) and tap on clear, it will mark the message as read. Web here’s how to select multiple emails on mac in apple mail and mark them all as.
How to mark all your emails as Read on iPhone, iPad and Mac Mid
These steps also describe what to do if disk utility can't repair your startup disk, or disk utility doesn't see your startup disk. Web i discovered that if you swipe on an imessage notification (either on the lock screen or in notification center) and tap on clear, it will mark the message as read. Web all you need to do.

How to Mark All iMessages as Read on iPhone & iPad Instantly Reading
Web in the mail app on your mac, do any of the following: This is because clear is essentially the same thing as what a mark as read… Click settings, then select enable messages in icloud. Click the three dots at the top right corner. Web select disk utility from the list in macos recovery, then click continue and follow.

How to Mark All Messages as Read on iPhone after iOS 13 update
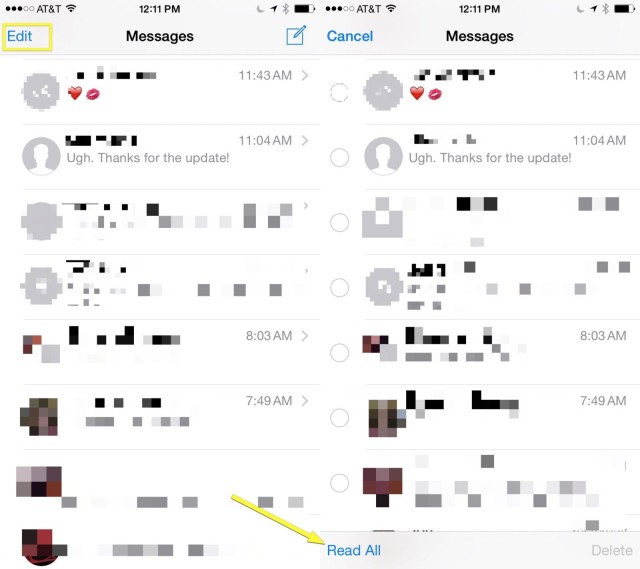
Then, tap on ‘read all’ at the lower left corner to mark all messages as read. Click settings, then select enable messages in icloud. Launch the apple mail client. Now, click on read all at the bottom. When you open the imessages app on your phone or tablet, check for an ellipsis (a set of.
How to mark all iMessages as read on your iPhone
Select the first message by clicking on it. Select this option if you want to store your messages in icloud. To see a list of your unread messages, choose view > unread messages. Click the three dots at the top right corner. Finally, you can select a message and press shift + command + u to mark a message as.

How to Mark All iMessages As Read on iPhone Running iOS 9 or iOS 8
Now, click on read all at the bottom. Click the three dots at the top right corner. When you open the imessages app on your phone or tablet, check for an ellipsis (a set of. Web i discovered that if you swipe on an imessage notification (either on the lock screen or in notification center) and tap on clear, it.
Click The Three Dots At The Top Right Corner.
See access your messages on all your apple devices. You can be reached for messages. Click settings, then select enable messages in icloud. These steps also describe what to do if disk utility can't repair your startup disk, or disk utility doesn't see your startup disk.
Launch The Apple Mail Client.
You’ll new see a read all button. Finally, you can select a message and press shift + command + u to mark a message as unread or read. Web choose messages > settings, click imessage, click settings, then select any of the following options: When you open the imessages app on your phone or tablet, check for an ellipsis (a set of.
Web I Discovered That If You Swipe On An Imessage Notification (Either On The Lock Screen Or In Notification Center) And Tap On Clear, It Will Mark The Message As Read.
Select this option if you want to store your messages in icloud. Web in the mail app on your mac, do any of the following: Open the messages app on your iphone. Web all you need to do to start saving bookmarks of links in imessage is to find the link, press and hold down on it, and then choose the pin option that pops up.
It’s Still Awfully Convenient To Mark All Messages As Read.
Web swipe right on a conversation from the left sidebar and click the unread icon. Now, click on read all at the bottom. Select the chat from the left sidebar, and click conversation > mark as unread. When done, restart your mac…