How To Put A Drawing On A Shirt
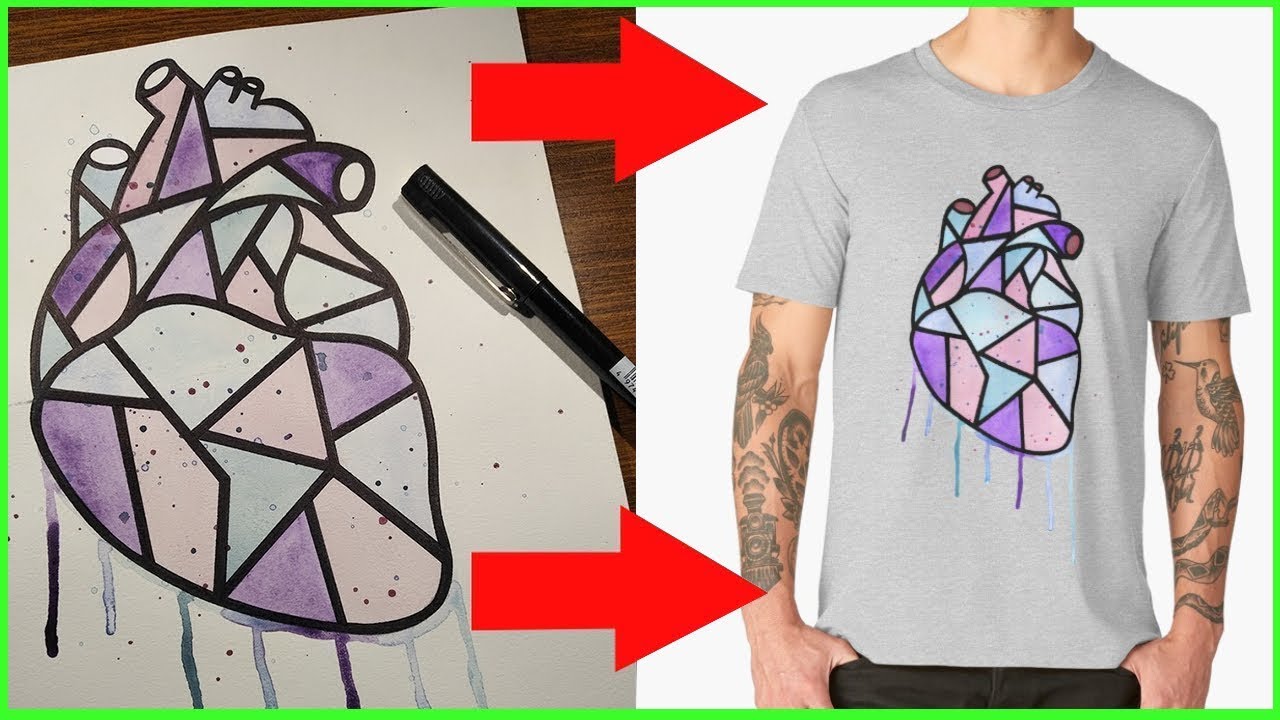
How To Put A Drawing On A Shirt - Showcase your design on the best products. In this video we take a basic drawing and show you how to easily convert it into an incred. Select markers of the required colors and start painting a. Follow the package directions for best results. Web go to the send tab and configure your cut settings for your material. Web upload your own art. You can also email us and attach your art files, and a design specialist will help you get your design. For your designs to turn out exactly how you’d like, you need to choose the right printing method. Blade= 2, speed= 5, thickness= 5. Press the iron firmly over the clothing, pushing down with your whole hand for significant pressure.
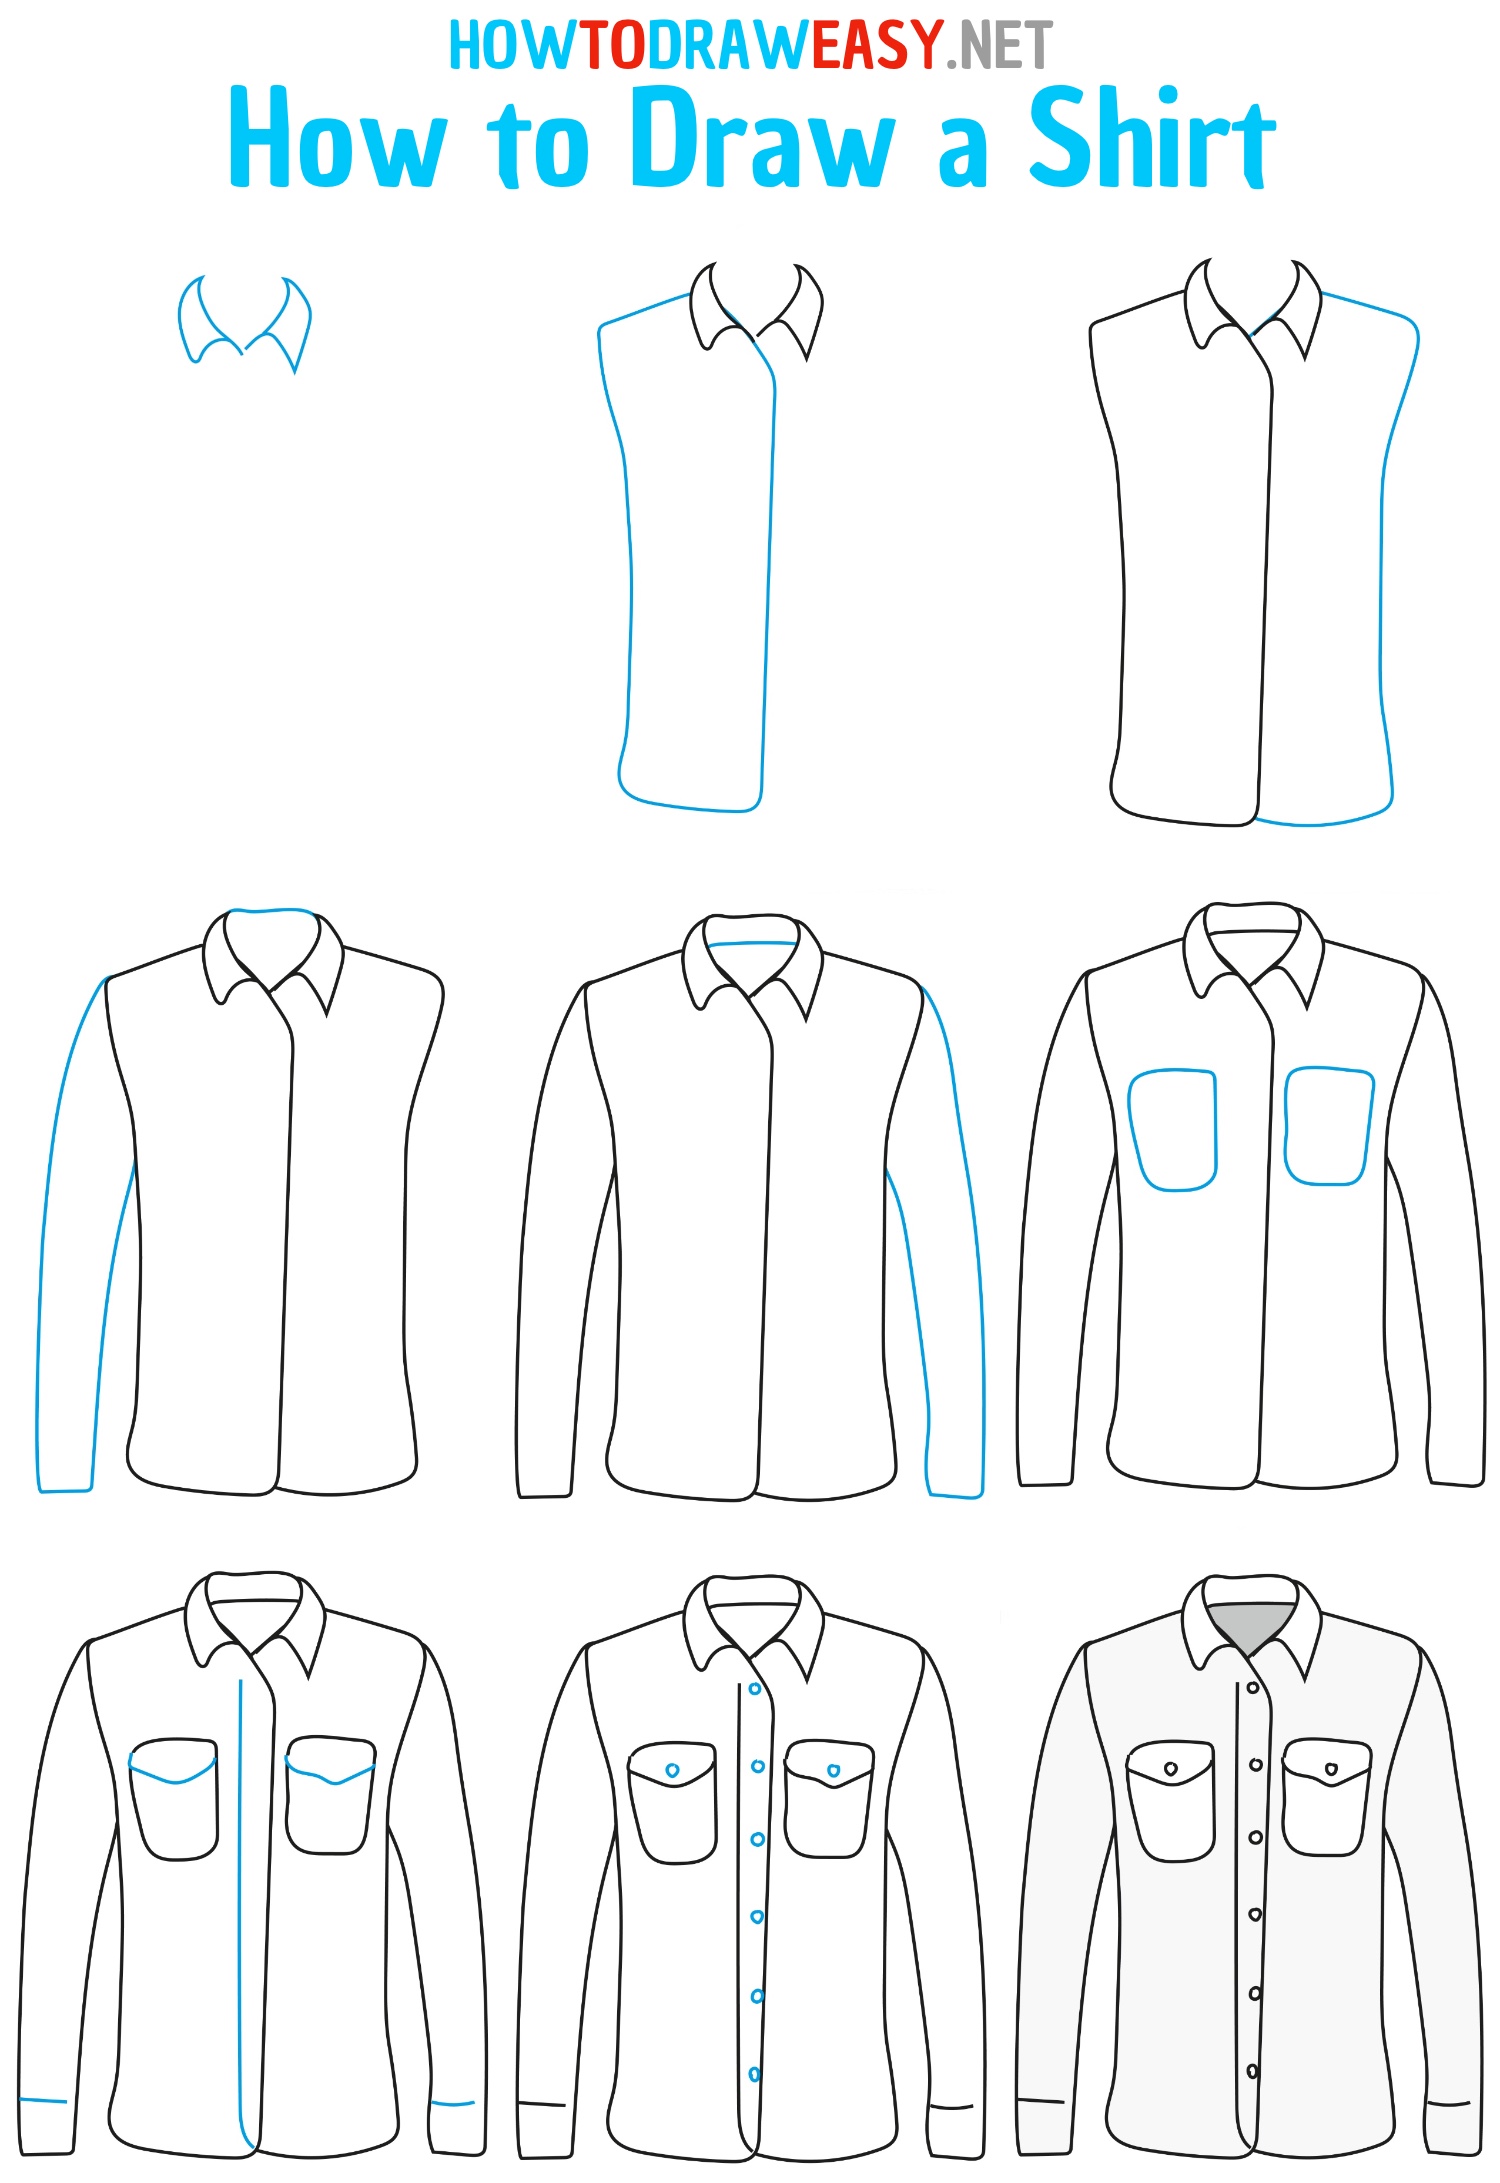
In this video we take a basic drawing and show you how to easily convert it into an incred. Web this line should follow the shape of the wrist, similar to the hem of the short sleeve. Iron from 30 seconds to several minutes, according to the instructions that came with your specific transfer paper. Start by getting a shirt. Heat up an iron or easypress and press the drawing onto the shirt. Start drawing the outlines of the stencil with a fine marker. The color of the marker will change once heated, brightening in color. (the shiny side of the freezer paper should be touching the shirt). With your sleeves in place, your shirt is really coming together. Remove the white pieces inside your design.
Blade= 2, speed= 5, thickness= 5. And you can go a. Non stretchy fabrics are the easiest to work with, but mine are stretchy and still turned out great. The color of the marker will change once heated, brightening in color. In this video we take a basic drawing and show you how to easily convert it into an incred. Remove the white pieces inside your design. You can also email us and attach your art files, and a design specialist will help you get your design. Press the iron firmly over the clothing, pushing down with your whole hand for significant pressure. Showcase your design on the best products. Web iron the image onto the shirt.

How To Draw A T Shirt 2023 Get Latest How To Update
Let the shirt cool for at least one minute. You'll be asked to specify the format of the file that you're trying to upload, then in the next screen, simply upload the file. Lay your shirt on top of your cricut easypress mat and insert a piece of card stock inside of your shirt, acting as a backer for where.
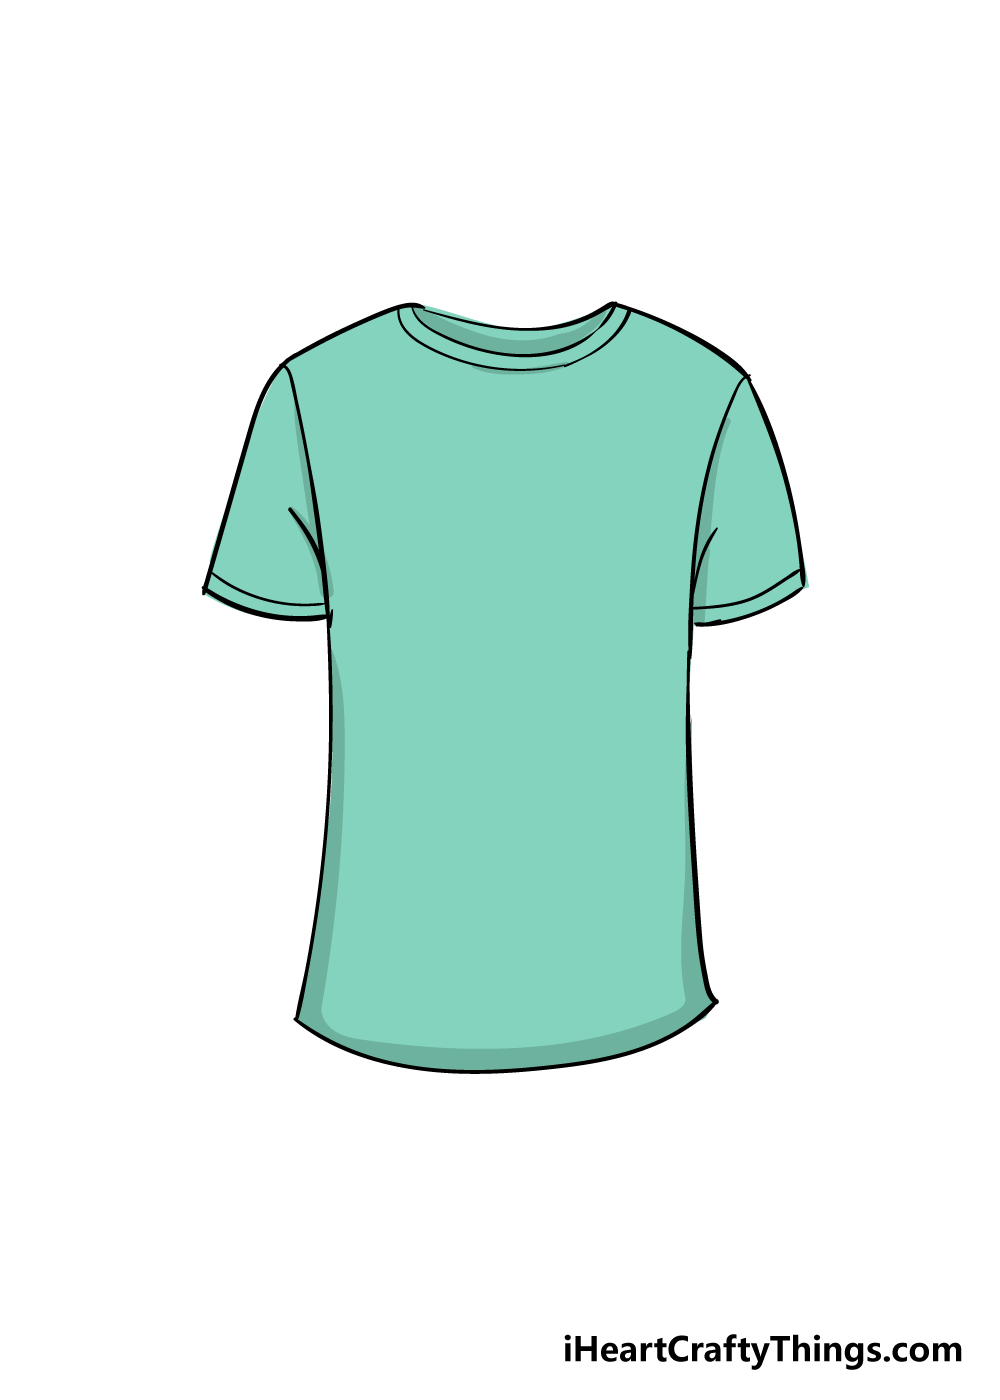
How to draw a TShirt Step by Step TShirt Drawing Lesson
I just pulled white tank tops out of my closet. Once your design is loaded into studio and the white background removed, you're ready to play around with sizing, recolouring and if you want to, you can also add text. When your cutter is finished, unload it to trim and weed the vinyl to unveil. (the shiny side of the.
How to draw a T shirt design step by step Drawing Dress designs Clothes
For siser easyweed, use the “heat transfer, smooth” material, with the blade number set to 2, speed to 8, and force to 4. The iron acts as a heat press to transfer the image onto the shirt. Click expand and ungroup the graphic. I just pulled white tank tops out of my closet. Apply your design to the template.

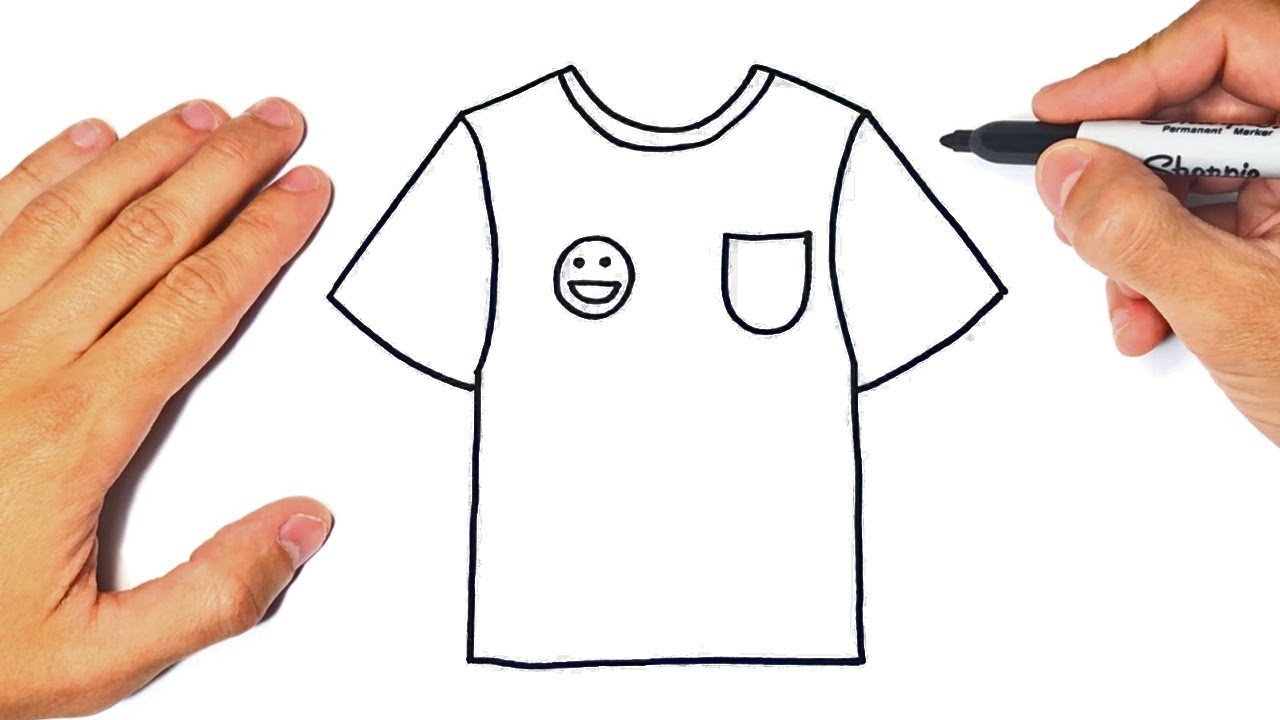
How to Draw a Shirt Really Easy Drawing Tutorial
Click expand and ungroup the graphic. When that is complete you’re ready to heat apply! To upload your own art/logo to your design, click on the add art tab in the design lab. In this video we take a basic drawing and show you how to easily convert it into an incred. Non stretchy fabrics are the easiest to work.
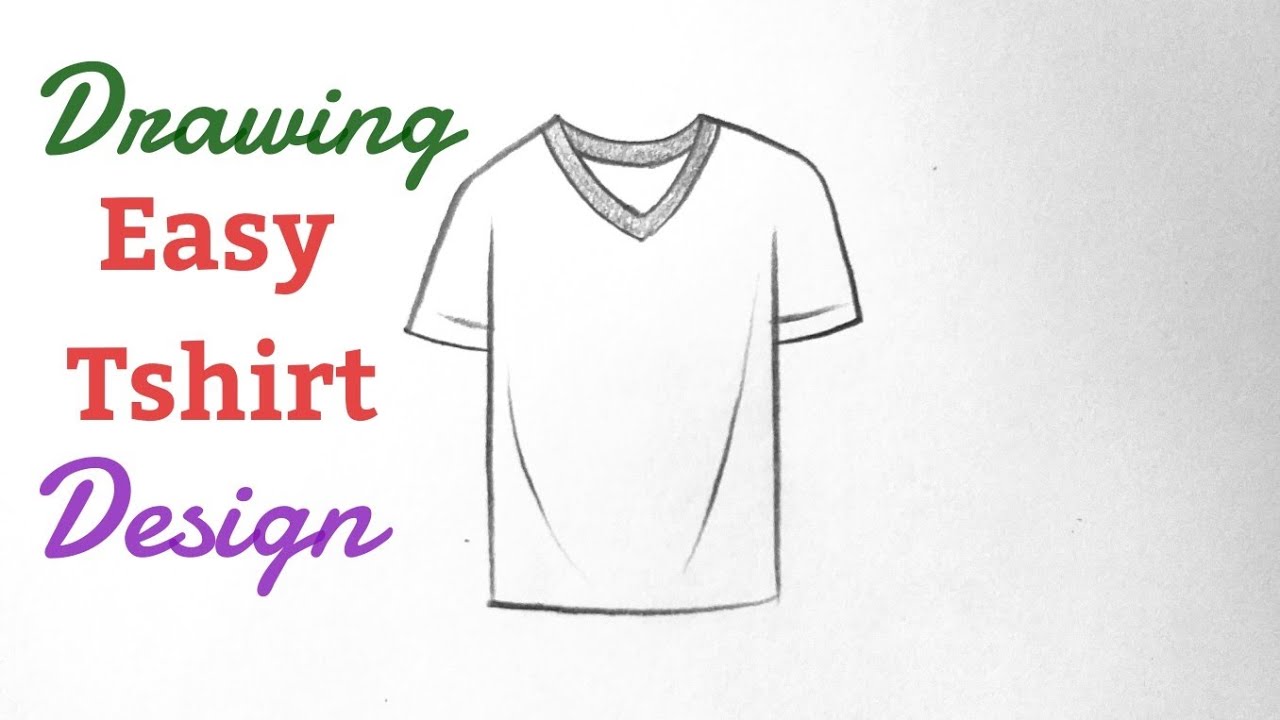
Shirt Drawing How To Draw A Shirt Step By Step
Iron from 30 seconds to several minutes, according to the instructions that came with your specific transfer paper. This diy project is super simple and only requires a few basic tools. Web upload your own art. Remove the white pieces inside your design. You can also email us and attach your art files, and a design specialist will help you.

Shirt Drawing How To Draw A Shirt Step By Step
Cut out the yoda picture with scissors. Web best for transferring off the course: Web iron the image onto the shirt. Start by getting a shirt. Before drawing, shake the markers well for several seconds so that the ink goes well into the tip of the marker.

Shirt Drawing How To Draw A Shirt Step By Step
When you’re ready, click send then send mirrored to cut your drawing. Web upload your own art. Heat up an iron or easypress and press the drawing onto the shirt. Web best for transferring off the course: In this video we take a basic drawing and show you how to easily convert it into an incred.
How to Draw a Shirt How to Draw Easy
Start by getting a shirt. To upload your own art/logo to your design, click on the add art tab in the design lab. Add a series of creases and folds along the length of the sleeve. When each material is cut, grab your siser weeder and start removing the excess vinyl. Web click on the image and choose, object >.

How to Draw a Shirt How to Draw Easy
Web upload your own art. Before drawing, shake the markers well for several seconds so that the ink goes well into the tip of the marker. Web click on the image and choose, object > image trace and choose black and white logo. Follow the package directions for best results. Add a series of creases and folds along the length.
How To Turn A Picture Into At Shirt Design
Web click on the image and choose, object > image trace and choose black and white logo. Heat up an iron or easypress and press the drawing onto the shirt. Lay your shirt on top of your cricut easypress mat and insert a piece of card stock inside of your shirt, acting as a backer for where you will be..
Apply Your Design To The Template.
Remove the white pieces inside your design. For holographic i used blade= 3, speed= 5, thickness = 11. Heat up an iron or easypress and press the drawing onto the shirt. A closer look at black ace logo design.
Follow The Package Directions For Best Results.
When your cutter is finished, unload it to trim and weed the vinyl to unveil. Preheat your cricut easypress 2 to 385f. If your artwork has any thin lines you might want to add a stroke to make those a little bolder. Web upload your own art.
Web Best For Transferring Off The Course:
Web go to the send tab and configure your cut settings for your material. The color of the marker will change once heated, brightening in color. Web click on the image and choose, object > image trace and choose black and white logo. Add the missing details of the drawing with a pencil.
For Your Designs To Turn Out Exactly How You’d Like, You Need To Choose The Right Printing Method.
This diy project is super simple and only requires a few basic tools. Select markers of the required colors and start painting a. Add a series of creases and folds along the length of the sleeve. Arsenal put seven players up for sale ahead of summer transfer window.