Human Ear Drawing
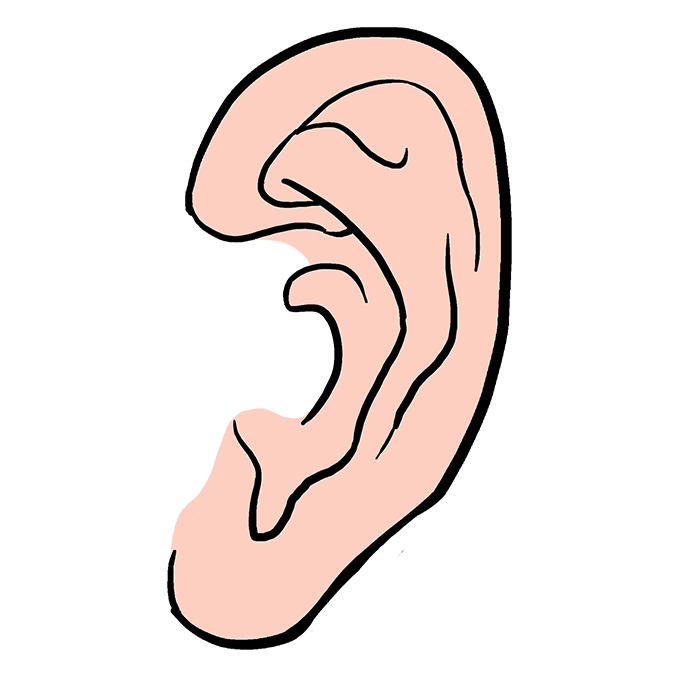
Human Ear Drawing - Draw the bumps and folds. By now, your ear drawing should be looking satisfactory and you should be ready to begin adding some pen to define your ear sketch. For some, the helix stops about halfway down the ear; To create the helix, the raised outer rim of the ear, follow the outline you just created by drawing a smaller curve that fits inside this outer line. Web learn a simple way to draw ears in this drawing for beginners. Using a pen to add shading to your human ear drawing. Draw two lines connecting the circles. The left side of the curve should curl slightly into the center of the ear. When it comes to breaking down the surface anatomy of the ear, the helix is a great place to start because it allows you to define the overall contour of the ear before sketching in the remaining shapes to detail it out. As i begin to sketch out the ear i like to begin with the helix.
Draw 2 curves to indicate the main folds within the ear. Place the large circle above the small one as shown, leaving some space between them ( at least 2 inches). The left side of the curve should curl slightly into the center of the ear. As i begin to sketch out the ear i like to begin with the helix. You can make this curve as smooth or jagged as you want. These shapes serve to give the ear a basic structure. Using a pen to add shading to your human ear drawing. Remember to leave a small amount of room around the edge. The first curve should line the middle to top part of the ear. When it comes to breaking down the surface anatomy of the ear, the helix is a great place to start because it allows you to define the overall contour of the ear before sketching in the remaining shapes to detail it out.
Remember to leave a small amount of room around the edge. As i begin to sketch out the ear i like to begin with the helix. These shapes serve to give the ear a basic structure. For some, the helix stops about halfway down the ear; Web image by guy wolek. Draw 2 curves to indicate the main folds within the ear. To create the helix, the raised outer rim of the ear, follow the outline you just created by drawing a smaller curve that fits inside this outer line. For others you’ll want to extend the line almost to the lobe. The first curve should line the middle to top part of the ear. Using your ballpoint pen, you can start shading the darkest areas of your ear drawing.
How to Draw an Ear Really Easy Drawing Tutorial
The left side of the curve should curl slightly into the center of the ear. Using a pen to add shading to your human ear drawing. To create the helix, the raised outer rim of the ear, follow the outline you just created by drawing a smaller curve that fits inside this outer line. Web learn a simple way to.
Ear Drawing Reference and Sketches for Artists
The left side of the curve should curl slightly into the center of the ear. Focus on the inner ear. These shapes serve to give the ear a basic structure. Place the large circle above the small one as shown, leaving some space between them ( at least 2 inches). Only this way you will learn.
How to Draw Ears Step by Step YouTube
When it comes to breaking down the surface anatomy of the ear, the helix is a great place to start because it allows you to define the overall contour of the ear before sketching in the remaining shapes to detail it out. Remember to leave a small amount of room around the edge. For some, the helix stops about halfway.

Learn to draw a human ear in 6 easy steps ( with pictures
Only this way you will learn. Draw the bumps and folds. Web image by guy wolek. You can make this curve as smooth or jagged as you want. Using your ballpoint pen, you can start shading the darkest areas of your ear drawing.

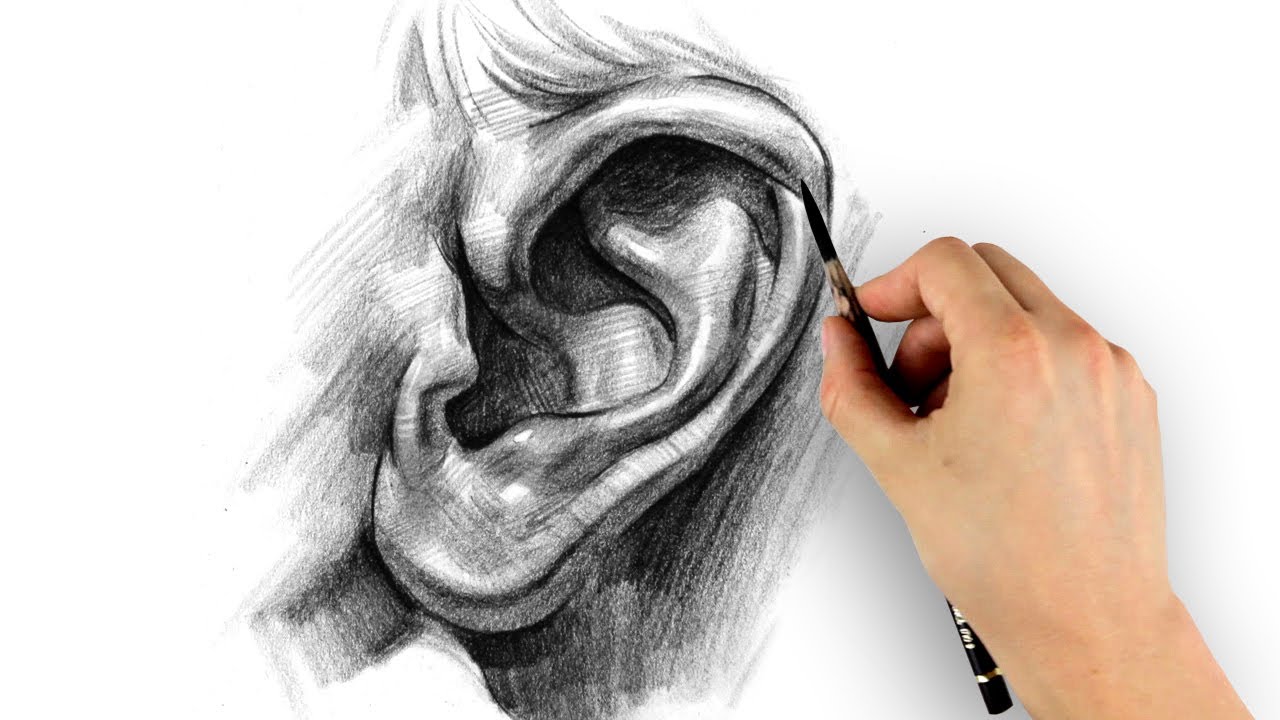
How to Draw a Realistic Ear Step by Step Drawing Demonstration
The first curve should line the middle to top part of the ear. Using your ballpoint pen, you can start shading the darkest areas of your ear drawing. These shapes serve to give the ear a basic structure. Web this tutorial contains easy steps to learn how to draw human ears in a simple fashion. Web image by guy wolek.

How to Draw Ears 6 Steps (with Pictures) wikiHow
Using your ballpoint pen, you can start shading the darkest areas of your ear drawing. Draw the bumps and folds. Focus on the inner ear. Draw two lines connecting the circles. Web this tutorial contains easy steps to learn how to draw human ears in a simple fashion.
Inner Ear Drawing at GetDrawings Free download
For some, the helix stops about halfway down the ear; As i begin to sketch out the ear i like to begin with the helix. Web learn a simple way to draw ears in this drawing for beginners. Remember to leave a small amount of room around the edge. You can make this curve as smooth or jagged as you.

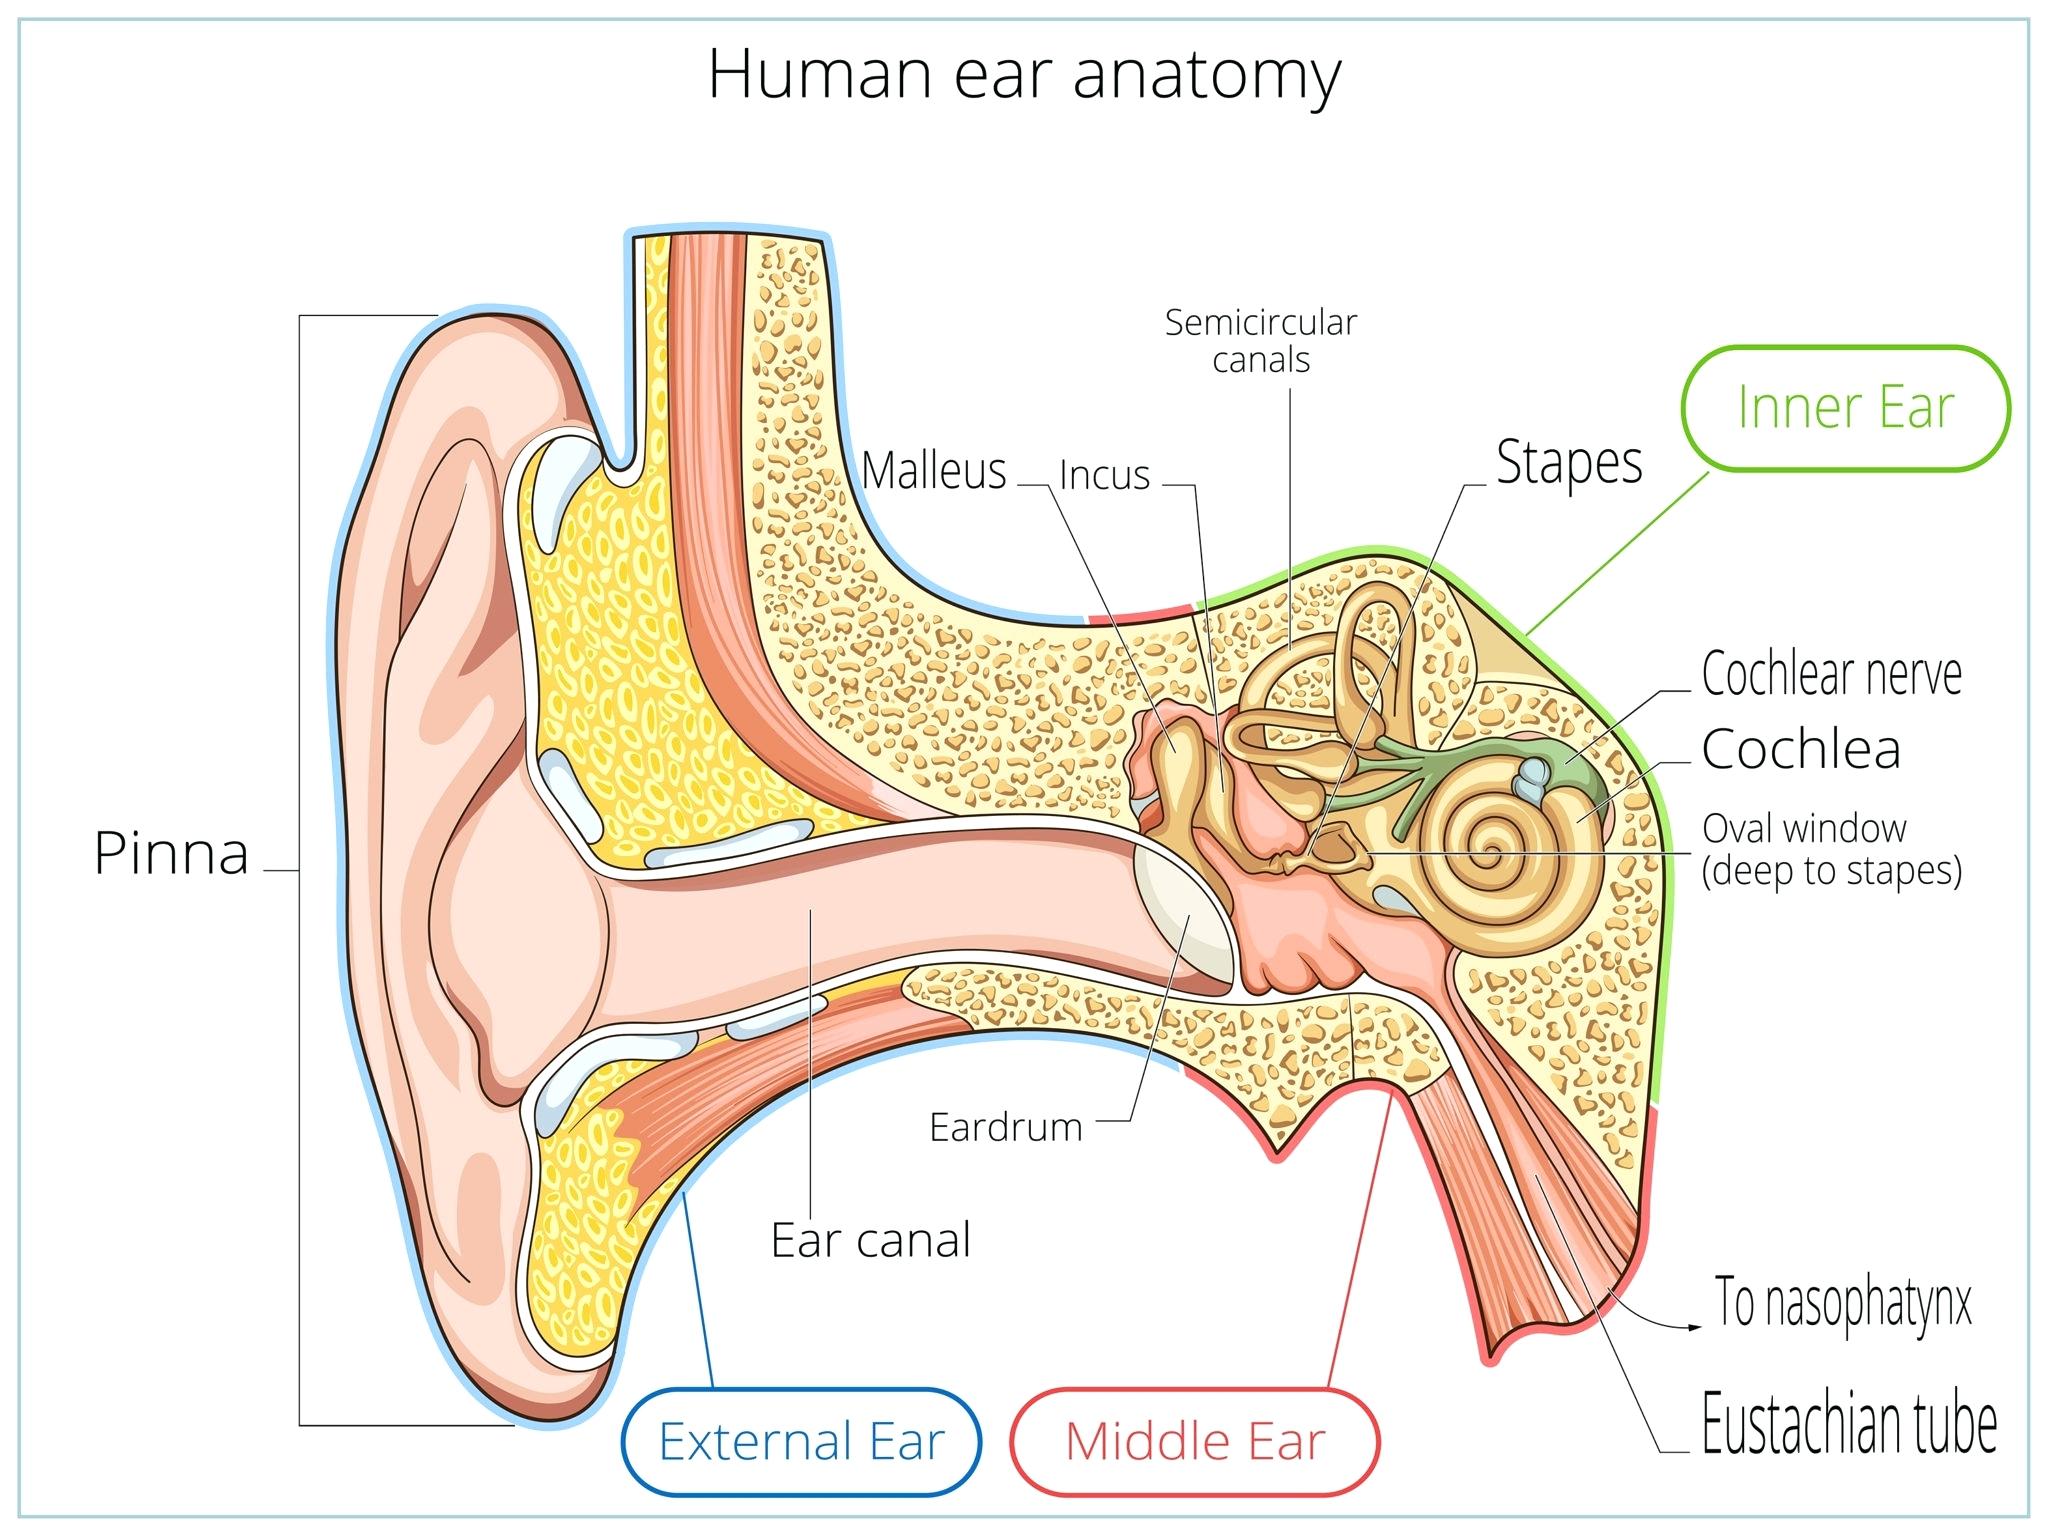
Parts Of The Ear Drawing at Explore collection of
Web learn a simple way to draw ears in this drawing for beginners. Focus on the inner ear. For others you’ll want to extend the line almost to the lobe. By now, your ear drawing should be looking satisfactory and you should be ready to begin adding some pen to define your ear sketch. Web this tutorial contains easy steps.

How to draw ear (Profile view)? Drawing Ear in simple steps LOV4ARTS
Web this tutorial contains easy steps to learn how to draw human ears in a simple fashion. Using your ballpoint pen, you can start shading the darkest areas of your ear drawing. Focus on the inner ear. Web learn a simple way to draw ears in this drawing for beginners. Remember to leave a small amount of room around the.

Hand drawn human ear anatomy Royalty Free Vector Image
By now, your ear drawing should be looking satisfactory and you should be ready to begin adding some pen to define your ear sketch. For others you’ll want to extend the line almost to the lobe. Using your ballpoint pen, you can start shading the darkest areas of your ear drawing. The first curve should line the middle to top.
As I Begin To Sketch Out The Ear I Like To Begin With The Helix.
Web learn a simple way to draw ears in this drawing for beginners. The first curve should line the middle to top part of the ear. By now, your ear drawing should be looking satisfactory and you should be ready to begin adding some pen to define your ear sketch. Focus on the inner ear.
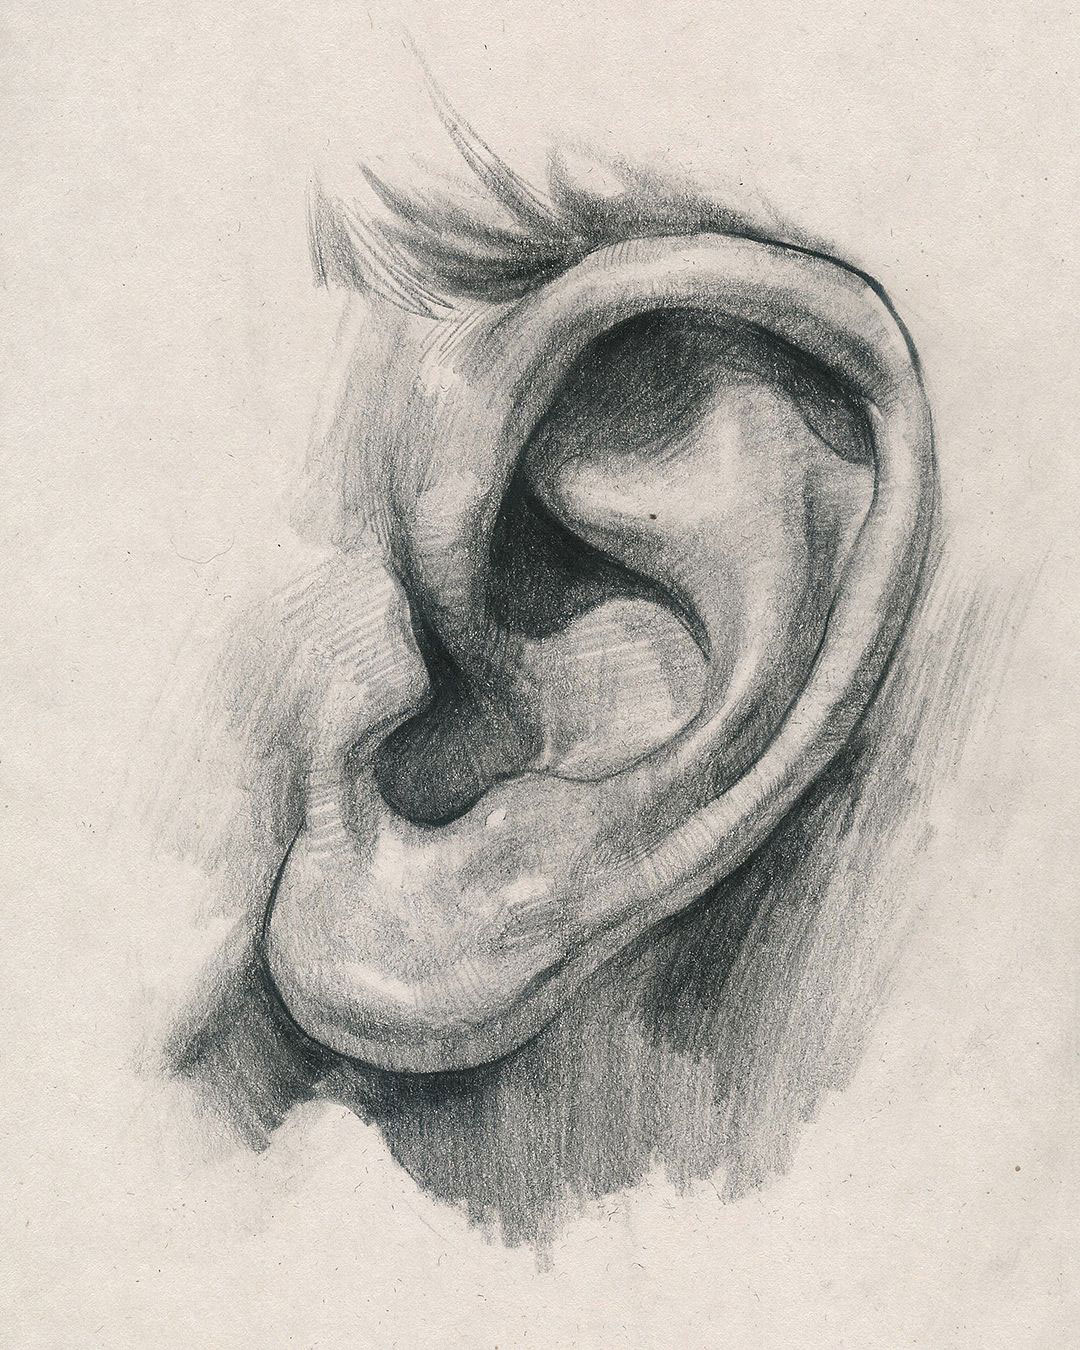
Using A Pen To Add Shading To Your Human Ear Drawing.
Using your ballpoint pen, you can start shading the darkest areas of your ear drawing. Draw the bumps and folds. The left side of the curve should curl slightly into the center of the ear. Only this way you will learn.
Web Image By Guy Wolek.
These shapes serve to give the ear a basic structure. Web this tutorial contains easy steps to learn how to draw human ears in a simple fashion. When it comes to breaking down the surface anatomy of the ear, the helix is a great place to start because it allows you to define the overall contour of the ear before sketching in the remaining shapes to detail it out. For others you’ll want to extend the line almost to the lobe.
Draw Two Lines Connecting The Circles.
To create the helix, the raised outer rim of the ear, follow the outline you just created by drawing a smaller curve that fits inside this outer line. Remember to leave a small amount of room around the edge. Place the large circle above the small one as shown, leaving some space between them ( at least 2 inches). Sketch two circles, a large one and a small one.