Open Book Drawing Easy
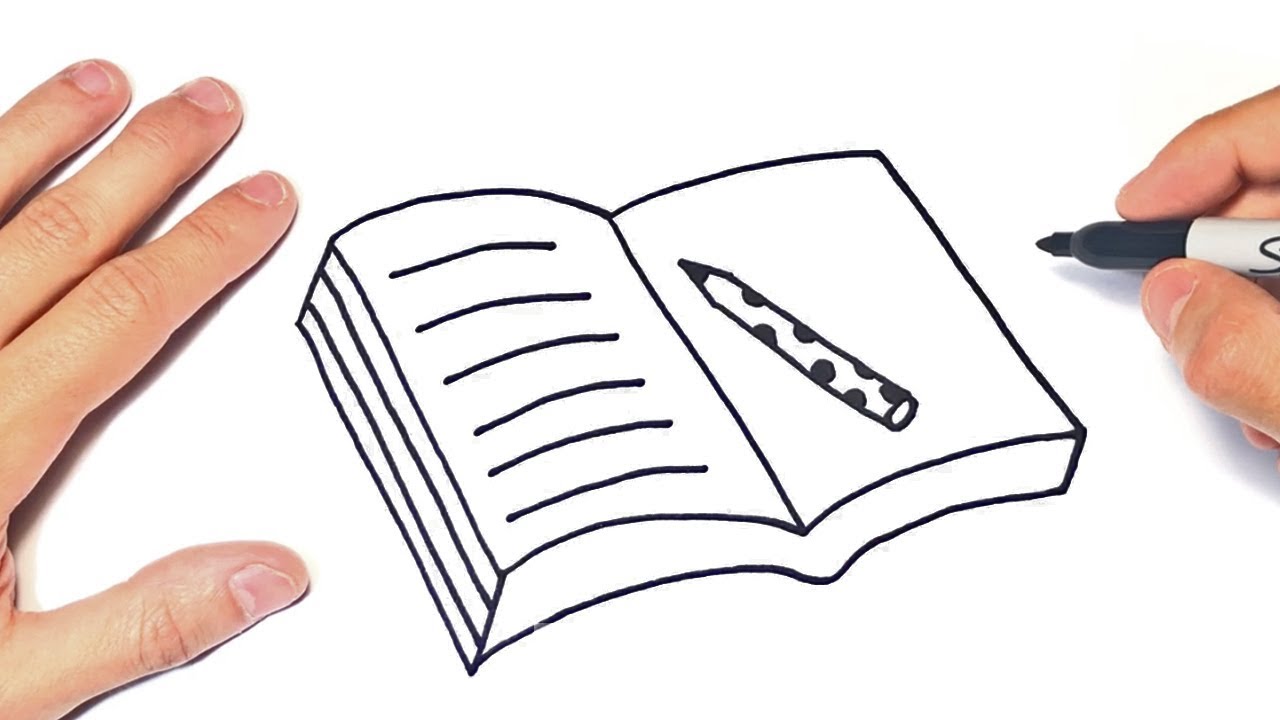
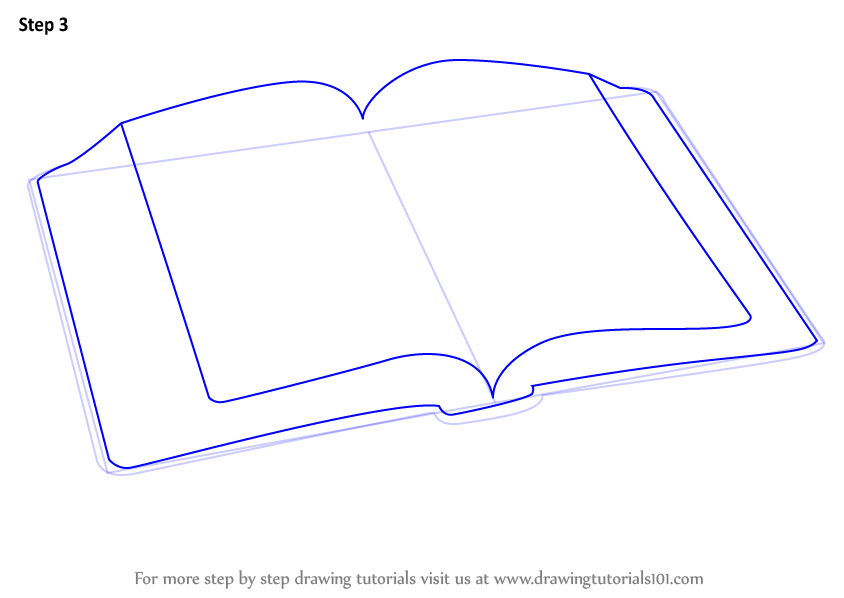
Open Book Drawing Easy - This book drawing easy made by how2draw easily. If you want to follow along using wr. I like to put mine on a slant for a little interest. To start, draw a rectangle shape in the center of your paper, representing the main body of the book. Along the top of your drawing of a book, draw two curving shapes that extend out from the dividing line of the base rectangle. Ensuring that the rectangle is proportional and centered on the page is crucial. Draw a line from the bottom of the page, up to the top of the page, outlining the spine or binding. You will learn the techniques and tips to create your own book illustration. When adding a bookmark indicate that it is there by adding a dark line to the right and left of it (more explanation of these tips are in the. Then, let the line continue to form the top of the next page.
You can watch continued coverage. To start, draw a rectangle shape in the center of your paper, representing the main body of the book. From the previously drawn point, draw a diagonal straight line. Add the side edges of the pages. Start with a basic rectangle. Unlock ad free and printable drawing and coloring tutorials. You will now create the open page shape. Kristi noem (r) is drawing fire from every corner of the media following the launch of her book, which sparked backlash over multiple. Web simple book drawing #shorts #art #artwithsbbook drawingdrawingsimple drawingopen book drawinghow to draw a bookeasy drawingbookdrawing bookdrawing a bookbook. Donald trump called the prosecution's hush money case against him a disaster in remarks outside of the.
To start, draw a rectangle shape in the center of your paper, representing the main body of the book. Shape the top curve of book pages. Web book drawing for beginners. Donald trump called the prosecution's hush money case against him a disaster in remarks outside of the. Web follow this easy tutorial to draw a book in a few steps. 1.1 starting with a vertical line. The size of the rectangle will determine the size of your open book, so consider how big or small you want it to be. This ensures a balanced and visually appealing composition. If you want to follow along using wr. Draw the top edge of the pages of the book.
How to draw a Open Book Step by Step
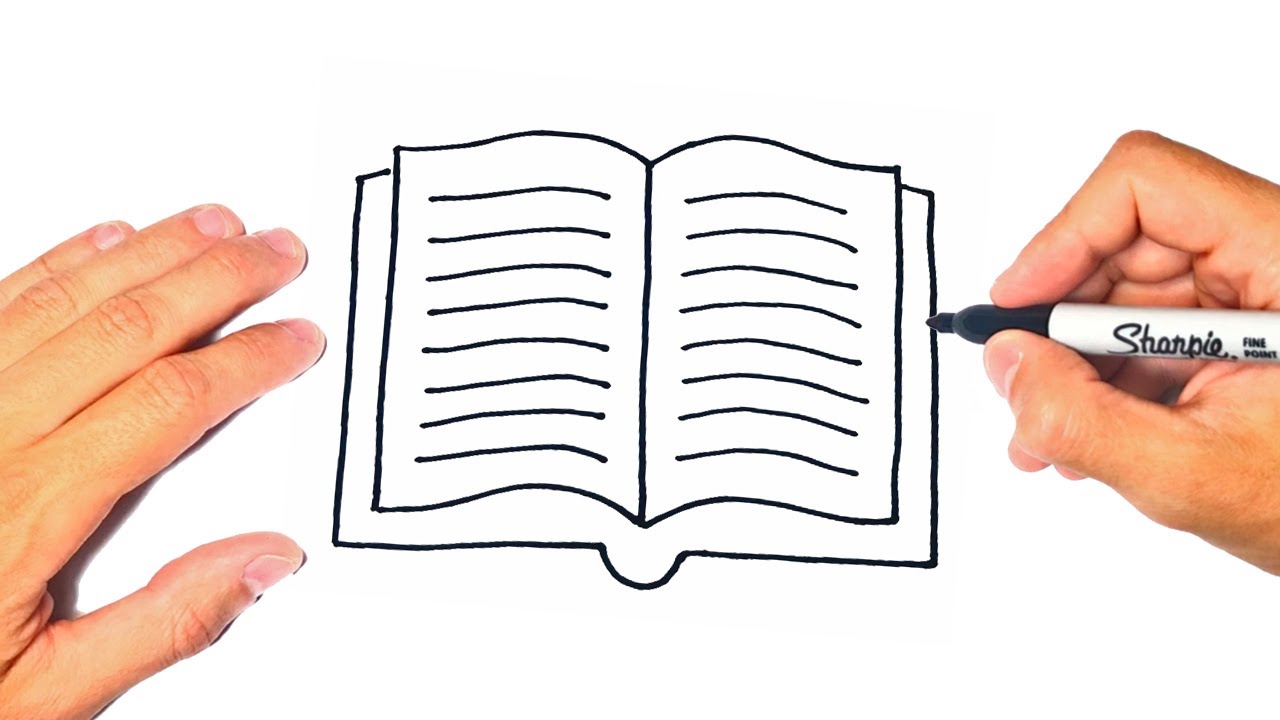
Contour, trying to vary the thickness and blackness of the line. Web this is learning about how to draw an open book step by step easy drawing & coloring for beginners and kids. Draw this open book by following this drawing lesson. With straight and smooth lines, add separate pages. Draw parallel lines coming from the curves of the us.
How to Draw an Open Book Easy Drawing Tutorial For Kids
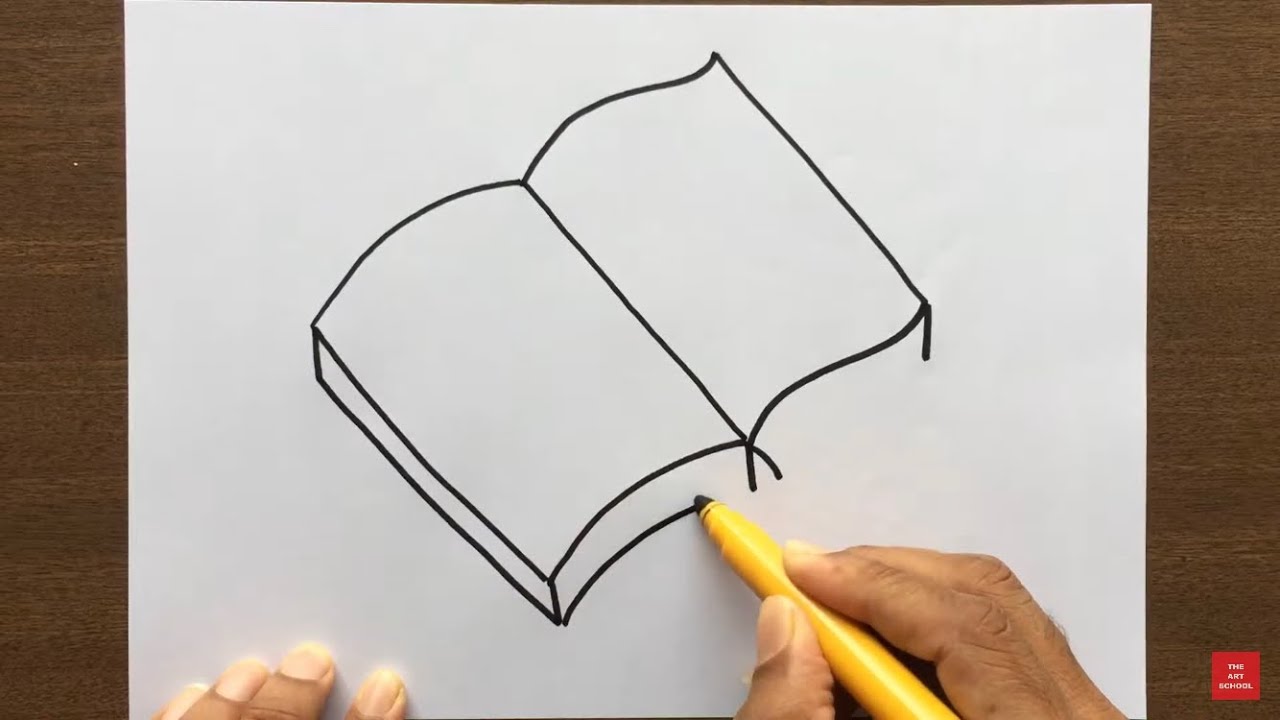
This book drawing easy made by how2draw easily. Donald trump called the prosecution's hush money case against him a disaster in remarks outside of the. As the image details, each end of the “m” shape will sweep and extend towards the book’s outer edges. Connect your spines with small curved lines and add a straight line to close your book.
How to draw a Open Book Step by Step Open Book Drawing Lesson YouTube
Web our how to draw book is here! Draw parallel lines coming from the curves of the us and one from the top. Depict two straight lines parallel to the previously drawn diagonal line. These curves should curve up and then swoop down to the edges of the book drawing. These are your spines and the cover.
Open Book Drawing How To Draw An Open Book Step By Step
Gather your loved ones for a cozy night of coloring bliss! Contour, trying to vary the thickness and blackness of the line. Shape the top curve of book pages. 1.3 drawing the basic shape of the book. Using two curved lines, connect the ends of the previously drawn straight lines.

How to Draw an Open Book Really Easy Drawing Tutorial
A single sheet seen on a book is called leaf. Depict two straight lines parallel to the previously drawn diagonal line. You will learn the techniques and tips to create your own book illustration. 1.1 starting with a vertical line. Web former president donald trump speaks to the media on tuesday.
Learn How to Draw an Open Book (Everyday Objects) Step by Step
When adding a bookmark indicate that it is there by adding a dark line to the right and left of it (more explanation of these tips are in the. You will learn the techniques and tips to create your own book illustration. Unlock ad free and printable drawing and coloring tutorials. Ensuring that the rectangle is proportional and centered on.

How to Draw an Open Book Really Easy Drawing Tutorial
This book drawing easy made by how2draw easily. Next, add a line for the back of the book that is parallel to the front cover. Web want to learn how to draw a book sketch easy?watch this entire video as we show you step by step sketch tutorial for a simple book drawing.we guarantee you'l. Draw parallel lines coming from.
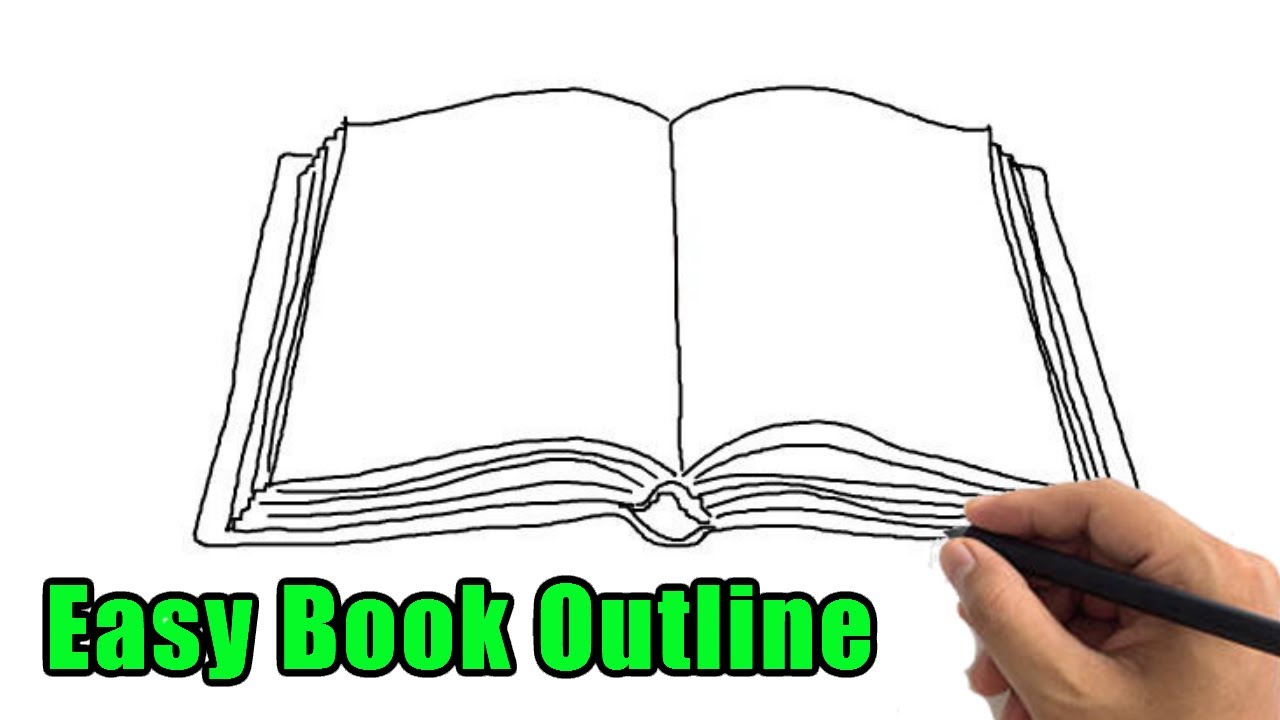
How to Draw a Book Sketch Step by Step Open Book Outline Drawing for
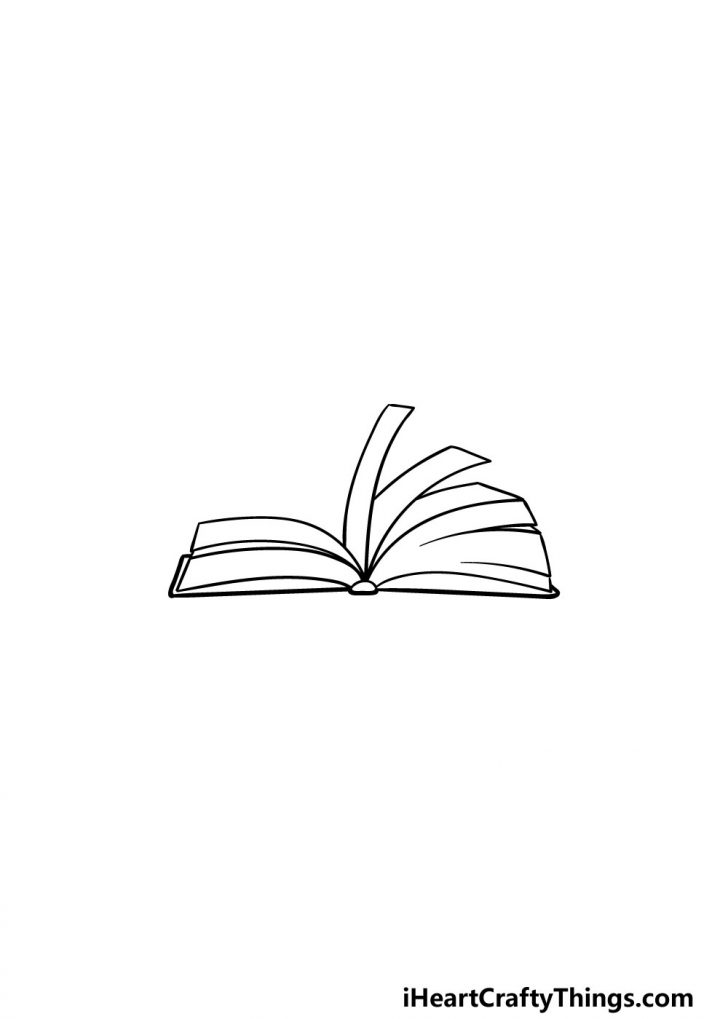
These are your spines and the cover. This ensures a balanced and visually appealing composition. I like to put mine on a slant for a little interest. Web the shape might get more or less exaggerated depending on the volume of pages and their positioning. If you want to follow along using wr.
How to Draw an Open Book YouTube
These are your spines and the cover. Draw the top edge of the pages of the book. The size of the rectangle will determine the size of your open book, so consider how big or small you want it to be. Add a few curved lines along the spine of the book for detail. Donald trump called the prosecution's hush.

How to Draw an Open Book Really Easy Drawing Tutorial
Contour, trying to vary the thickness and blackness of the line. Web want to learn how to draw a book sketch easy?watch this entire video as we show you step by step sketch tutorial for a simple book drawing.we guarantee you'l. Draw a rectangle and the page split middle line. Web sketch out the fold line. Web how to draw.
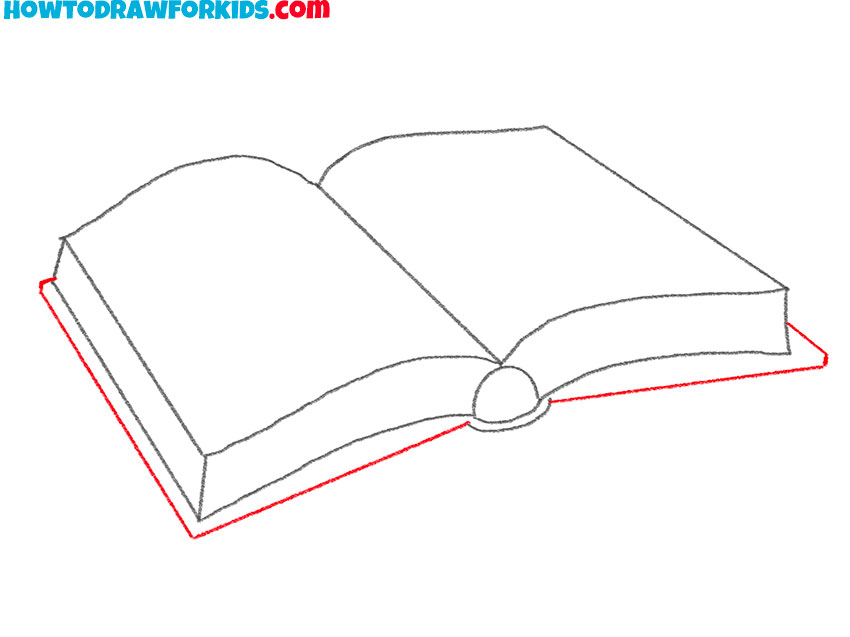
Add The Spine, Remembering To Add A Slight Curve At Both The Top And Bottom Of The Spine.
Use two more curved lines to fully enclose the page. To start, draw a rectangle shape in the center of your paper, representing the main body of the book. As the image details, each end of the “m” shape will sweep and extend towards the book’s outer edges. Along the top of your drawing of a book, draw two curving shapes that extend out from the dividing line of the base rectangle.
If You Want To Follow Along Using Wr.
Add a few curved lines along the spine of the book for detail. This shape represents the open leaves of the pages. A single sheet seen on a book is called leaf. Web delineate a text block.
Draw A Rectangle And The Page Split Middle Line.
Contour, trying to vary the thickness and blackness of the line. I like to put mine on a slant for a little interest. The center of the “m” will meet the book’s spine. This ensures a balanced and visually appealing composition.
Ensuring That The Rectangle Is Proportional And Centered On The Page Is Crucial.
1.4 add thickness to the book. You will learn the techniques and tips to create your own book illustration. Draw more details and a table. Web add a curved inside like on the open part of your us.