Pie Drawing
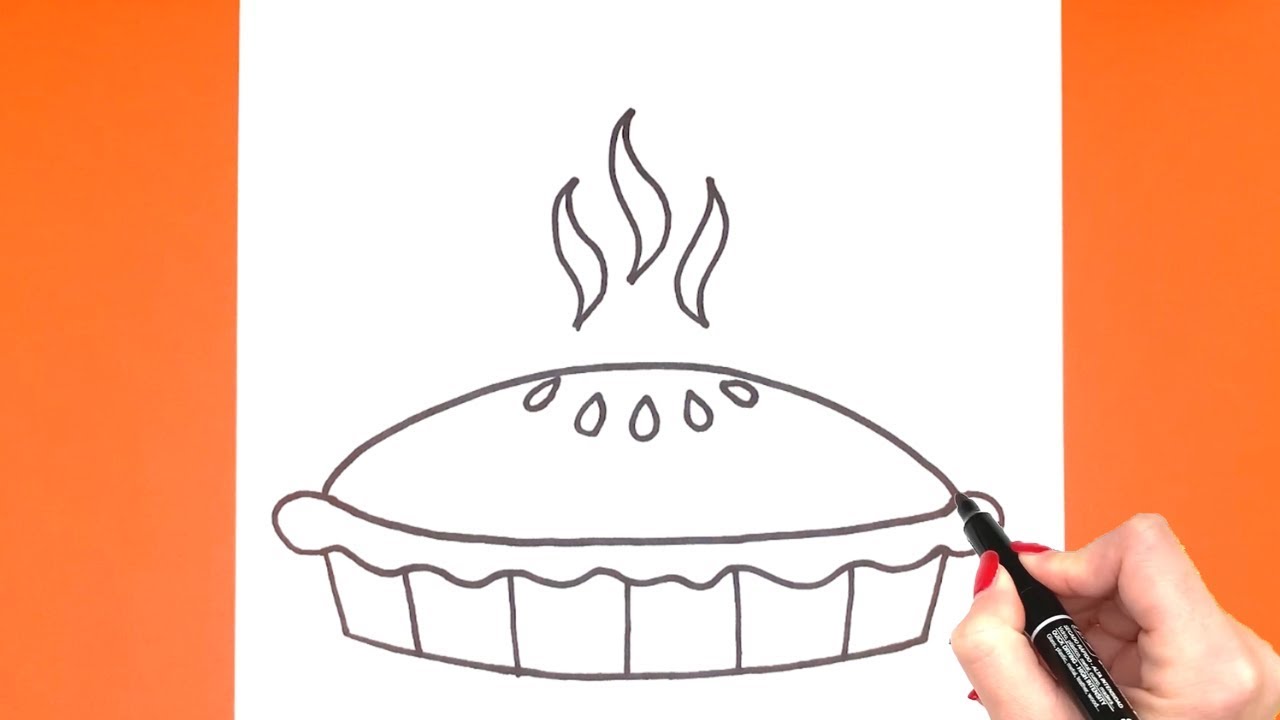
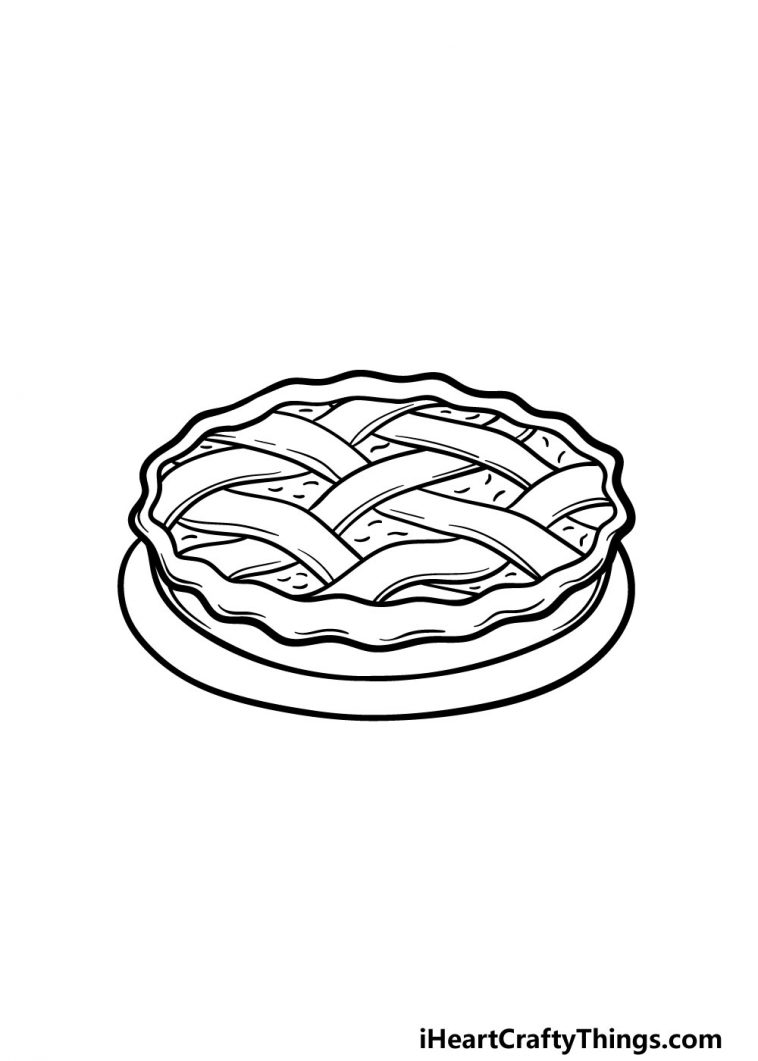
Pie Drawing - Use even, straight lines to draw the shape. Enclose irregular shapes and contour them with curved lines. This will become the top of the pie. Add the relief to the surface of the cake. Switch to a lining medium for the second step to create your pie outline. This represents the hole cut in the crust to allow the pie to vent or let off steam as it bakes. Draw a series of short, overlapping curved lines at one end of the long line. To draw the bottom of the pie, draw a small straight line down at a slight angle from the bottom of the oval on each end of the pie, and then draw a small curved line connecting the two sides of the pie for the bottom. This will be the basic outline of the pie. First, draw a teardrop shape using two curved lines, but do not completely enclose the shape.
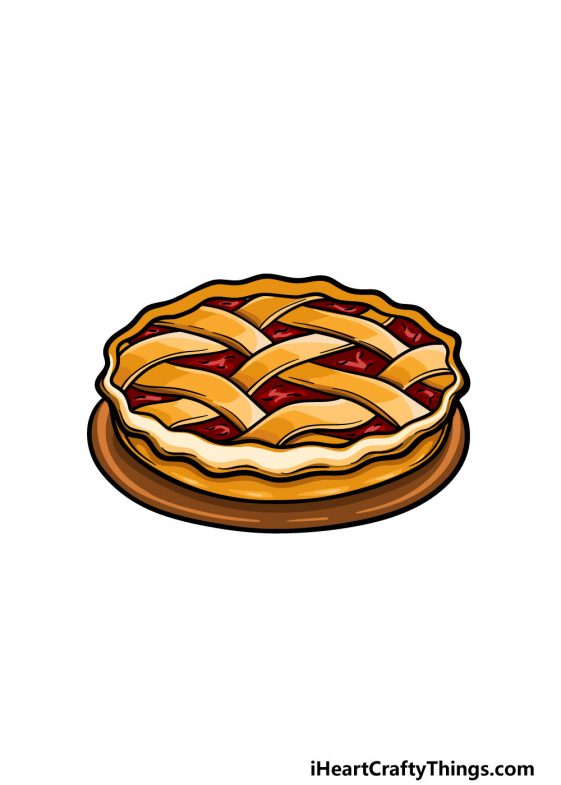
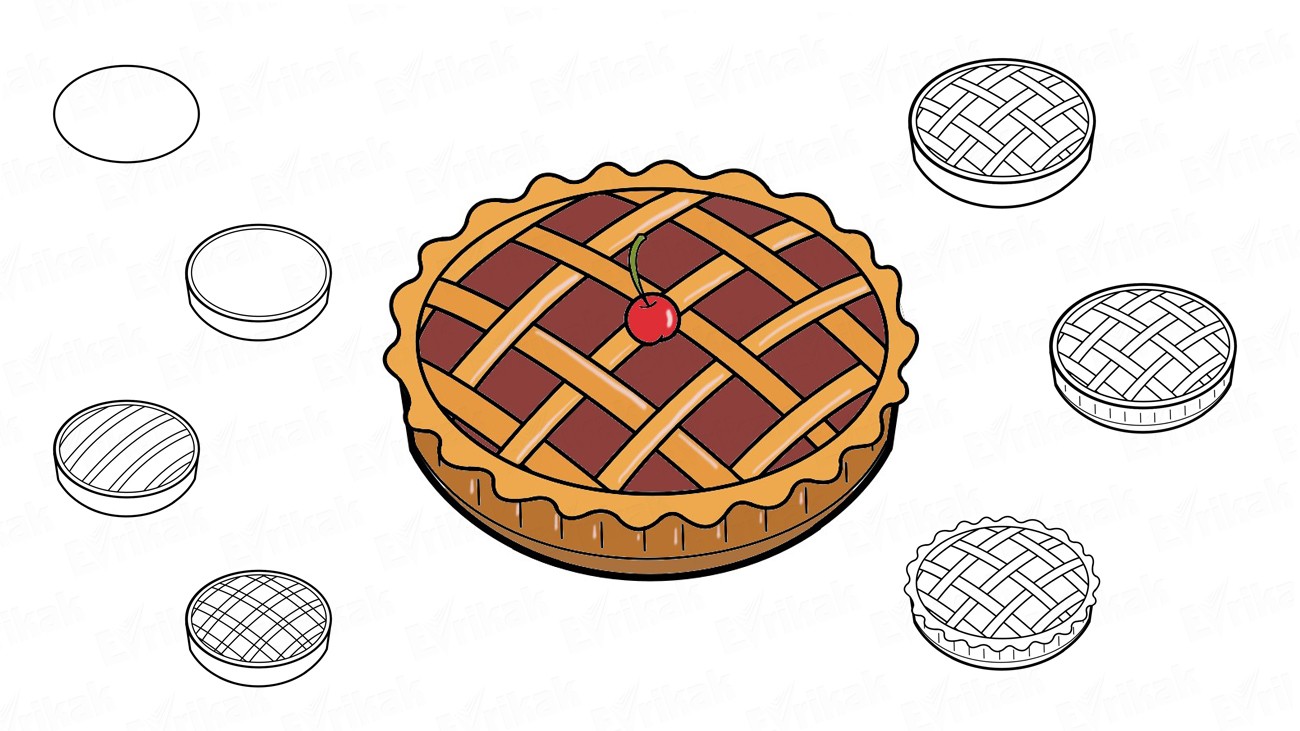
Add the relief to the surface of the cake. Sketch out the three small folds. Draw a series of short, overlapping curved lines at one end of the long line. Web reference photo or actual pie (for inspiration) now that you have gathered all your materials, let’s dive into the steps to draw a scrumptious pie! Web sketch out a smooth rounded line. Then, draw a curved line from one side of the teardrop to the other, enclosing the lower segment of the cream. Draw a wavy line to make a closed loop. Then, carefully define the filling or top crust. Start by lightly sketching a circular shape in the center of your drawing paper. To make the woven top crust like our example image below, trace sections and skip some.
Add the relief to the surface of the cake. Then, draw a curved line from one side of the teardrop to the other, enclosing the lower segment of the cream. This represents the hole cut in the crust to allow the pie to vent or let off steam as it bakes. Start by lightly sketching a circular shape in the center of your drawing paper. Enclose irregular shapes and contour them with curved lines. This begins the decorative crust around the edge of the pie. Draw a series of short, overlapping curved lines at one end of the long line. Web hi everyone,in this video i show you how you can draw a pie easily!if you follow my simple, step by step video you are going to make your own pie drawing!👇. Draw the shape that the cake is in. To draw the bottom of the pie, draw a small straight line down at a slight angle from the bottom of the oval on each end of the pie, and then draw a small curved line connecting the two sides of the pie for the bottom.
Pie Drawing How To Draw A Pie Step By Step
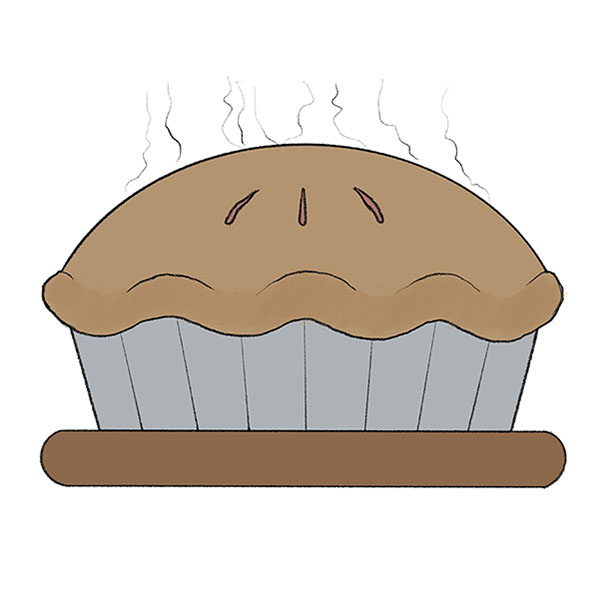
Then, draw a few pieces of pie filling that have fallen from the slice. First, draw a teardrop shape using two curved lines, but do not completely enclose the shape. Draw a wavy line to make a closed loop. Sketch out the three small folds. At this stage, depict a few thin rounded lines.
How to Draw a Pie Easy Drawing Tutorial For Kids
Detail the surface of the cake. Switch to a lining medium for the second step to create your pie outline. To make the woven top crust like our example image below, trace sections and skip some. Celebrate by eating pie and following along with us. This represents the hole cut in the crust to allow the pie to vent or.

How to Draw a Pie Easy Drawing Art
Web reference photo or actual pie (for inspiration) now that you have gathered all your materials, let’s dive into the steps to draw a scrumptious pie! Then, draw a few pieces of pie filling that have fallen from the slice. Draw the shape that the cake is in. Begin by drawing a long curved line. Begin your line art by.
Pie Drawing How to Draw A Pie 🥧SIMPLE Step by step drawing Super
Web reference photo or actual pie (for inspiration) now that you have gathered all your materials, let’s dive into the steps to draw a scrumptious pie! Enclose irregular shapes and contour them with curved lines. Switch to a lining medium for the second step to create your pie outline. This represents the hole cut in the crust to allow the.
Pie Line Drawing at Explore collection of Pie Line
Start by lightly sketching a circular shape in the center of your drawing paper. Draw a dab of whipped cream on top of the pie. Web reference photo or actual pie (for inspiration) now that you have gathered all your materials, let’s dive into the steps to draw a scrumptious pie! Begin by drawing a long curved line. Switch to.

How to Draw a Tasty Pie Really Easy Drawing Tutorial
Then, draw a few pieces of pie filling that have fallen from the slice. Draw a wavy line to make a closed loop. Celebrate by eating pie and following along with us. Then, carefully define the filling or top crust. Start by lightly sketching a circular shape in the center of your drawing paper.
Pie Drawing How To Draw A Pie Step By Step
Begin your line art by tracing the crust sketches. This will be the basic outline of the pie. Depict the figured edge of the pie. Draw the shape that the cake is in. Web sketch out a smooth rounded line.
Pie Drawing at Explore collection of Pie Drawing
Add the relief to the surface of the cake. At this stage, depict a few thin rounded lines. Draw a series of short, overlapping curved lines at one end of the long line. Web sketch out a smooth rounded line. Depict the figured edge of the pie.

Pie. Vector drawing stock vector. Illustration of cinnamon 134013656
Switch to a lining medium for the second step to create your pie outline. Depict the figured edge of the pie. Detail the surface of the cake. This represents the hole cut in the crust to allow the pie to vent or let off steam as it bakes. Then, draw a curved line from one side of the teardrop to.

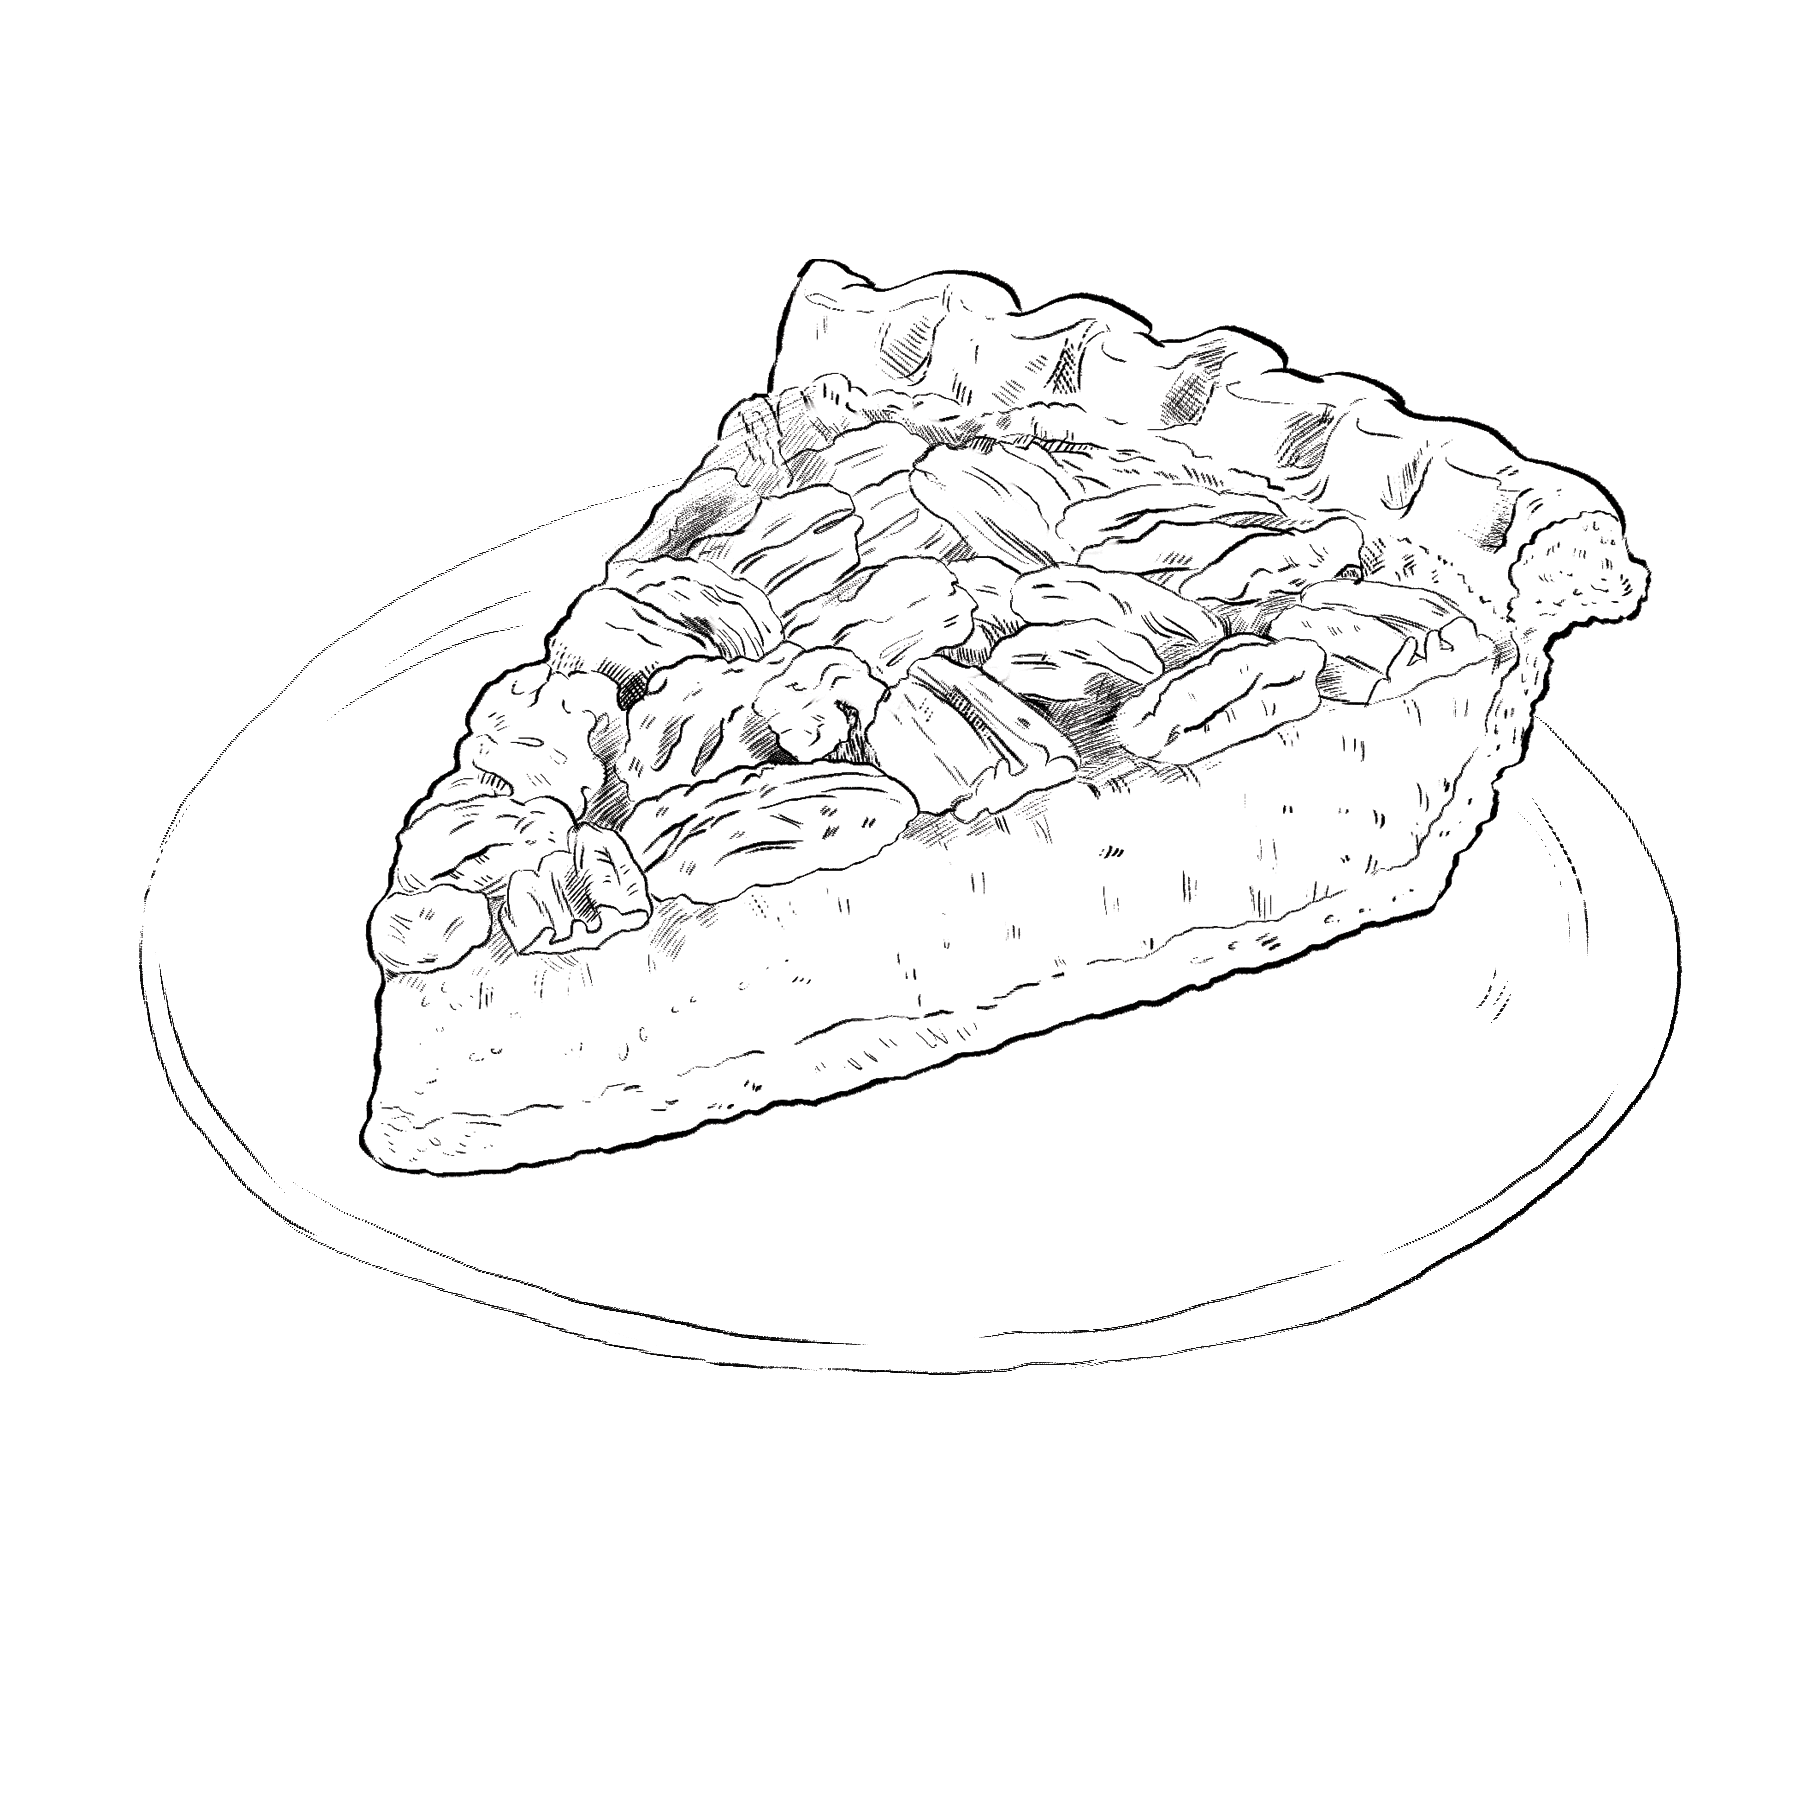
How to Draw a Cherry Pie Really Easy Drawing Tutorial
Web sketch out a smooth rounded line. Use even, straight lines to draw the shape. First, draw a teardrop shape using two curved lines, but do not completely enclose the shape. Enclose irregular shapes and contour them with curved lines. This begins the decorative crust around the edge of the pie.
Draw A Wavy Line To Make A Closed Loop.
Then, draw a few pieces of pie filling that have fallen from the slice. First, draw a teardrop shape using two curved lines, but do not completely enclose the shape. Start by lightly sketching a circular shape in the center of your drawing paper. This will be the basic outline of the pie.
Web Sketch Out A Smooth Rounded Line.
Depict the figured edge of the pie. Begin your line art by tracing the crust sketches. Celebrate by eating pie and following along with us. Web reference photo or actual pie (for inspiration) now that you have gathered all your materials, let’s dive into the steps to draw a scrumptious pie!
At This Stage, Depict A Few Thin Rounded Lines.
This represents the hole cut in the crust to allow the pie to vent or let off steam as it bakes. Sketch out the three small folds. Switch to a lining medium for the second step to create your pie outline. The final step is to outline the pie with a black pen on the final lines and erase any extra lines you had while.
Then, Carefully Define The Filling Or Top Crust.
To make the woven top crust like our example image below, trace sections and skip some. Then, draw a curved line from one side of the teardrop to the other, enclosing the lower segment of the cream. Draw the shape that the cake is in. Use even, straight lines to draw the shape.