Pie Drawings Easy
Pie Drawings Easy - Then, simply draw another curved line beneath that one for the plate that the pie. Don’t forget to experiment with different flavors and toppings to create your own unique pie designs. Draw small arcs on the crust of the pie to give the appearance of a baked crust. Celebrate by eating pie and following along with us. Match the crust line on the left. You can then use an eraser to add a few little gaps into the line that defines it’s bottom (the curve drawn in step one). Da vinci eye lets you draw other people's uploaded images. The final step is to outline the pie with a black pen on the final lines and erase any extra lines you had while. Add the relief to the surface of the cake. If you have pro, you can create your.
Draw whip cream and erase lines inside. Easy owl drawing by kuch sikho. #howtodraw #artforkidshub🎨 art supplies we love (amazon affiliate links): Web sketch out a smooth rounded line. You can make the crust wavy or jagged to give it a more realistic appearance. Start by lightly sketching a circle or an oval shape to represent the overall shape of the apple pie. Draw a dab of whipped cream on top of the pie. Add the relief to the surface of the cake. Draw a series of short, overlapping curved lines at one end of the long line. So sharpen your pencils and let’s get started!
Add a slightly wavy line around the edge of the shape to indicate the crust. The rim of the pie will be drawn with a wavy line that forms a horizontal oval shape. You can then use an eraser to add a few little gaps into the line that defines it’s bottom (the curve drawn in step one). Trace with marker and color. Start by lightly sketching a circle or an oval shape to represent the overall shape of the apple pie. Use even, straight lines to draw the shape. Easy owl drawing by kuch sikho. This represents the hole cut in the crust to allow the pie to vent or let off steam as it bakes. At this stage, depict a few thin rounded lines. You can make the crust wavy or jagged to give it a more realistic appearance.

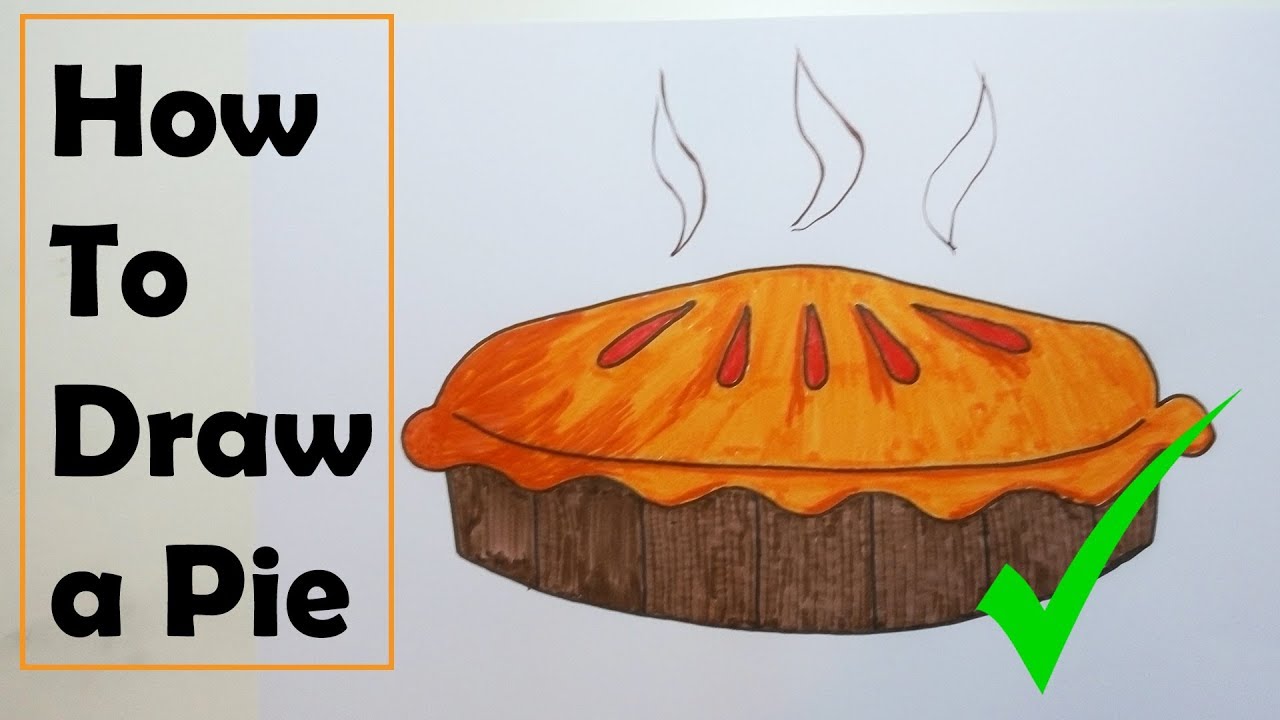
How to Draw a Tasty Pie Really Easy Drawing Tutorial
Add bump shapes to the crust. No matter your skill level, you can draw a cute panda in less than 5 minutes! The final step is to outline the pie with a black pen on the final lines and erase any extra lines you had while. Use even, straight lines to draw the shape. First, draw a teardrop shape using.
How to Draw an Easy Pie Easy Drawing Tutorial For Kids
Not only that, but there are so many different pie flavors to choose from. Draw the right side of the pan. Web learn how to draw an apple pie for thanksgiving! This represents the hole cut in the crust to allow the pie to vent or let off steam as it bakes. Add bump shapes to the crust.

How to Draw a Tasty Pie Really Easy Drawing Tutorial
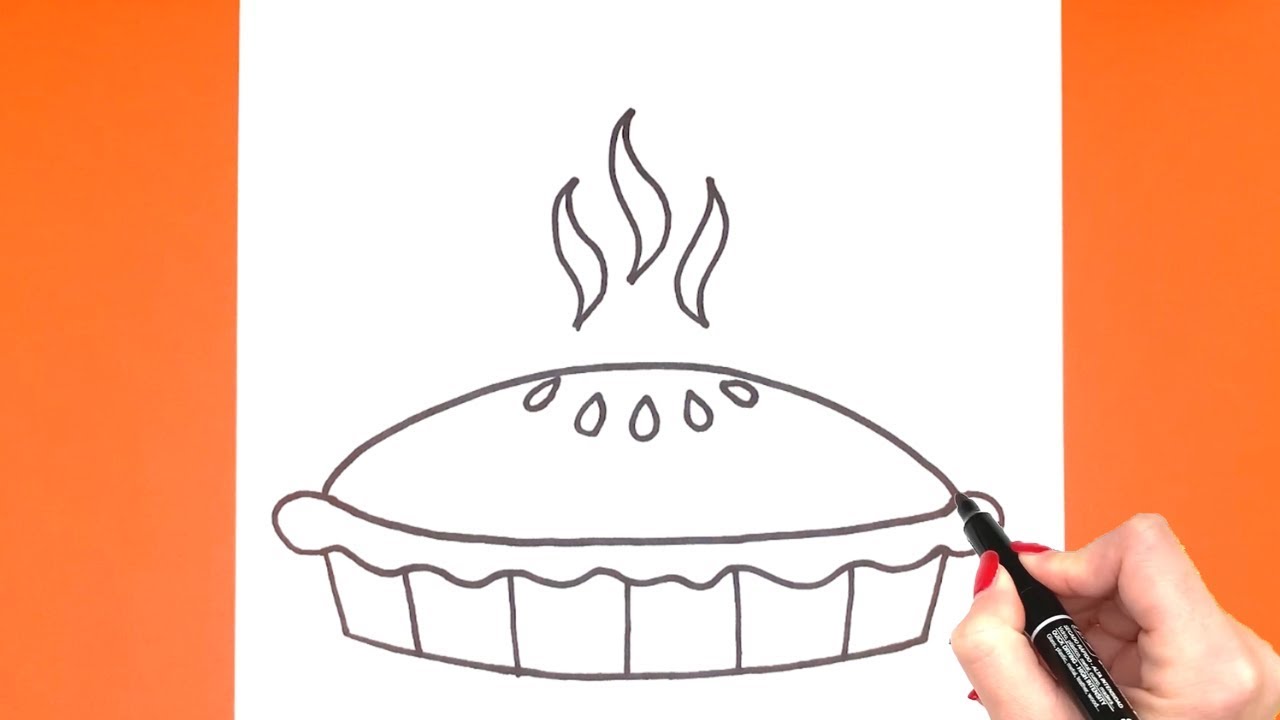
Start the bottom of the crust. Draw a series of short, overlapping curved lines at one end of the long line. This will become the top of the pie. To start this guide on how to draw a pie, we will start with the outline of it. No matter your skill level, you can draw a cute panda in less.
How to Draw an Easy Pie Easy Drawing Tutorial For Kids
Da vinci eye lets you draw other people's uploaded images. This will give the impression of a flaky, golden crust. Start by lightly sketching a circle or an oval shape to represent the overall shape of the apple pie. Draw small arcs on the crust of the pie to give the appearance of a baked crust. Easy owl drawing by.
How to Draw a Pie Very Easy For Kids Step By Step YouTube
This piece of pumpkin pie is perfect for thanksgiving and celebrating fall. #howtodraw #artforkidshub🎨 art supplies we love (amazon affiliate links): Web april 30, 2024. Start by lightly sketching a circle or an oval shape to represent the overall shape of the apple pie. Web step by step directions to draw a pie.

How to Draw a Tasty Pie Really Easy Drawing Tutorial
This piece of pumpkin pie is perfect for thanksgiving and celebrating fall. Drawing pies is a fun activity for anyone who enjoys drawing food items. Finish the bottom wavy line of the crust. The final step is to outline the pie with a black pen on the final lines and erase any extra lines you had while. Your final sketch.

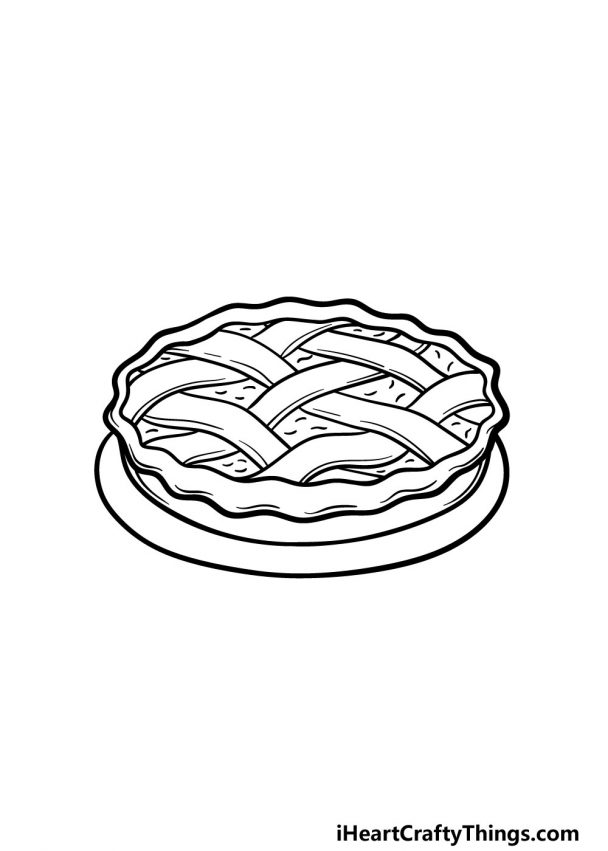
How to Draw a Pie Easy Drawing Art
Web sketch out a smooth rounded line. Draw the right side of the pan. Add the matching left side of the pan. Draw a wavy line to make a closed loop. #howtodraw #artforkidshub🎨 art supplies we love (amazon affiliate links):
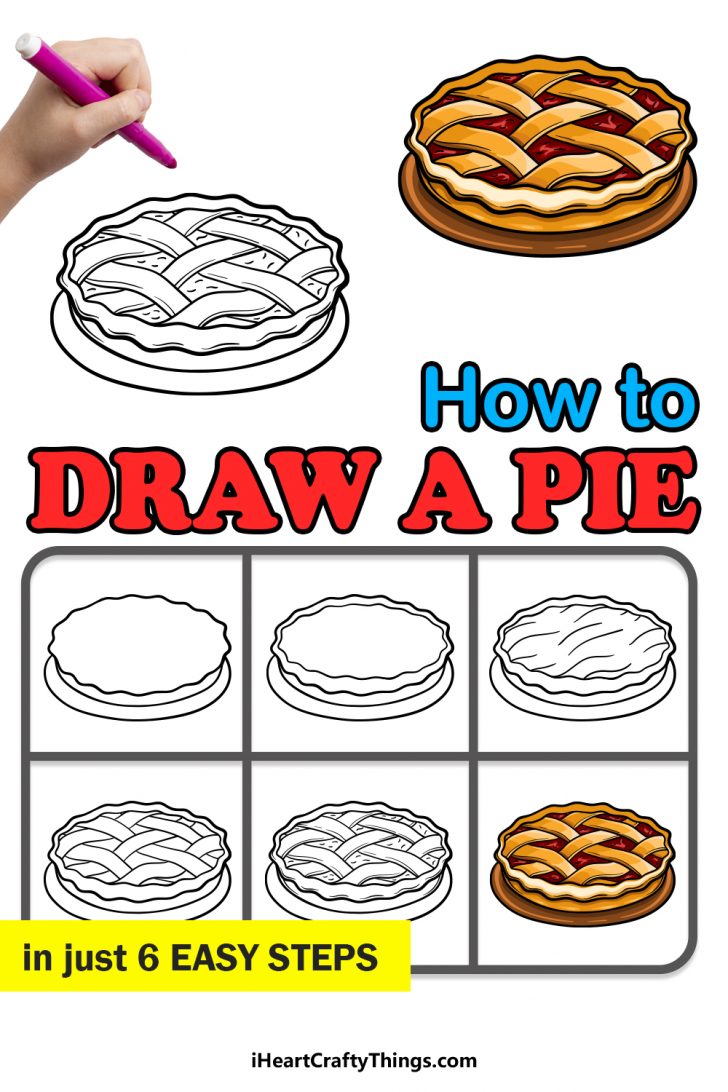
Simple Easy Pie Drawing How To Draw A Pie Step By Step asapmaid
If you have pro, you can create your. To start this guide on how to draw a pie, we will start with the outline of it. Draw the top dome of the pie. Then, draw a few pieces of pie filling that have fallen from the slice. Easy owl drawing by kuch sikho.
Pie Drawing How To Draw A Pie Step By Step
Draw the crust going slightly upwards from the upper/back end of the slice as shown in the example. To start this guide on how to draw a pie, we will start with the outline of it. The rim of the pie will be drawn with a wavy line that forms a horizontal oval shape. Match the crust line on the.
Pie Drawing How to Draw A Pie 🥧SIMPLE Step by step drawing Super
First, draw a teardrop shape using two curved lines, but do not completely enclose the shape. Not only that, but there are so many different pie flavors to choose from. Celebrate by eating pie and following along with us. There’s cherry pie, pumpkin pie, apple pie, strawberry pie, and so much more. Pie drawing ideas can range from simple sketches.
Add The Relief To The Surface Of The Cake.
This will help give the crust a more uneven/natural look. Draw the right side of the pan. There’s cherry pie, pumpkin pie, apple pie, strawberry pie, and so much more. Add the matching left side of the pan.
Now You Can Add Some Colors To Make Your Drawing More Realistic.
The app is available on ios, android, ipados, and visionos. Draw whip cream and erase lines inside. The final step is to outline the pie with a black pen on the final lines and erase any extra lines you had while. Once you have this rim, you can use a smoother curved line underneath the rim of the pie.
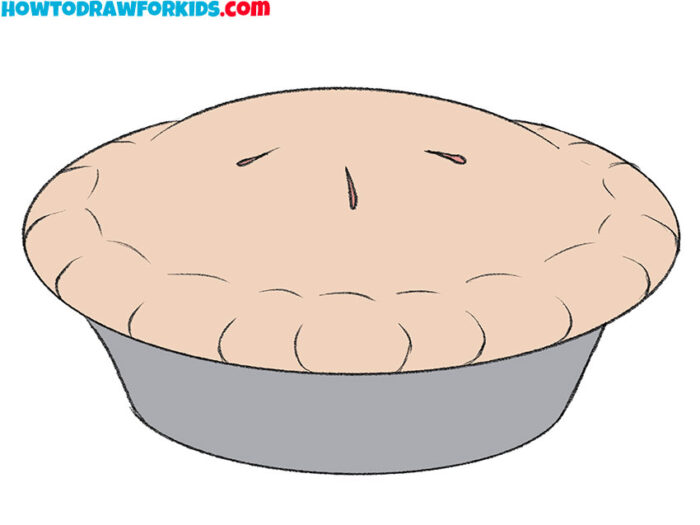
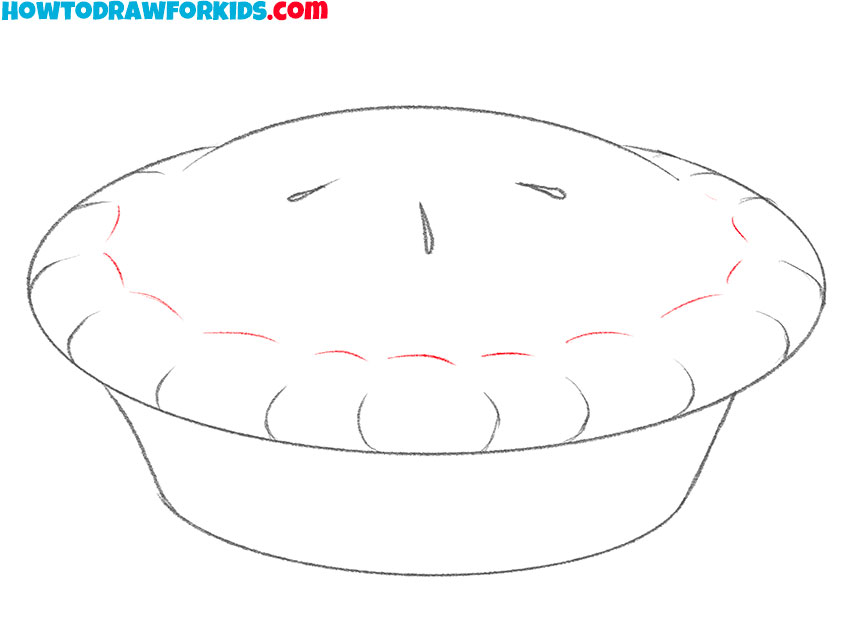
Depict The Figured Edge Of The Pie.
This piece of pumpkin pie is perfect for thanksgiving and celebrating fall. Sketch out the three small folds. Sketch the basic shape of the pie. Detail the surface of the cake.
Start The Bottom Of The Crust.
Web it's monday, so today we're learning how to draw pumpkin pie and featuring four artists.and showing off all the amazing artwork you sent us!🎨 art suppli. Then, add a smaller oval shape on top to represent the crust. Draw the crust going slightly upwards from the upper/back end of the slice as shown in the example. Don’t forget to experiment with different flavors and toppings to create your own unique pie designs.