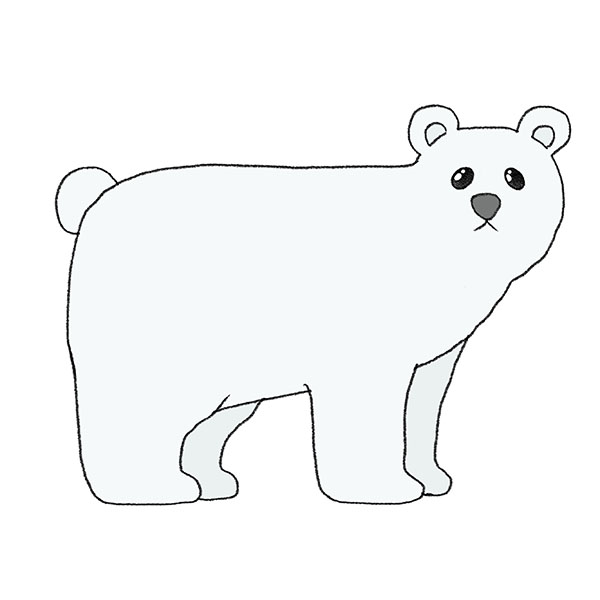
Polar Bear Simple Drawing
Polar Bear Simple Drawing - Please support my new channel @happycutedrawing thanks!don't fo. Draw the sides of the head. Draw this polar bear by following this drawing lesson. Shade a circle or partial circle within each eye to form the pupil. You can draw his head in an oval shape. For example, the eyes can just be a couple of circles. Then add small ears to the top of the head. The innocence and curiosity of a polar bear cub can be wonderfully captured through drawing. Begin by drawing the polar bear's eyes. By paying close attention to the cub’s proportions and soft fur details, your drawing can reflect the cub’s youthful charm and evoke warm feelings in anyone who sees it.
Notice how the lower line of one eye extends to form the top of the nose. Sprinkle the salt and leave the background to dry. Afterward, draw the hind leg that is further away in a more straight position. Wonderful polar bear cub drawing. This is such a fun art process to combine with our polar bear drawing and is an easy way for the children to create a lovely wintery backdrop for their polar bears. Enclose an oval shape around the nose using two curved lines. Work on the figure by adding a hip, eyes, nose and ears. Then, draw a thick curved line above each eye to indicate the eyebrows. Start the top of the head. Well done, now that you’ve completed how to draw a polar bear, considering adding some shading or coloring to make your polar bear look realistic!
For example, the eyes can just be a couple of circles. Afterward, draw the hind leg that is further away in a more straight position. Shade a circle or partial circle within each eye to form the pupil. Web add a rounded triangle to the bottom of the oval for the head. Draw another oval in the middle of the face to form the nose. Define the shapes of the rest of the legs. This is such a fun art process to combine with our polar bear drawing and is an easy way for the children to create a lovely wintery backdrop for their polar bears. Start the top of the muzzle. Web draw a line, which will act as the center of the head. Add two rectangles slanting forward, slightly tapered toward the bottom, one on each side of the large oval.
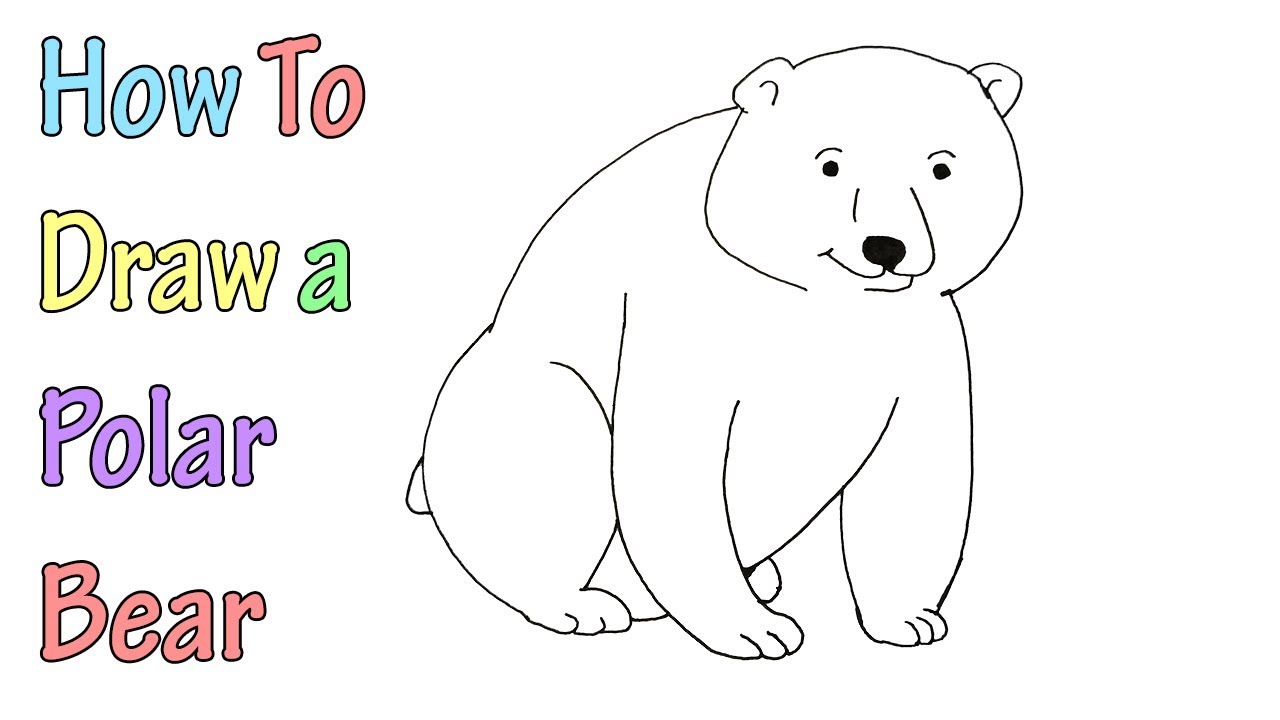
How to Draw a Polar Bear Easy Drawing Tutorial For Kids
Add two rectangles slanting forward, slightly tapered toward the bottom, one on each side of the large oval. Begin by drawing an outline of the polar bear’s head on the upper portion of your paper. Shade a circle or partial circle within each eye to form the pupil. Draw this polar bear by following this drawing lesson. This is such.

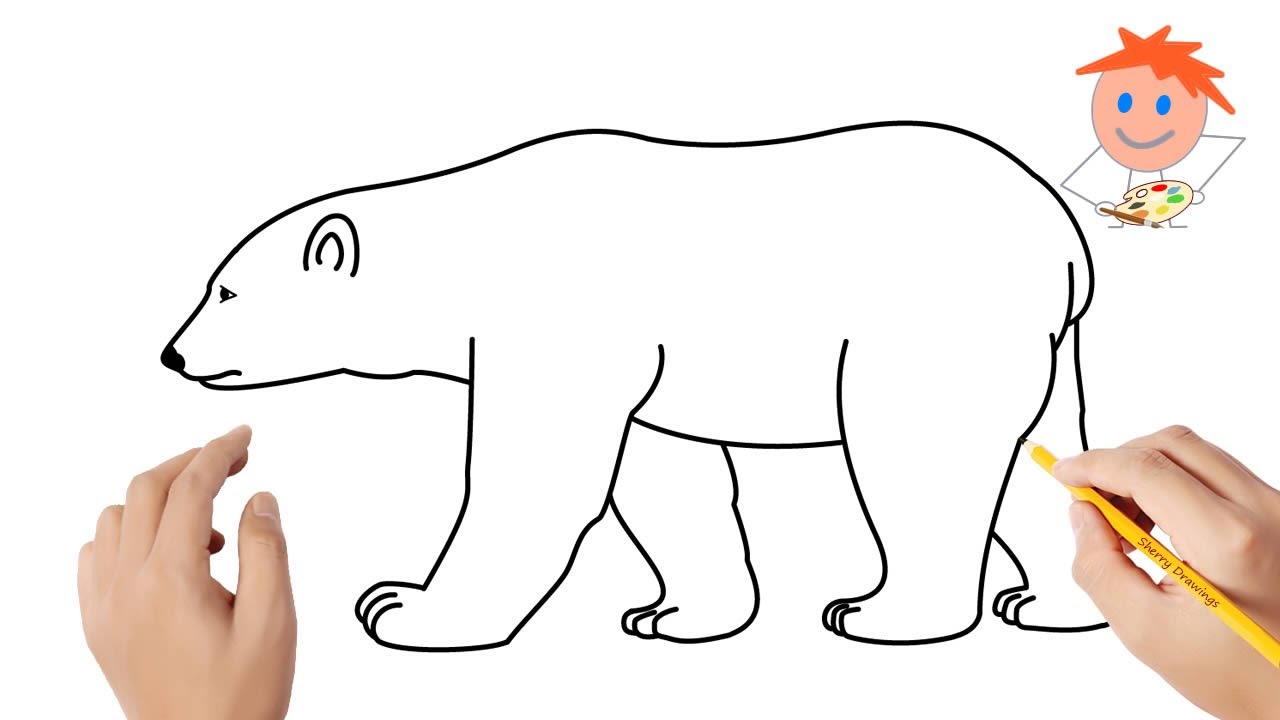
How to DRAW A POLAR BEAR Step by Step Polar Bear Easy Drawing Lesson
Web add a rounded triangle to the bottom of the oval for the head. Start with the polar bear's head. These rectangles and triangles define the polar. Now draw two more paws at the back of the bear’s torso. You can draw his head in an oval shape.
How to Draw a Polar Bear VERY EASY FOR KIDS YouTube
Start with the polar bear's head. Web in this beginner’s lesson, we will learn how to draw polar bear with your drawing materials. To ensure that the polar bear will be drawn in the center, you can create reference lines by. Polar bears have thick, heavy coats, so you'll want to keep these limbs fairly wide. Web depict the bear’s.
How to draw a polar bear Easy drawings
Please support my new channel @happycutedrawing thanks!don't fo. Web depict the bear’s hind legs. Draw in the polar bear claws and details in the face. Web how to draw a polar bear easy and step by step. Well done, now that you’ve completed how to draw a polar bear, considering adding some shading or coloring to make your polar bear.

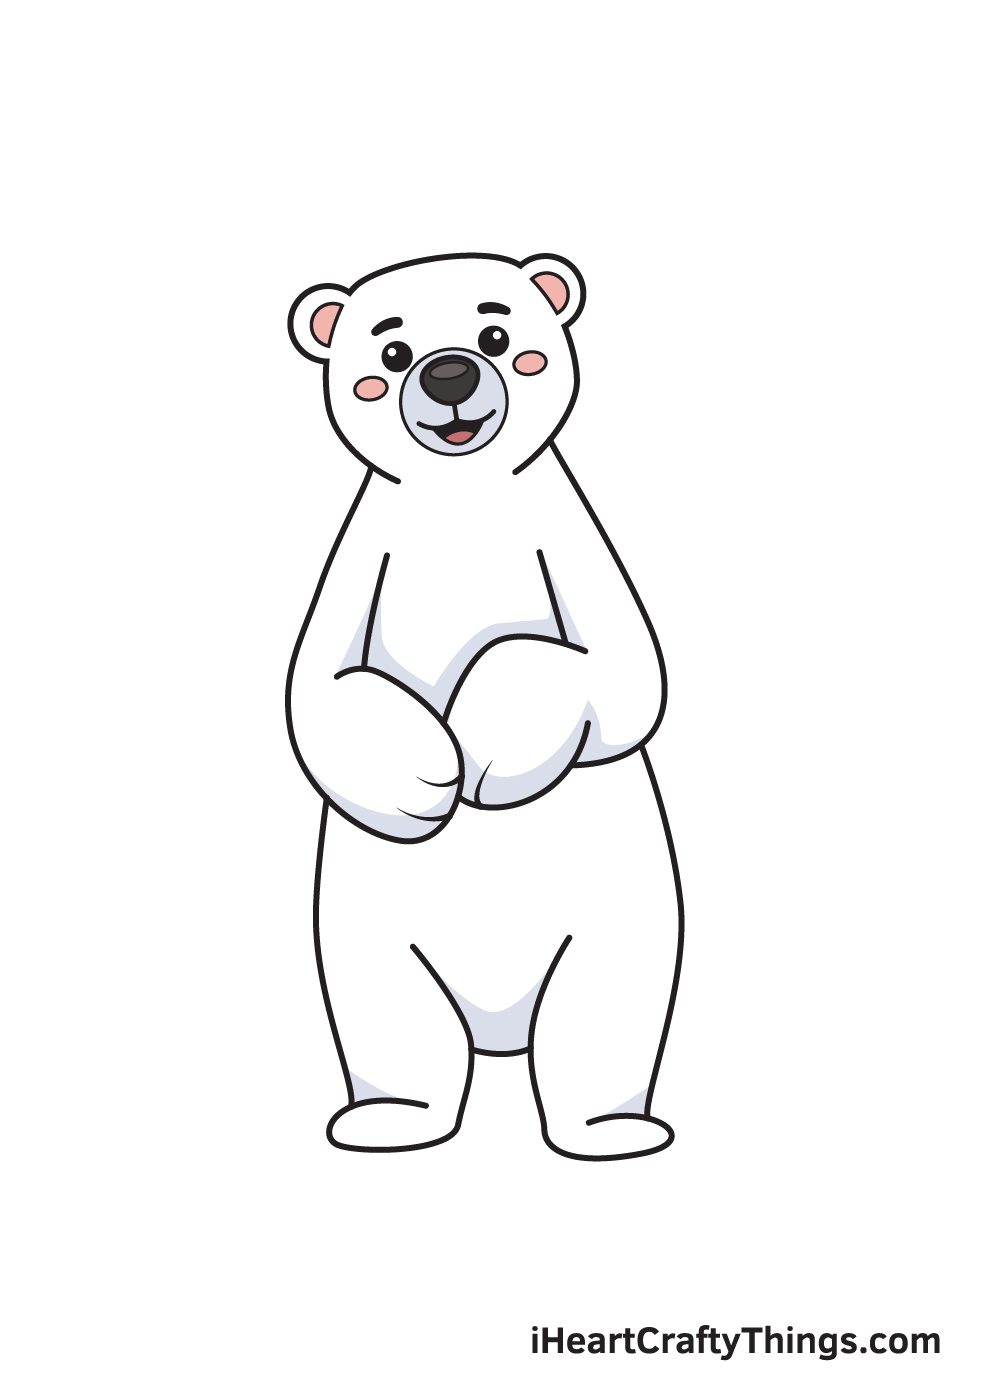
How to Draw Polar Bear HelloArtsy
Use the picture below as a guide to shade or color your bear! Start by lightly sketching the basic shapes that make up the polar bear’s body. Now draw two more paws at the back of the bear’s torso. Draw a curved line above each eye, indicating eyebrows. Sprinkle the salt and leave the background to dry.

How to Draw a Polar Bear YouTube
Then, draw a thick curved line above each eye to indicate the eyebrows. Work on the figure by adding a hip, eyes, nose and ears. For example, the eyes can just be a couple of circles. You can make your polar bear as simple or as complex as you want. Web learn how to draw a realistic polar bear!
Polar Bear Drawing — How To Draw A Polar Bear Step By Step
The next step is to sketch out all of the details for your drawing. To ensure that the polar bear will be drawn in the center, you can create reference lines by. You can make your polar bear as simple or as complex as you want. Draw a curved line above each eye, indicating eyebrows. Begin with an oval shape.

How to Draw a Cartoon Polar Bear Really Easy Drawing Tutorial
Enclose an oval shape around the nose using two curved lines. Define the shapes of the rest of the legs. Start the top of the head. You can make your polar bear as simple or as complex as you want. Wonderful polar bear cub drawing.
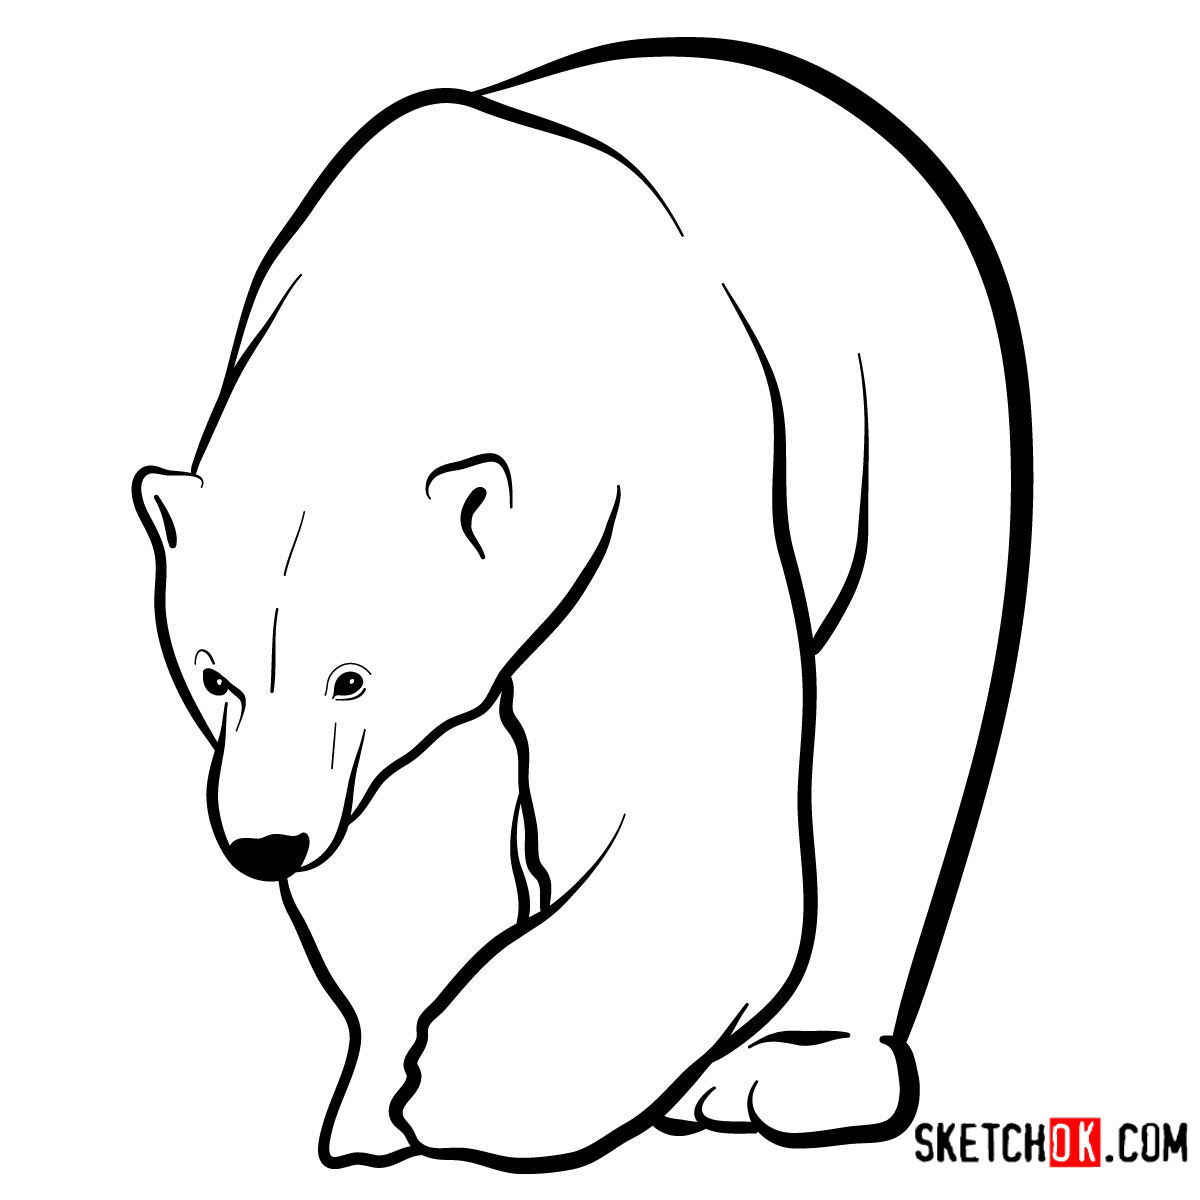
How to draw a Polar bear Wild Animals Sketchok easy drawing guides
This area is the bear's chin and neck. Draw another oval in the middle of the face to form the nose. Start the top of the head. Draw in the polar bear claws and details in the face. Begin by drawing the polar bear's eyes.

How to Draw a Polar Bear Cub in a Few Easy Steps EasyDrawingGuides
You can draw his head in an oval shape. Well done, now that you’ve completed how to draw a polar bear, considering adding some shading or coloring to make your polar bear look realistic! Start the top of the muzzle. The pencil lines in each step is outlined in blue so you can identify the most recent shapes that you.
The Next Step Is To Sketch Out All Of The Details For Your Drawing.
Finish the bottom of the muzzle. Begin by drawing the polar bear's eyes. Home » how to draw » 5 steps to draw a polar bear. Draw another oval in the middle of the face to form the nose.
Notice How The Lower Line Of One Eye Extends To Form The Top Of The Nose.
Now draw two more paws at the back of the bear’s torso. Draw a curved line to form the mouth, and connect it to the nose using a short line. Start by lightly sketching the basic shapes that make up the polar bear’s body. This is such a fun art process to combine with our polar bear drawing and is an easy way for the children to create a lovely wintery backdrop for their polar bears.
Add Two Rectangles Slanting Forward, Slightly Tapered Toward The Bottom, One On Each Side Of The Large Oval.
Shade a circle or partial circle within each eye to form the pupil. You can draw his head in an oval shape. Use the picture below as a guide to shade or color your bear! Use the eraser to remove any unnecessary guidelines.
Work On The Figure By Adding A Hip, Eyes, Nose And Ears.
To ensure that the polar bear will be drawn in the center, you can create reference lines by. Outline the snout, ears and tail of the polar bear. Web add a rounded triangle to the bottom of the oval for the head. Pay attention to the different sizes and shapes contained in the example drawing of the polar bear.