Shirt Drawing Easy
Shirt Drawing Easy - Okay, let’s begin by making a simple outline of the shirt. In your drawing space, sketch a large vertical rectangle. Follow my step by step drawing tutorial and make your own shirt drawing easy!👇 subsc. You can use easy shapes to show the body and shoulders. Draw it’s shape with a several smooth curves starting with the sides, next add the shoulders, neck and finally the bottom. To get started we will use a sketching medium to sketch how our shirt will look. The rectangle will determine the overall size and length. Web drawing a shirt can be super fun! Then, draw a pair of lines descending from the front of the collar. From the ends of the neckline, draw two lines that extend outward at a slight angle.
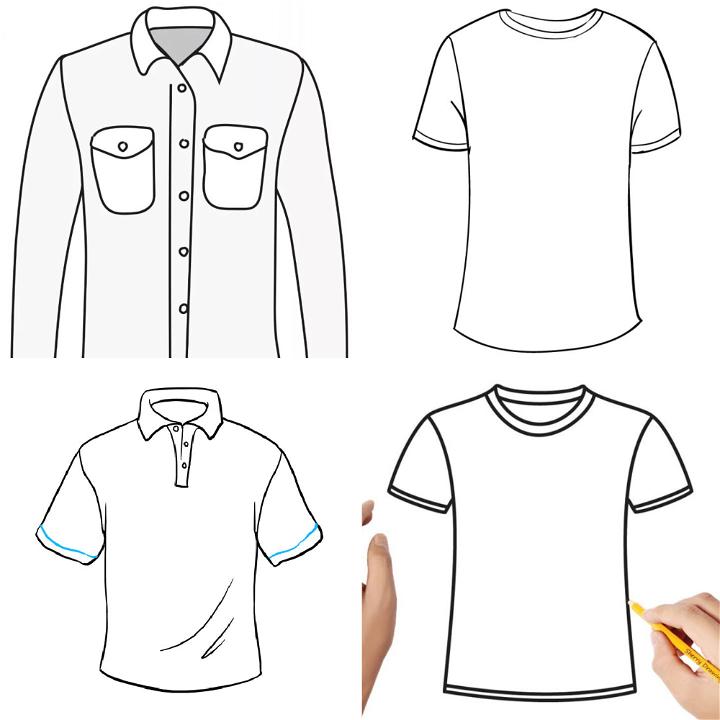
You can use easy shapes to show the body and shoulders. Then, draw a pair of lines descending from the front of the collar. This part of the shirt is called the placket. Unlock ad free and printable drawing and coloring tutorials. Connect the lines at the bottom using a short line. Also, draw a wide u shaped line just below the line drawn in the previous step. The rectangle will determine the overall size and length. Okay, let’s begin by making a simple outline of the shirt. Draw it’s shape with a several smooth curves starting with the sides, next add the shoulders, neck and finally the bottom. This completes the outline of the collar.
From the corner of the collar, draw two lines for shoulder. In your drawing space, sketch a large vertical rectangle. Follow my step by step drawing tutorial and make your own shirt drawing easy!👇 subsc. Just a little reminder, this is just a simple plan. Also make the overall shape slightly wider towards the top. Connect the open ends of one triangle to the open ends of the other triangle using curved lines. Unlock ad free and printable drawing and coloring tutorials. Then, draw a pair of lines descending from the front of the collar. From the ends of the shoulder lines, draw two vertical lines that represent the sides of. Web drawing a shirt can be super fun!

how to draw a shirt easy step by step Brandie Corbitt
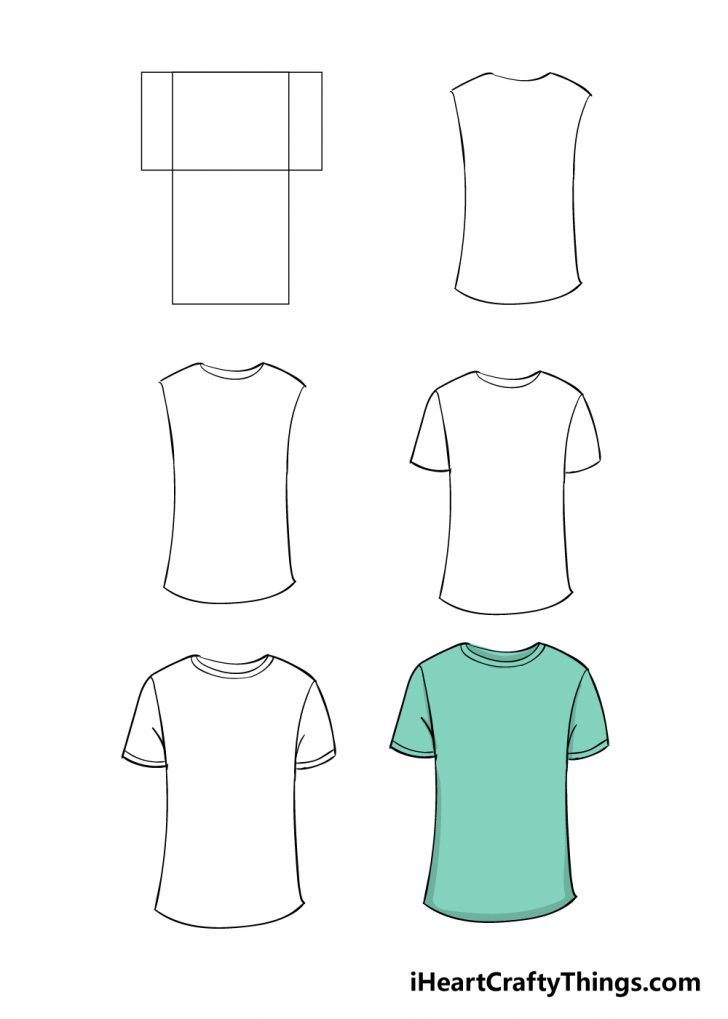
It might seem a little tricky at first, but don't worry, i'll show you how to do it step by step. Also, draw a wide u shaped line just below the line drawn in the previous step. To get started we will use a sketching medium to sketch how our shirt will look. Web create the shoulders: Draw it’s shape.
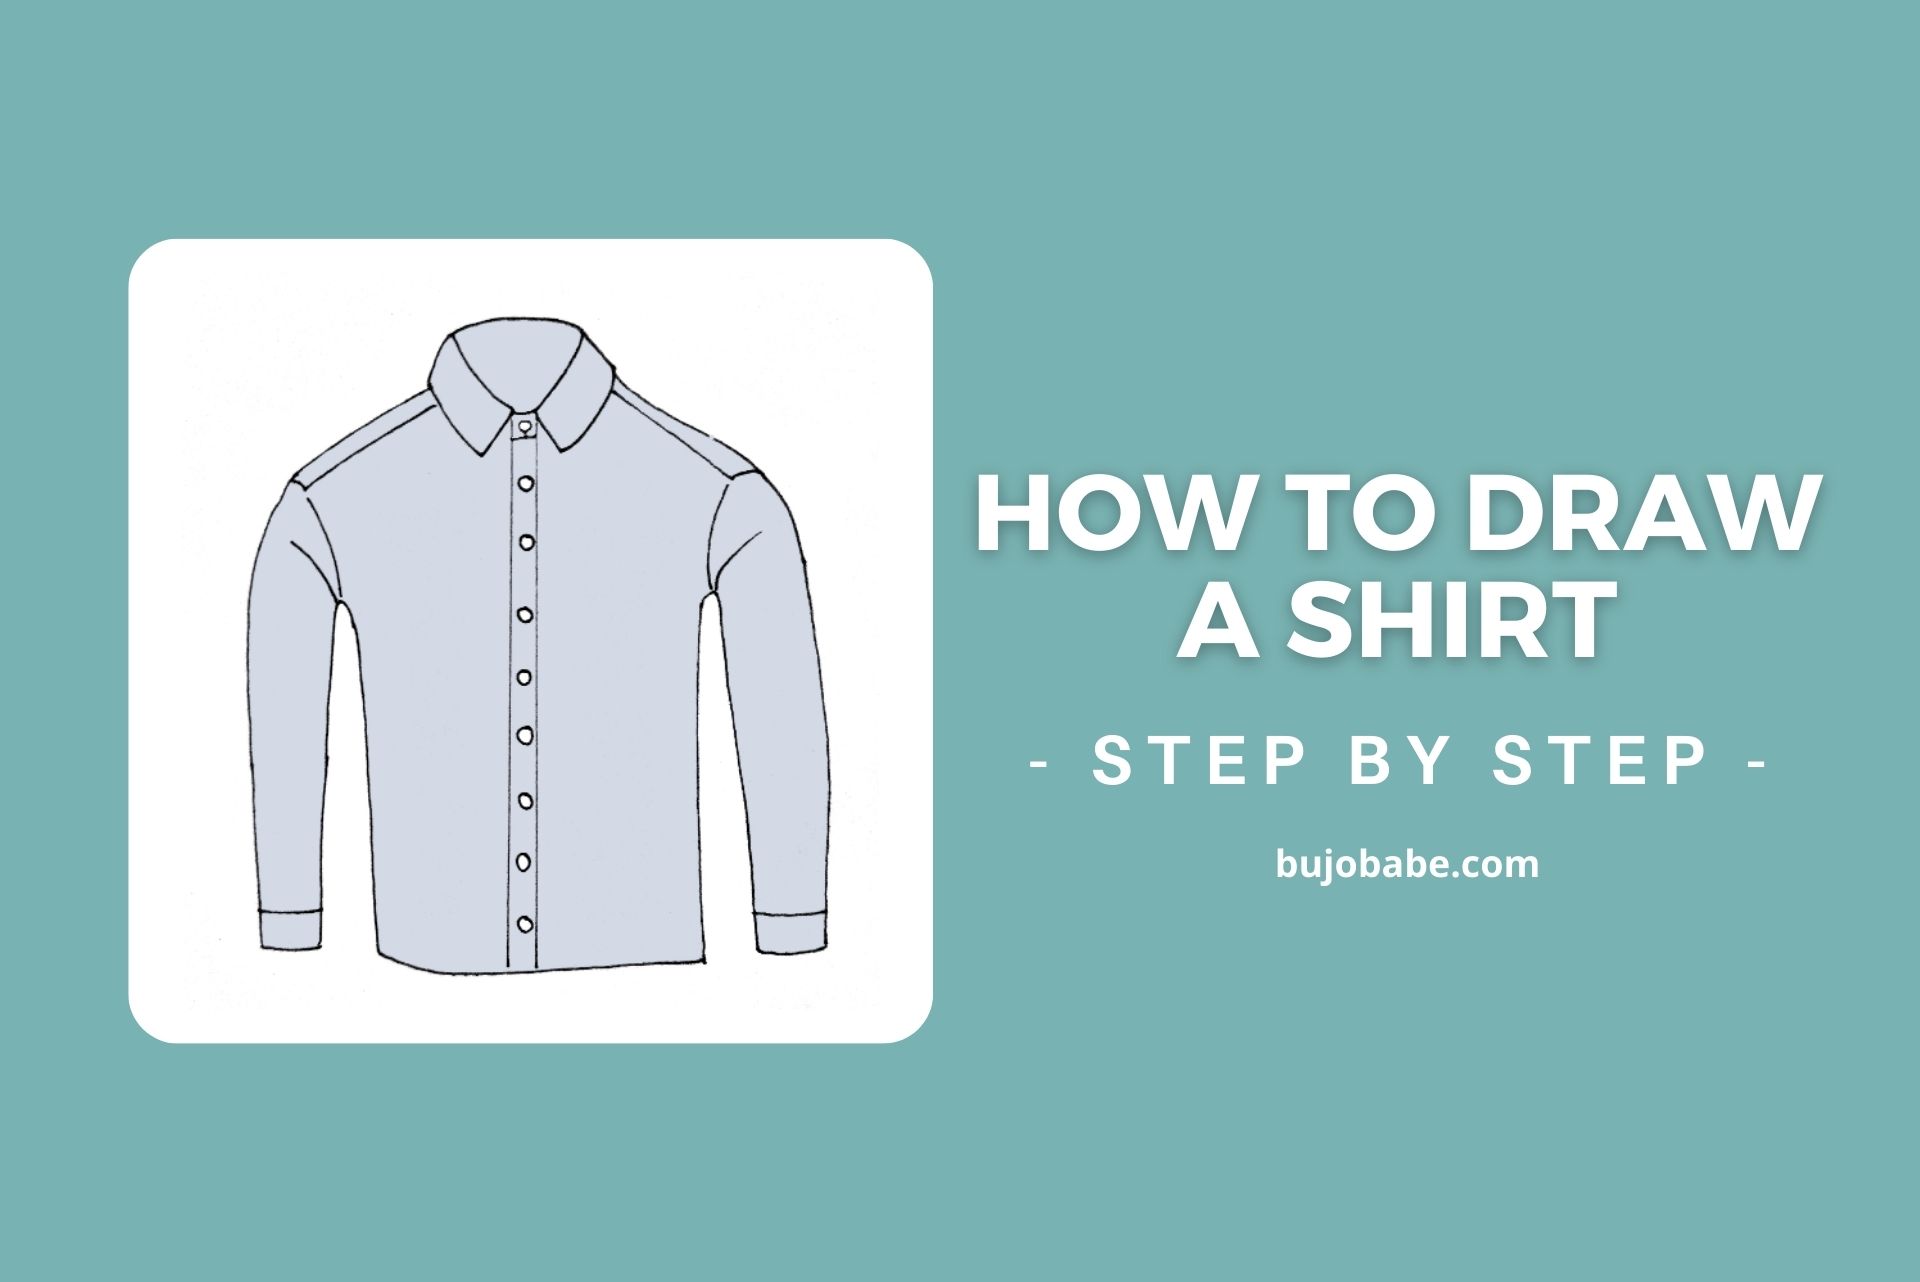
How To Draw A Shirt In A Few Easy Steps Bujo Babe
These lines will form the shoulders of your shirt. Unlock ad free and printable drawing and coloring tutorials. The rectangle will determine the overall size and length. This completes the outline of the collar. Okay, let’s begin by making a simple outline of the shirt.

Shirt Drawing How To Draw A Shirt Step By Step
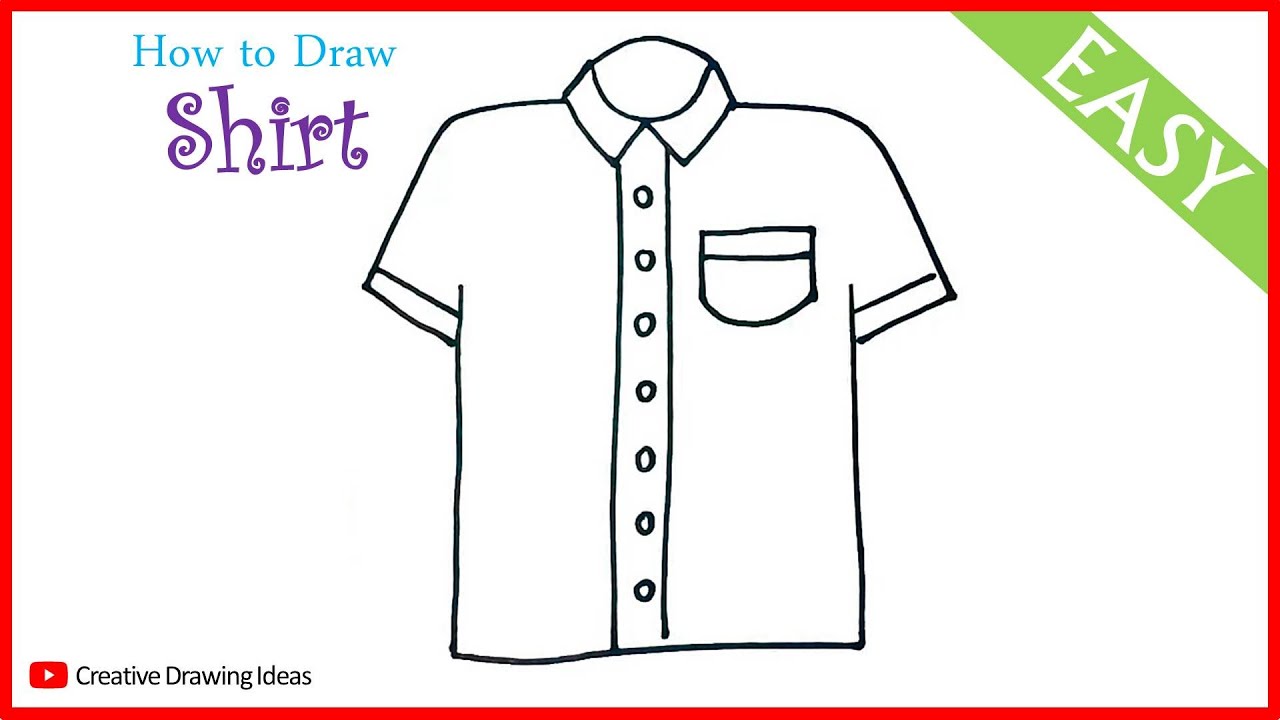
The rectangle will determine the overall size and length. Also make the overall shape slightly wider towards the top. Also, draw a wide u shaped line just below the line drawn in the previous step. Web hi everyone, in this video i show you how to draw a shirt step by step. Connect the lines at the bottom using a.
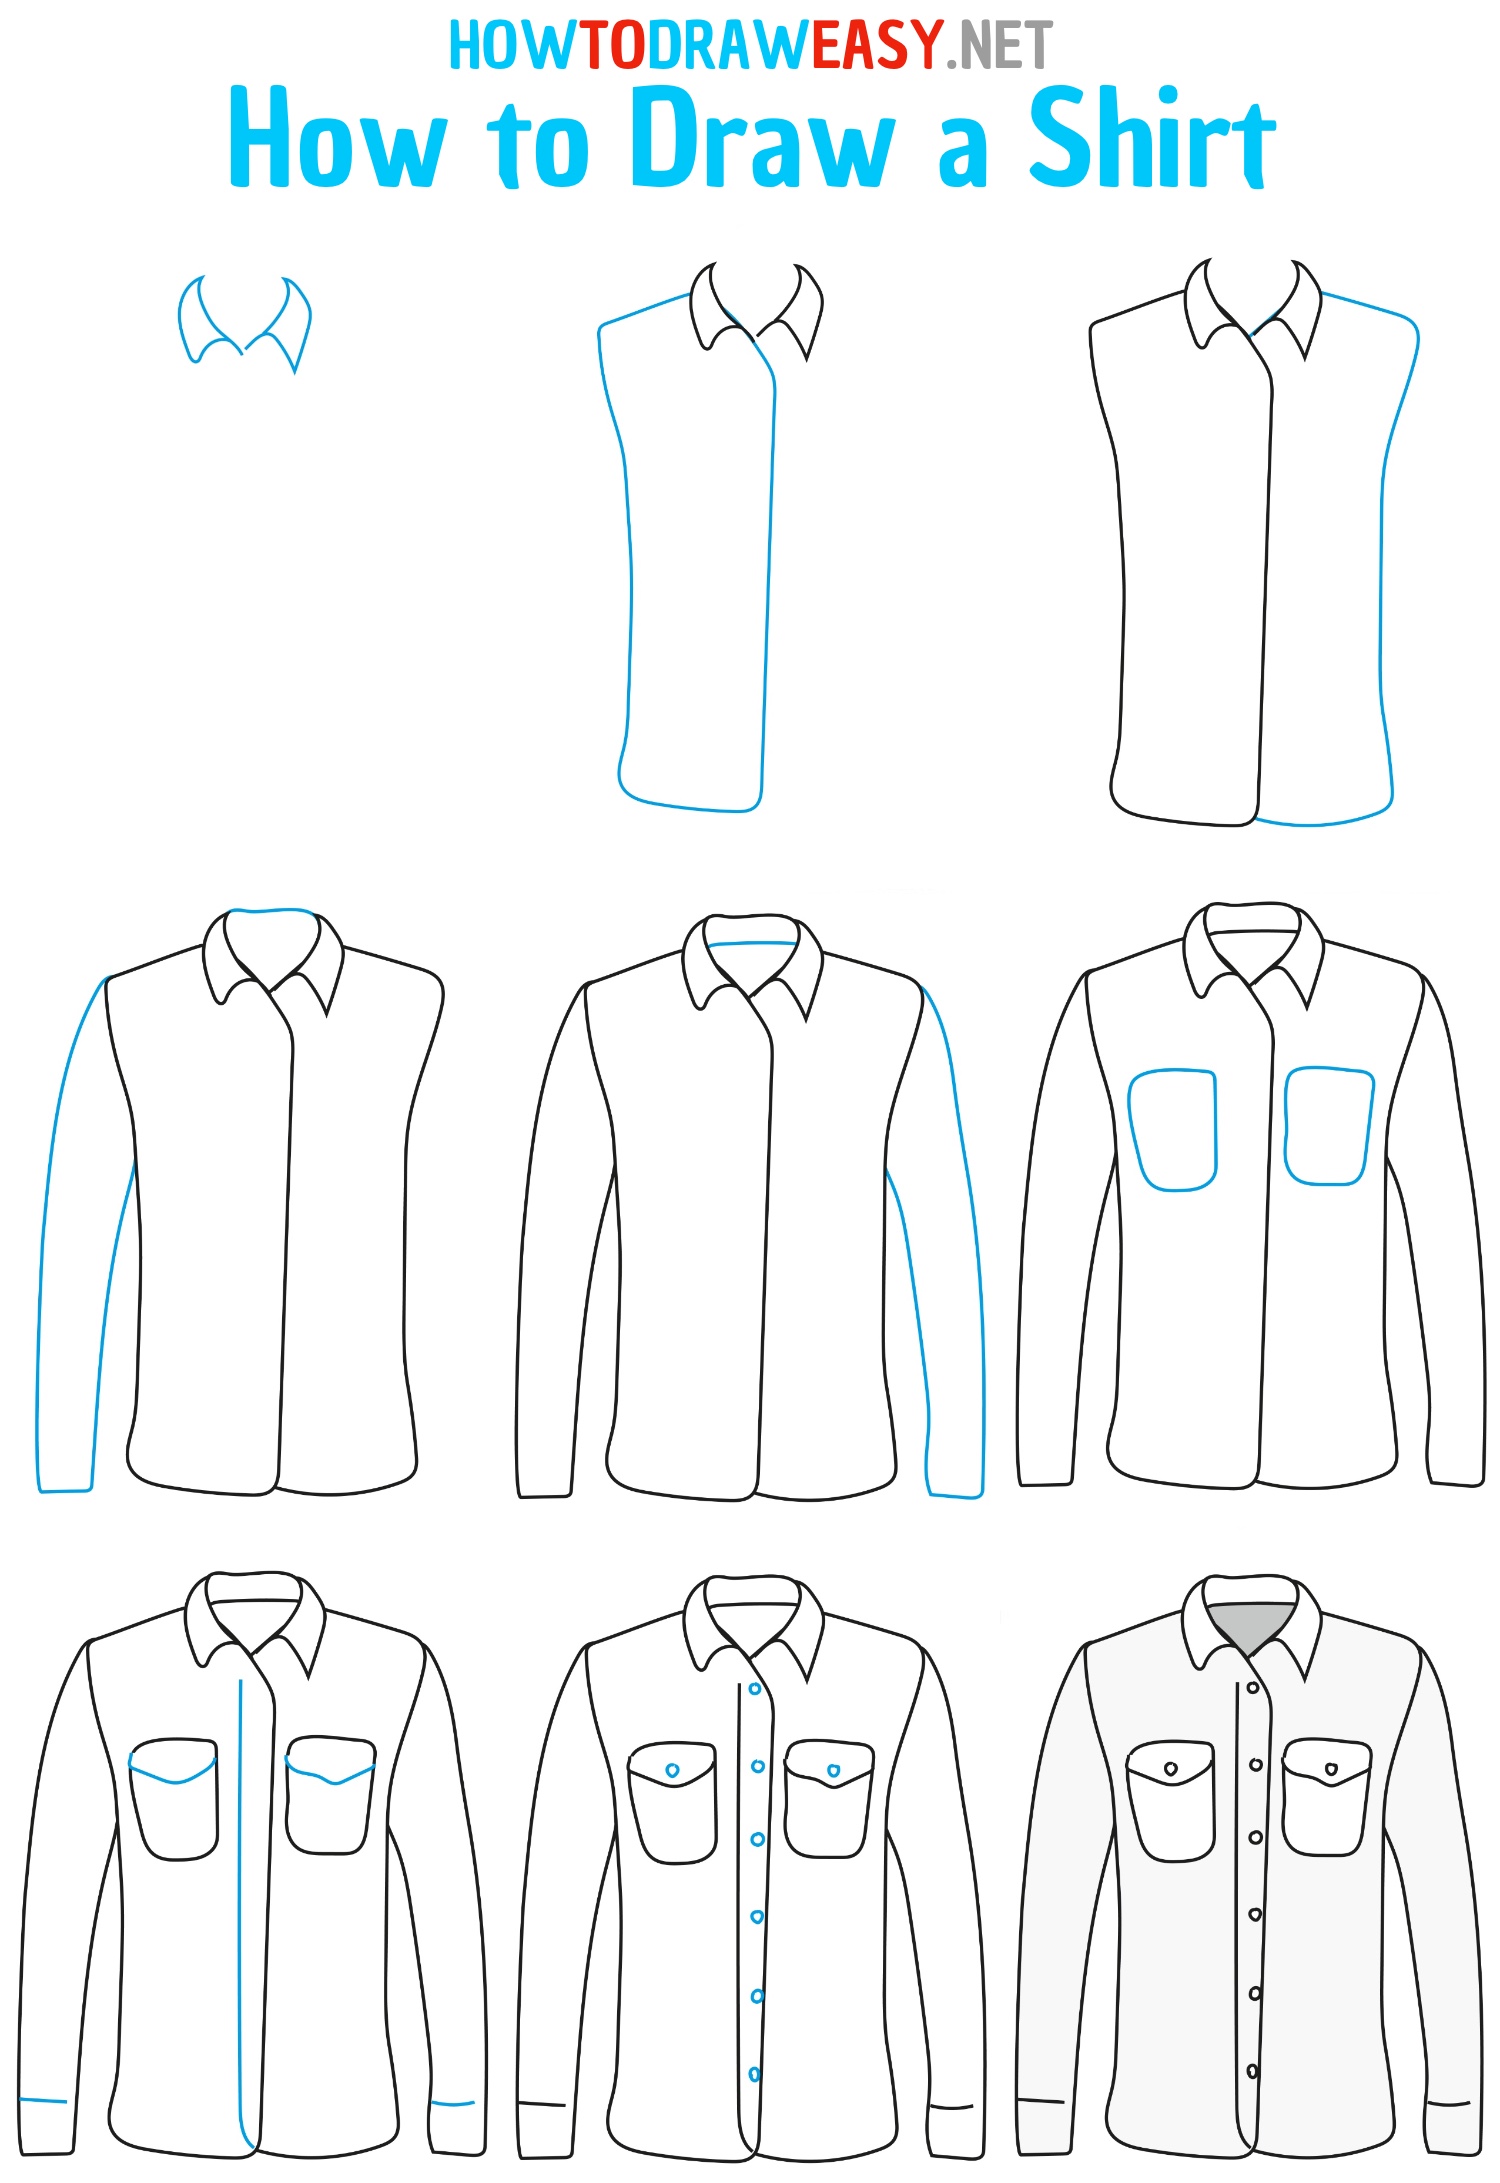
How to Draw a Shirt How to Draw Easy
From the corner of the collar, draw two lines for shoulder. Unlock ad free and printable drawing and coloring tutorials. Web create the shoulders: Draw it’s shape with a several smooth curves starting with the sides, next add the shoulders, neck and finally the bottom. In your drawing space, sketch a large vertical rectangle.

How to Draw a Shirt Design School
From the corner of the collar, draw two lines for shoulder. Connect the lines at the bottom using a short line. From the ends of the neckline, draw two lines that extend outward at a slight angle. Follow my step by step drawing tutorial and make your own shirt drawing easy!👇 subsc. This part of the shirt is called the.
Shirt Drawing How To Draw A Shirt Step By Step
These lines will form the shoulders of your shirt. From the ends of the shoulder lines, draw two vertical lines that represent the sides of. Web hi everyone, in this video i show you how to draw a shirt step by step. From the corner of the collar, draw two lines for shoulder. From the ends of the neckline, draw.

How to Draw a Shirt Really Easy Drawing Tutorial
From the corner of the collar, draw two lines for shoulder. These lines will form the shoulders of your shirt. Also make the overall shape slightly wider towards the top. From the ends of the neckline, draw two lines that extend outward at a slight angle. Extend long curved lines from each end of the line drawn in the previous.
Shirt Drawing How to Draw a Shirt Step by Step T Shirt Drawing Easy
Connect the lines at the bottom using a short line. From the ends of the shoulder lines, draw two vertical lines that represent the sides of. Follow my step by step drawing tutorial and make your own shirt drawing easy!👇 subsc. Also make the overall shape slightly wider towards the top. Web drawing a shirt can be super fun!
25 Easy Shirt Drawing Ideas How to Draw a Shirt
Follow my step by step drawing tutorial and make your own shirt drawing easy!👇 subsc. From the corner of the collar, draw two lines for shoulder. In your drawing space, sketch a large vertical rectangle. Connect the lines at the bottom using a short line. Connect the open ends of one triangle to the open ends of the other triangle.

How to Draw a Shirt How to Draw Easy
Okay, let’s begin by making a simple outline of the shirt. Just a little reminder, this is just a simple plan. It might seem a little tricky at first, but don't worry, i'll show you how to do it step by step. Connect the lines at the bottom using a short line. Follow my step by step drawing tutorial and.
Also Make The Overall Shape Slightly Wider Towards The Top.
Follow my step by step drawing tutorial and make your own shirt drawing easy!👇 subsc. Okay, let’s begin by making a simple outline of the shirt. This part of the shirt is called the placket. Just a little reminder, this is just a simple plan.
Web Create The Shoulders:
You can use easy shapes to show the body and shoulders. From the ends of the neckline, draw two lines that extend outward at a slight angle. From the corner of the collar, draw two lines for shoulder. Extend long curved lines from each end of the line drawn in the previous step.
Connect The Open Ends Of One Triangle To The Open Ends Of The Other Triangle Using Curved Lines.
Web drawing a shirt can be super fun! From the ends of the shoulder lines, draw two vertical lines that represent the sides of. Unlock ad free and printable drawing and coloring tutorials. This completes the outline of the collar.
These Lines Will Form The Shoulders Of Your Shirt.
The rectangle will determine the overall size and length. Also, draw a wide u shaped line just below the line drawn in the previous step. Then, draw a pair of lines descending from the front of the collar. To get started we will use a sketching medium to sketch how our shirt will look.