Shirt Drawing
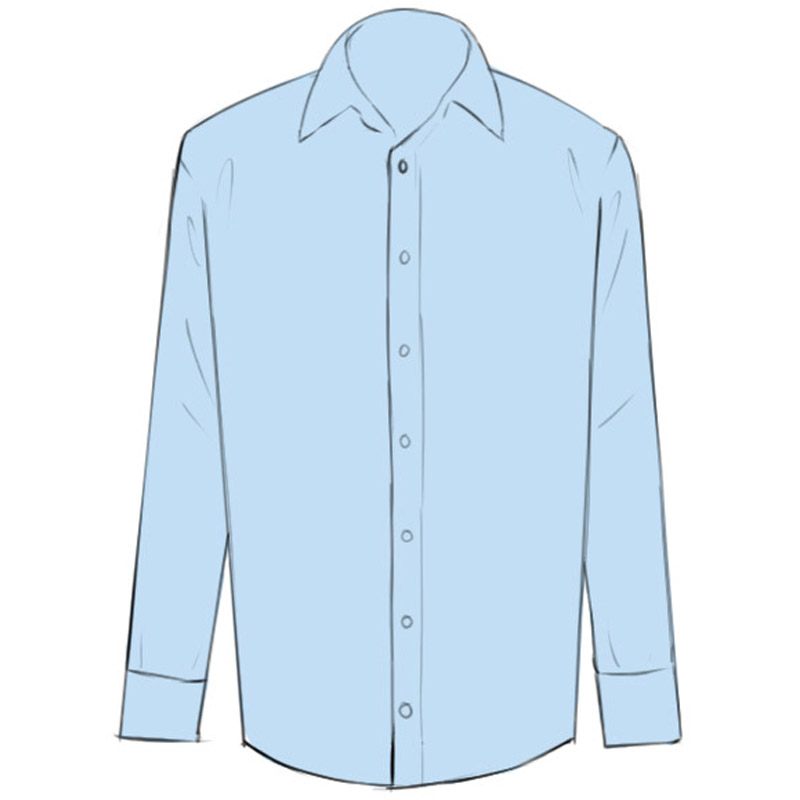
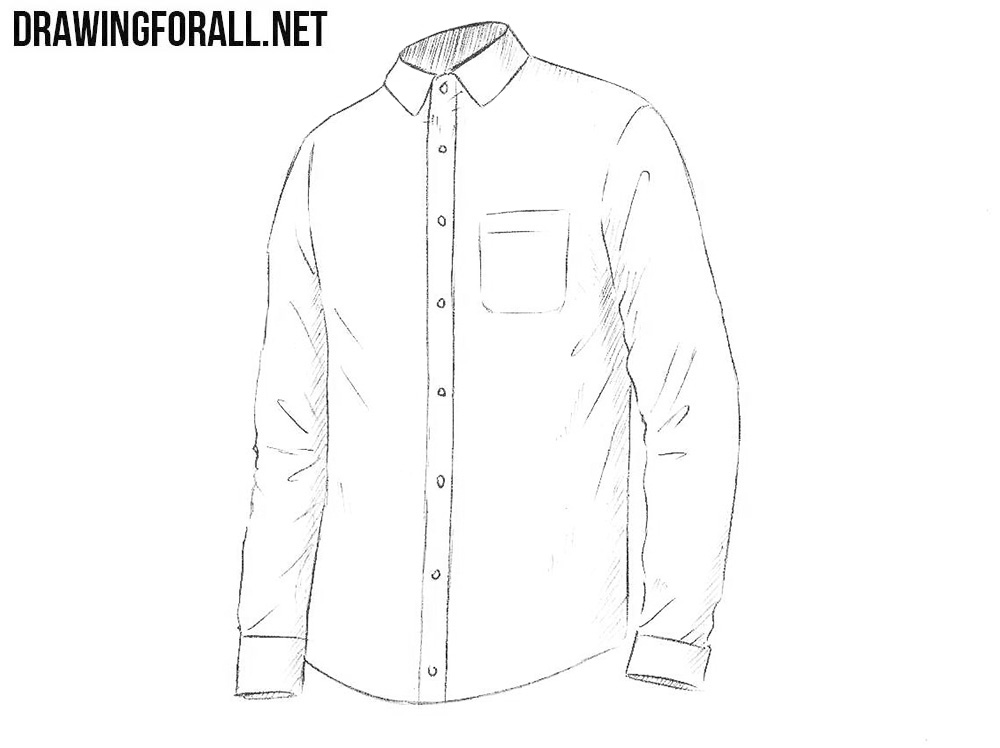
Shirt Drawing - This part of the shirt is called the placket. Drawing is super fun and it’s all about trying new things and practicing a lot! Web if you practice drawing fabric folds, your shirt drawings will look super realistic! Then, draw a pair of lines descending from the front of the collar. Short sleeve · long sleeve · slim fit · geometric · sleeveless · pharmacy · modern fit As you keep practicing, you’ll get super good at making super cool drawings of. This completes the outline of the collar. At the bottom of each sleeve add a cuff. In your drawing space, sketch a large vertical rectangle. Connect the lines at the bottom using a short line.
Extend long curved lines from each end of the line drawn in the previous step. Next, let's add some color and patterns to bring your shirt illustration to life! This completes the outline of the collar. Make the cuffs fairly short in length and slightly narrower than the sleeves. Connect the open ends of one triangle to the open ends of the other triangle using curved lines. Don’t worry if you mess up sometimes, just keep practicing and getting better! Short sleeve · long sleeve · slim fit · geometric · sleeveless · pharmacy · modern fit Web once you've added the creases and folds, your shirt drawing is starting to look much more realistic. In this guide, we will explore the process of. Web if you practice drawing fabric folds, your shirt drawings will look super realistic!
Unlock ad free and printable drawing and coloring tutorials. Web once you've added the creases and folds, your shirt drawing is starting to look much more realistic. The rectangle will determine the overall size and length. This completes the outline of the collar. This part of the shirt is called the placket. Follow my step by step drawing tutorial and make your own shirt drawing easy!👇 subsc. Finish the line drawing by first adding a strip running down the middle of the shirt. Coloring your shirt is an exciting opportunity to showcase your creativity. In this guide, we will explore the process of. Make the cuffs fairly short in length and slightly narrower than the sleeves.
Shirt Drawing How To Draw A Shirt Step By Step
At the bottom of each sleeve add a cuff. Short sleeve · long sleeve · slim fit · geometric · sleeveless · pharmacy · modern fit Also, draw a wide u shaped line just below the line drawn in the previous step. This part of the shirt is called the placket. Connect the lines at the bottom using a short.

How To Draw A Shirt In A Few Easy Steps Bujo Babe
Web once you've added the creases and folds, your shirt drawing is starting to look much more realistic. Next, let's add some color and patterns to bring your shirt illustration to life! With various colors and patterns to choose from, you can. At the bottom of each sleeve add a cuff. In your drawing space, sketch a large vertical rectangle.

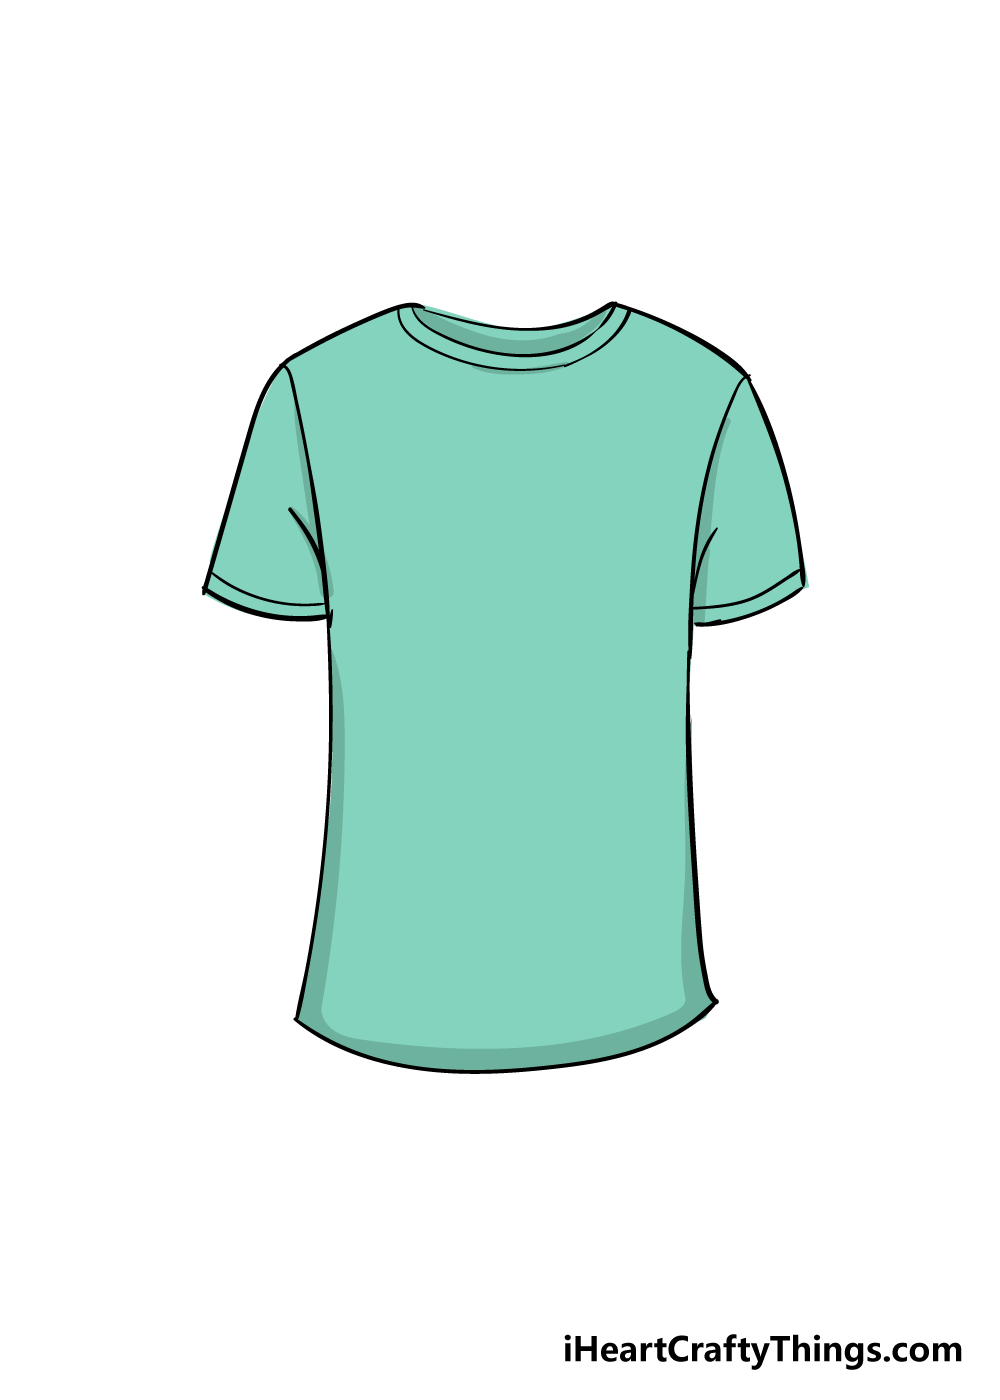
How to Draw a TShirt
In this guide, we will explore the process of. 4/5 (22 reviews) Web if you practice drawing fabric folds, your shirt drawings will look super realistic! As you keep practicing, you’ll get super good at making super cool drawings of. Next, let's add some color and patterns to bring your shirt illustration to life!
How to Draw a Shirt Easy Drawing Art
Finish the line drawing by first adding a strip running down the middle of the shirt. Next, let's add some color and patterns to bring your shirt illustration to life! As you keep practicing, you’ll get super good at making super cool drawings of. In this guide, we will explore the process of. With various colors and patterns to choose.

How to Draw a Shirt
Extend long curved lines from each end of the line drawn in the previous step. Then, draw a pair of lines descending from the front of the collar. This completes the outline of the collar. The rectangle will determine the overall size and length. Web hi everyone, in this video i show you how to draw a shirt step by.
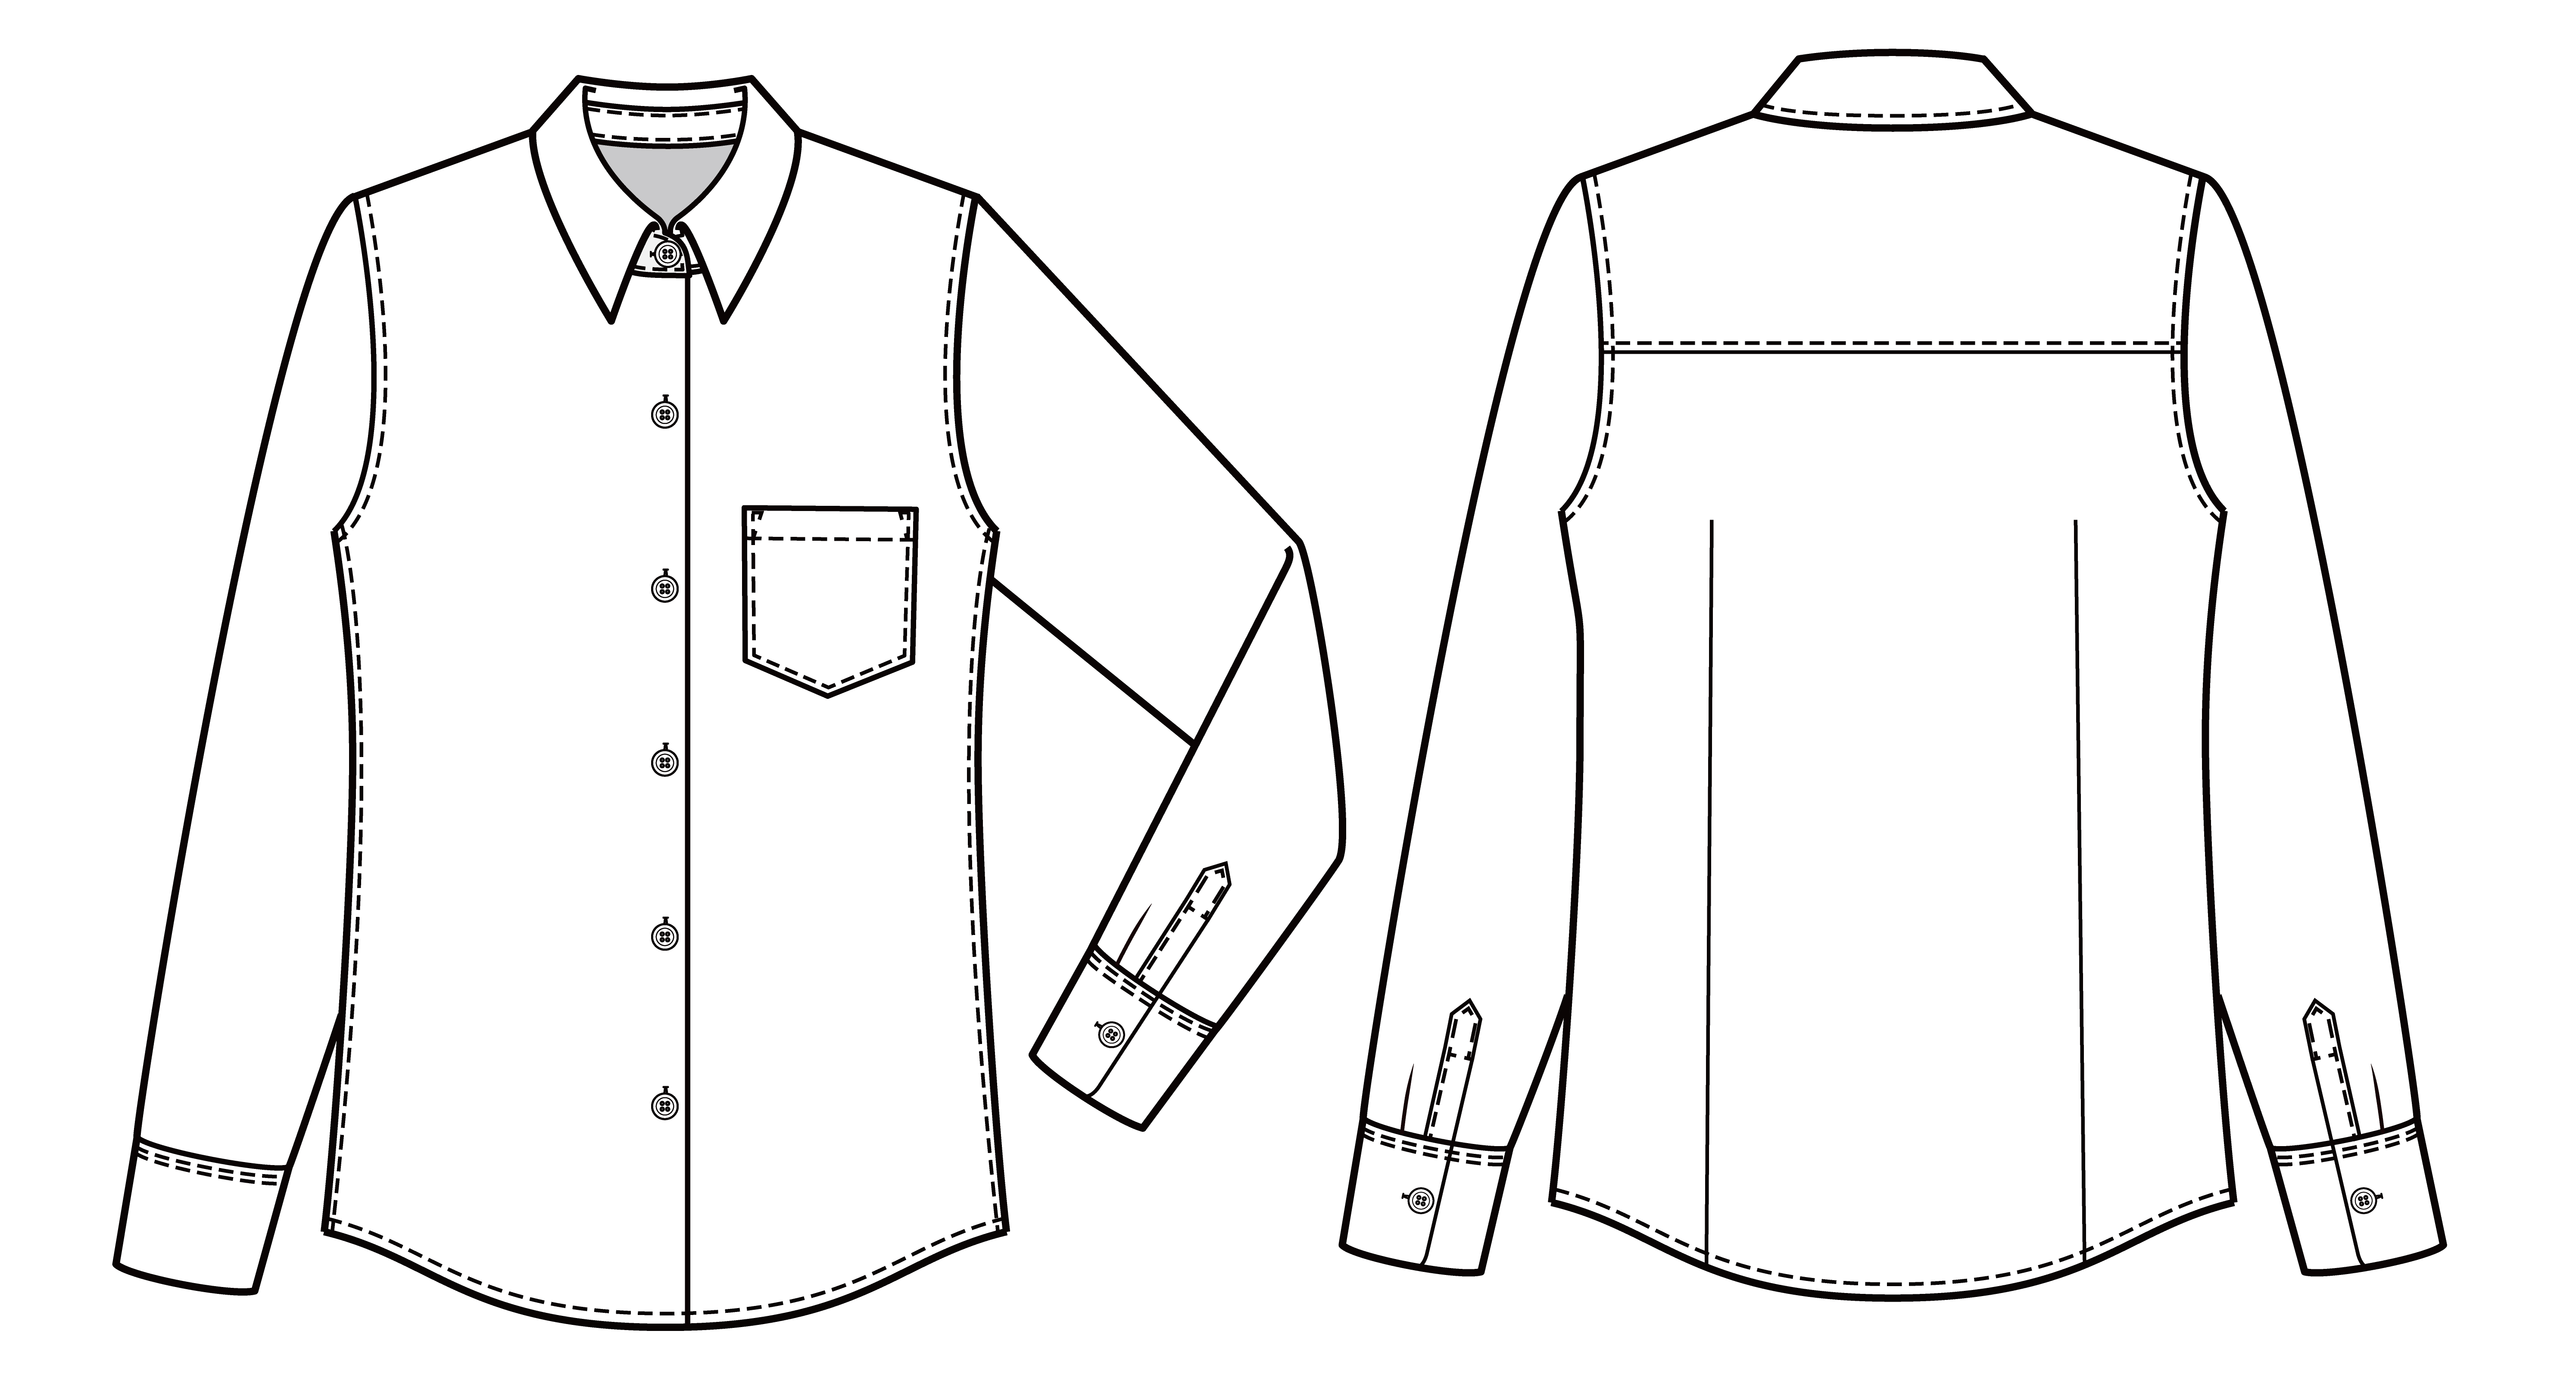
Long Sleeve Shirts fashion flat technical drawing template 364090
Drawing is super fun and it’s all about trying new things and practicing a lot! Extend long curved lines from each end of the line drawn in the previous step. Follow my step by step drawing tutorial and make your own shirt drawing easy!👇 subsc. Make the cuffs fairly short in length and slightly narrower than the sleeves. This part.

How to Draw a Shirt How to Draw Easy
This part of the shirt is called the placket. Drawing shirts requires attention to detail and an understanding of the structural elements that make up this essential piece of clothing. Unlock ad free and printable drawing and coloring tutorials. The rectangle will determine the overall size and length. Follow my step by step drawing tutorial and make your own shirt.
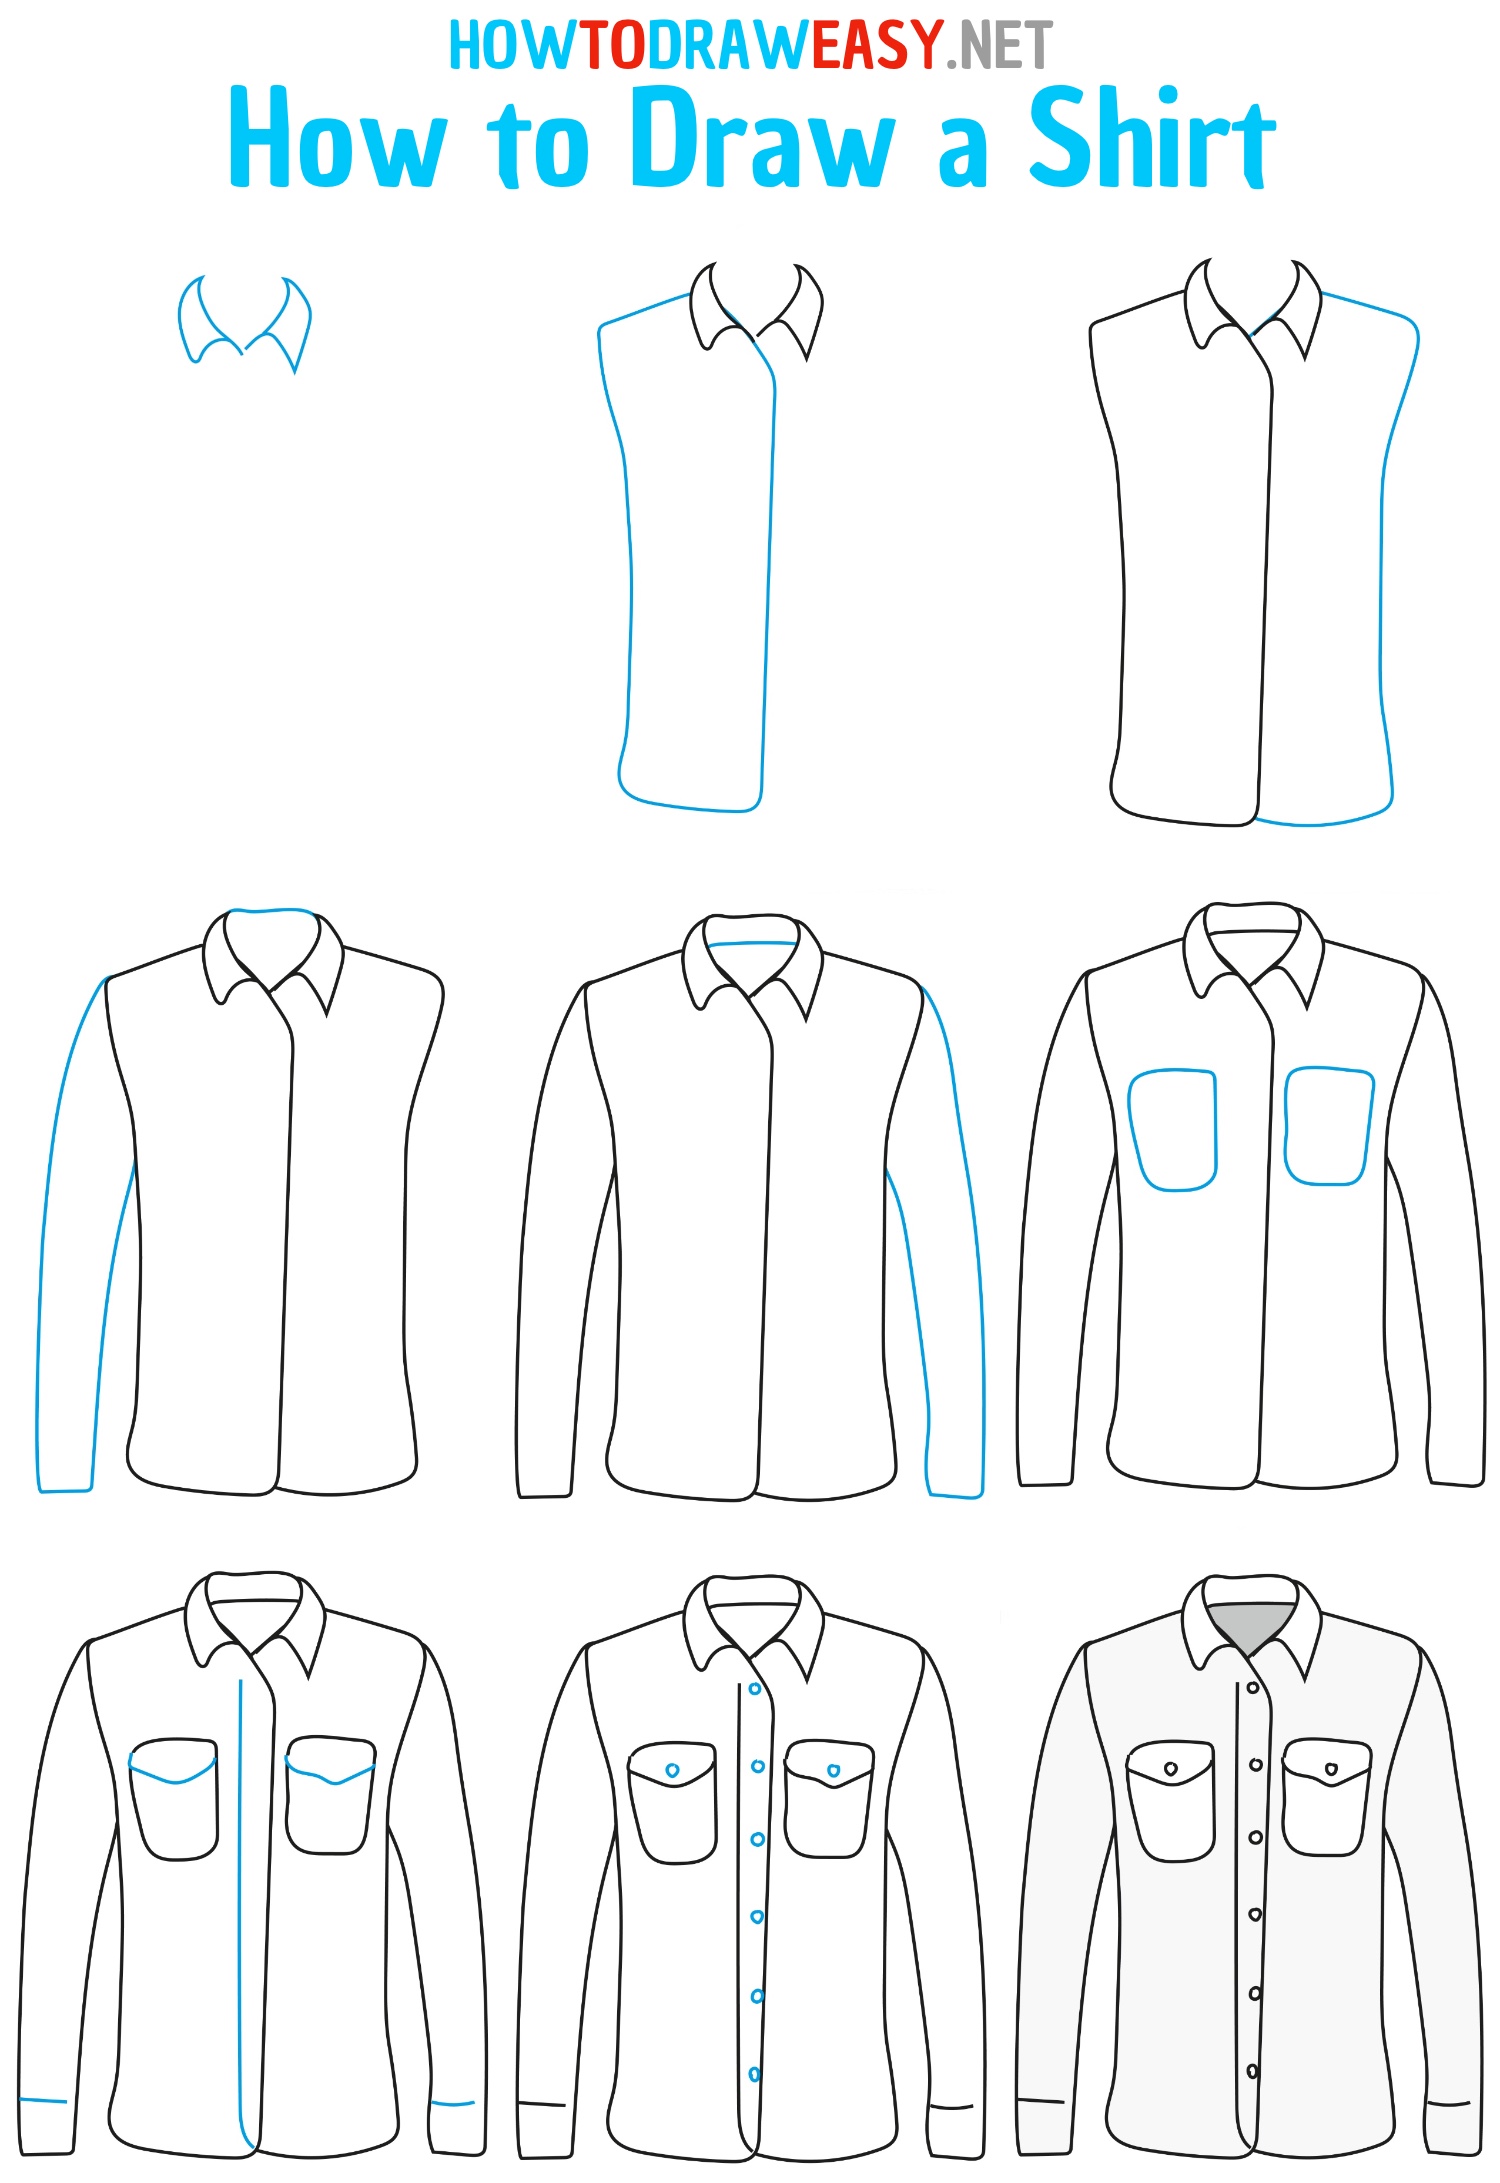
How to Draw a Shirt How to Draw Easy
Also, draw a wide u shaped line just below the line drawn in the previous step. In your drawing space, sketch a large vertical rectangle. The rectangle will determine the overall size and length. Coloring your shirt is an exciting opportunity to showcase your creativity. Drawing shirts requires attention to detail and an understanding of the structural elements that make.
How to Draw a Shirt
Web if you practice drawing fabric folds, your shirt drawings will look super realistic! Don’t worry if you mess up sometimes, just keep practicing and getting better! Connect the open ends of one triangle to the open ends of the other triangle using curved lines. Coloring your shirt is an exciting opportunity to showcase your creativity. In this guide, we.
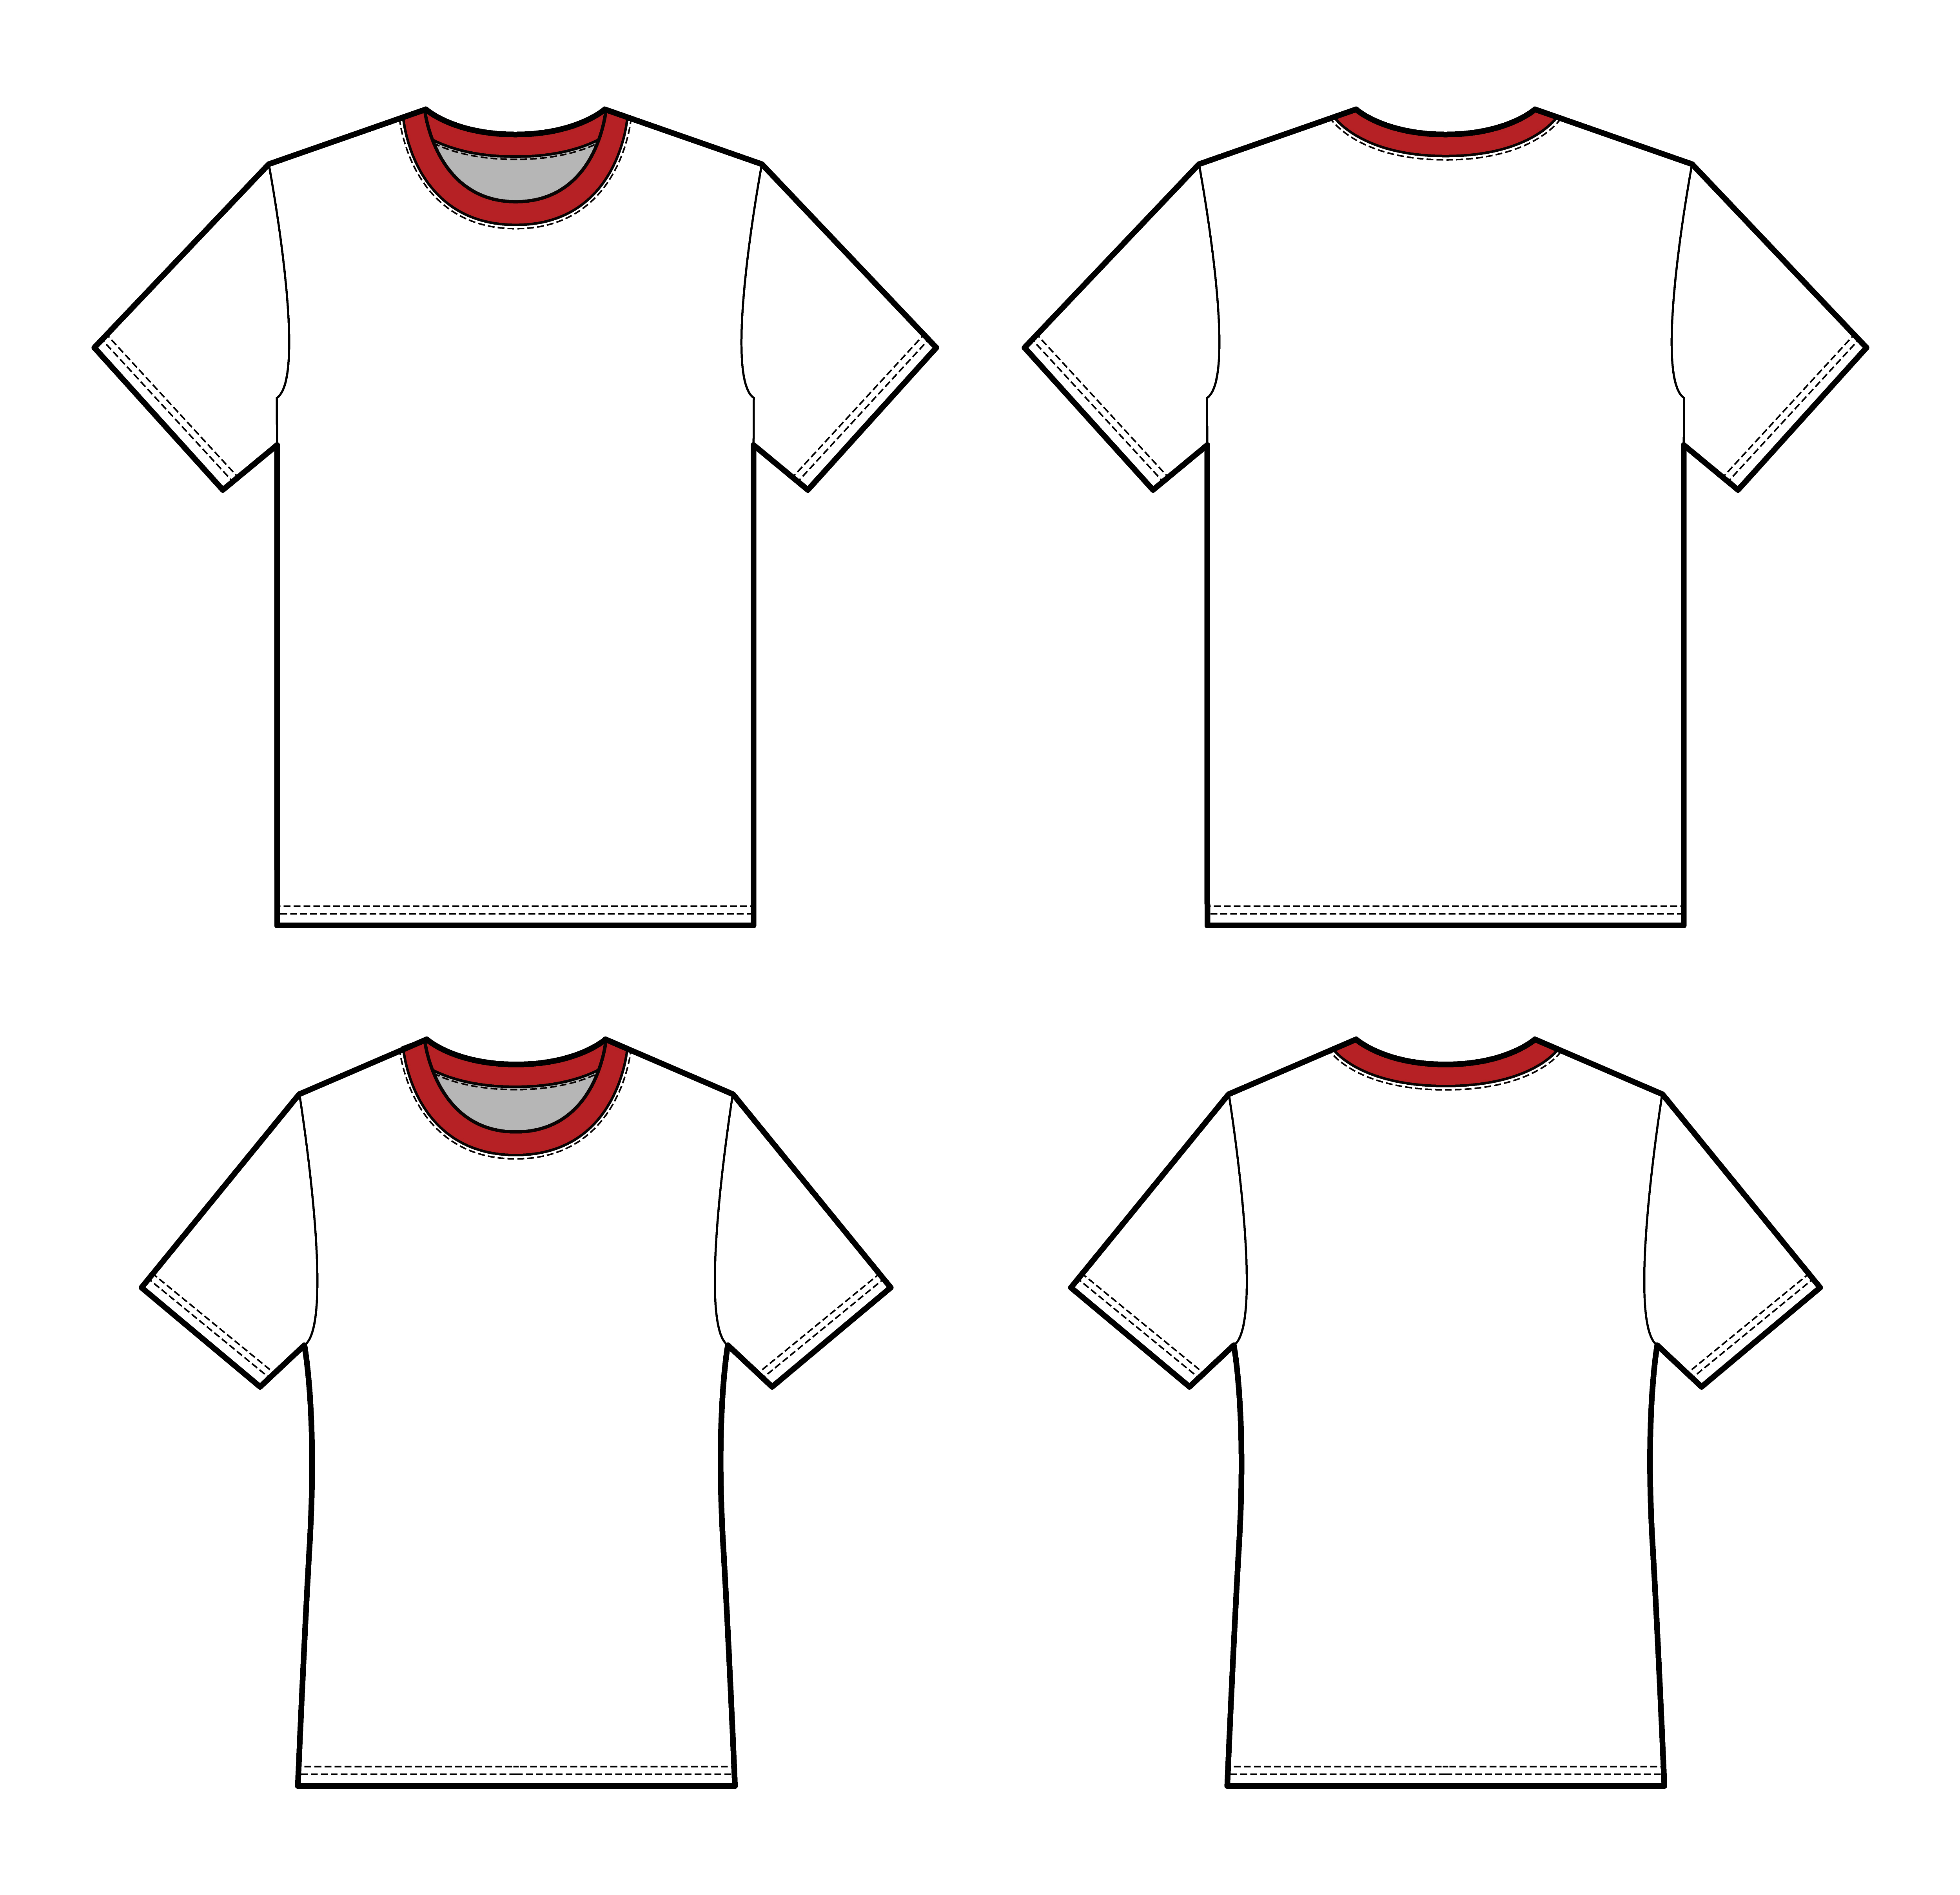
Basic Tee shirt fashion flat technical drawing template 364957
Web hi everyone, in this video i show you how to draw a shirt step by step. Make the cuffs fairly short in length and slightly narrower than the sleeves. At the bottom of each sleeve add a cuff. In this guide, we will explore the process of. Web once you've added the creases and folds, your shirt drawing is.
Web Once You've Added The Creases And Folds, Your Shirt Drawing Is Starting To Look Much More Realistic.
Connect the open ends of one triangle to the open ends of the other triangle using curved lines. At the bottom of each sleeve add a cuff. 4/5 (22 reviews) Also, draw a wide u shaped line just below the line drawn in the previous step.
As You Keep Practicing, You’ll Get Super Good At Making Super Cool Drawings Of.
With various colors and patterns to choose from, you can. Then, draw a pair of lines descending from the front of the collar. The rectangle will determine the overall size and length. Short sleeve · long sleeve · slim fit · geometric · sleeveless · pharmacy · modern fit
Make The Cuffs Fairly Short In Length And Slightly Narrower Than The Sleeves.
In this guide, we will explore the process of. Next, let's add some color and patterns to bring your shirt illustration to life! In your drawing space, sketch a large vertical rectangle. Coloring your shirt is an exciting opportunity to showcase your creativity.
Connect The Lines At The Bottom Using A Short Line.
Follow my step by step drawing tutorial and make your own shirt drawing easy!👇 subsc. Don’t worry if you mess up sometimes, just keep practicing and getting better! To get started we will use a sketching medium to sketch how our shirt will look. Finish the line drawing by first adding a strip running down the middle of the shirt.