Shrek Drawing
Shrek Drawing - Use light strokes, as these lines are for proportion and structure. Web learn how to draw shrek.welcome to the cartooning club channel, the ultimate destination for all your drawing needs! Using one smooth line, mark the central axis of the body. Below the section where the two construction lines intersect, draw an oval as a guide for shrek's nose. Add details to the clothes, like a belt and vest. Web drawing shrek requires understanding a set pattern. Draw two smaller circles on top of the head for the eyes. Draw the body and clothes with basic shapes, like rectangles and circles. Draw a long, curved line from the base of the ear to the opposite side of the circle, outlining the remainder of shrek's head. Draw the folds as large dots.
This guide unfolds over 16 steps, with each step aiming to provide clarity and ease. Draw the body and clothes with basic shapes, like rectangles and circles. Web 👋welcome to my channel!🖌in each video, i guide you through the drawing process step by step.⚠️i'd like to mention that my videos feature animated tutorials. Add some detail to the clothing by drawing patches, stitches, and buttons. Using one smooth line, mark the central axis of the body. Web draw a large circle for shrek’s head. Add a big smile under the nose. Below the section where the two construction lines intersect, draw an oval as a guide for shrek's nose. Draw a long, curved line from the base of the ear to the opposite side of the circle, outlining the remainder of shrek's head. Draw a smaller oval inside, forming the remaining ear.
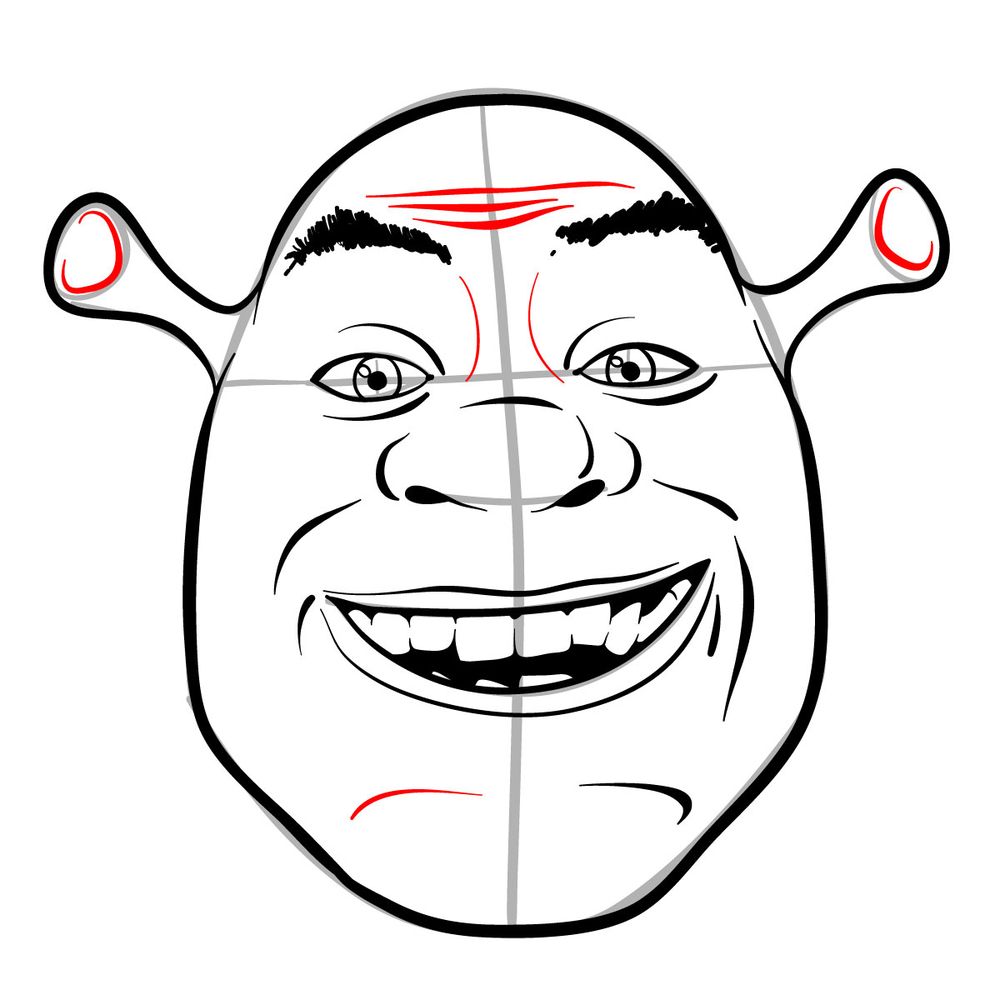
For shrek's eyes, draw two football shapes that sit on top of the horizontal line and on either side of the vertical line. From the shoulders, draw two slightly curved lines to create shrek’s arms. Draw a smaller oval inside, forming the remaining ear. Use a series of small, connected, curved lines. Draw two smaller circles on top of the head for the eyes. Add details to the clothes, like a belt and vest. Create shrek's vest by drawing curved lines from the neck that extend into shoulder shape and continue downward. Web 👋welcome to my channel!🖌in each video, i guide you through the drawing process step by step.⚠️i'd like to mention that my videos feature animated tutorials. Whether you're a beginner or an experien. Draw two ears on the top of the head.
Shrek Drawing at Explore collection of Shrek Drawing
Web 👋welcome to my channel!🖌in each video, i guide you through the drawing process step by step.⚠️i'd like to mention that my videos feature animated tutorials. Draw two ears on the top of the head. Draw the body and clothes with basic shapes, like rectangles and circles. Whether you're a beginner or an experien. Add details to the clothes, like.

How to Draw Shrek Really Easy Drawing Tutorial
Acts as a compass throughout your journey. Add a big smile under the nose. At the end of each arm, draw three overlapping ovals to form the fingers. This guide unfolds over 16 steps, with each step aiming to provide clarity and ease. Use a series of small, connected, curved lines.

How to Draw Shrek (with Pictures) wikiHow
Then, draw curved lines extending from this line and the circle, and connect them using an open oval. Draw two smaller circles on top of the head for the eyes. Initiating the first 2 steps with this shade provides a basic scaffold. Draw a curved line below the eyes for the nose. For shrek's eyes, draw two football shapes that.

HOW TO DRAW SHREK JUST WITH PENCIL YouTube
Draw a smaller oval inside, forming the remaining ear. Whether you're a beginner or an experien. Web draw a large circle for shrek’s head. Web drawing shrek requires understanding a set pattern. Then, draw curved lines extending from this line and the circle, and connect them using an open oval.
Как нарисовать Шрека Учимся рисовать
Draw a curved line below the eyes for the nose. Using one smooth line, mark the central axis of the body. Below the section where the two construction lines intersect, draw an oval as a guide for shrek's nose. Draw a long, curved line from the base of the ear to the opposite side of the circle, outlining the remainder.
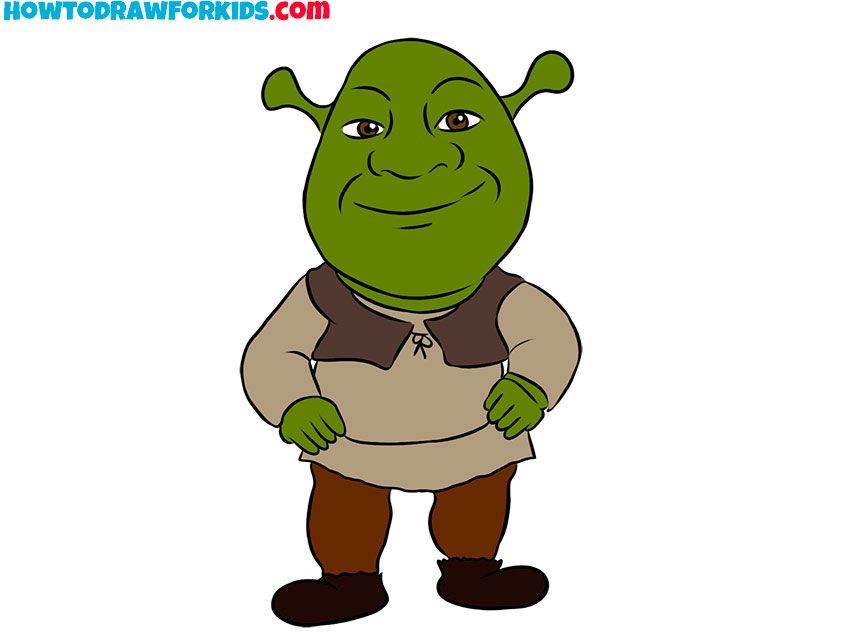
How to Draw Shrek Easy Drawing Tutorial For Kids
Draw a curved line below the eyes for the nose. Draw the body and clothes with basic shapes, like rectangles and circles. At the end of each arm, draw three overlapping ovals to form the fingers. Use thin lines to define the position of the arms and legs. Web draw shrek's eyes with curved lines and three small circles inside,.
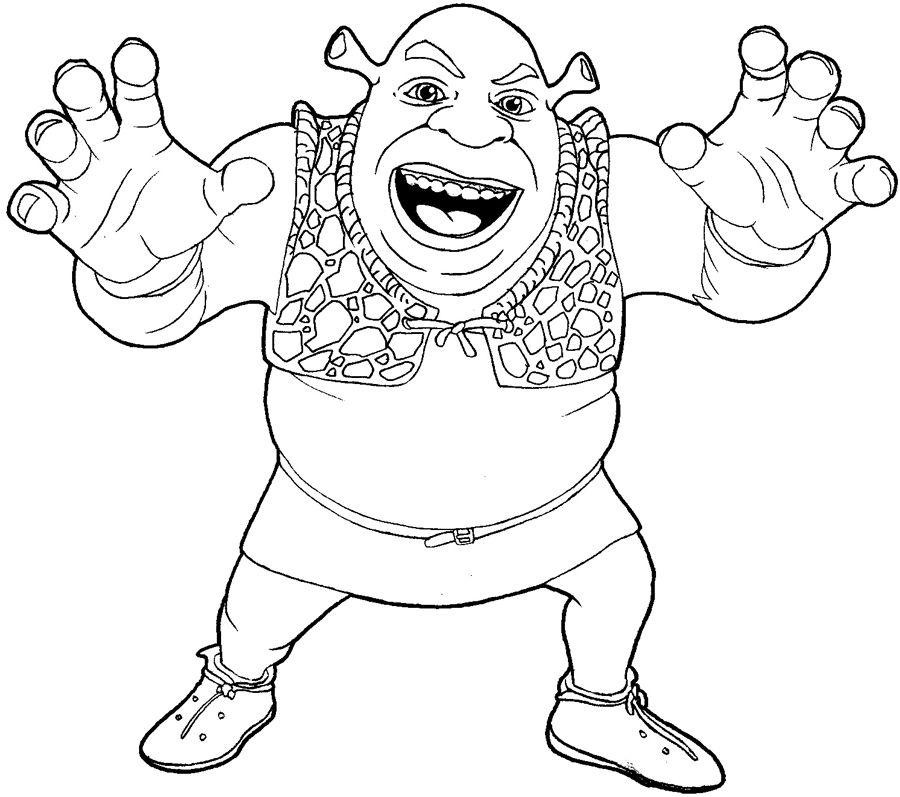
How to Draw Shrek from Shrek with Easy Step by Step Drawing Tutorial
Add details to the clothes, like a belt and vest. Use a series of small, connected, curved lines. Web draw shrek's eyes with curved lines and three small circles inside, add a smiling mouth with lips and chin. Web draw a large circle for shrek’s head. Draw the collar of shrek's garment.
In honor of 19th anniversary, I decided to draw a portrait of Shrek. I
Draw the collar of shrek's garment. For shrek's eyes, draw two football shapes that sit on top of the horizontal line and on either side of the vertical line. Use a series of small, connected, curved lines. On either side of shrek's head, near the ends of the horizontal construction line, draw a. Whether you're a beginner or an experien.

Cómo dibujar a Shrek (con imágenes) wikiHow
Create shrek's vest by drawing curved lines from the neck that extend into shoulder shape and continue downward. At the end of each arm, draw three overlapping ovals to form the fingers. On either side of shrek's head, near the ends of the horizontal construction line, draw a. Web draw shrek's eyes with curved lines and three small circles inside,.
How to draw the face of Shrek Sketchok easy drawing guides
Acts as a compass throughout your journey. Web draw a large circle for shrek’s head. At the end of each arm, draw three overlapping ovals to form the fingers. Add details to the clothes, like a belt and vest. Draw two ears on the top of the head.
Web Drawing Shrek Requires Understanding A Set Pattern.
Web draw a large circle for shrek’s head. This guide unfolds over 16 steps, with each step aiming to provide clarity and ease. Add a big smile under the nose. Draw the collar of shrek's garment.
Draw A Long, Curved Line From The Base Of The Ear To The Opposite Side Of The Circle, Outlining The Remainder Of Shrek's Head.
Create shrek's vest by drawing curved lines from the neck that extend into shoulder shape and continue downward. Draw two smaller circles on top of the head for the eyes. From the shoulders, draw two slightly curved lines to create shrek’s arms. Whether you're a beginner or an experien.
Below The Section Where The Two Construction Lines Intersect, Draw An Oval As A Guide For Shrek's Nose.
Use light strokes, as these lines are for proportion and structure. Draw a curved line below the eyes for the nose. Using one smooth line, mark the central axis of the body. Web learn how to draw shrek.welcome to the cartooning club channel, the ultimate destination for all your drawing needs!
Use A Series Of Small, Connected, Curved Lines.
Web draw shrek's eyes with curved lines and three small circles inside, add a smiling mouth with lips and chin. Draw two ears on the top of the head. At the end of each arm, draw three overlapping ovals to form the fingers. Use thin lines to define the position of the arms and legs.