Skeleton Legs Drawing Easy
Skeleton Legs Drawing Easy - Now move onto the legs. For a more detailed skeleton, add in ribs and sternum around the figure 8, and a spine from shoulder to hip. Just like the arms, draw the legs as blocky shapes for now. The greater trochanter comes quite close to the body surface and plays an important role in model drawing. The upper part of the femur has two bony projections: Plan for this drawing to take about 20 minutes, but the drawing process may actually take more time if a background is created as well. Begin the skeleton outline by drawing the skull. Then draw out the tibia, fibula and the patella (knee bones). If we examine our reference images, we can notice that the different muscles in the leg cause the leg to exhibit different lines. Then, you can use a small curved boomerang shape for the nose beneath the eyes.
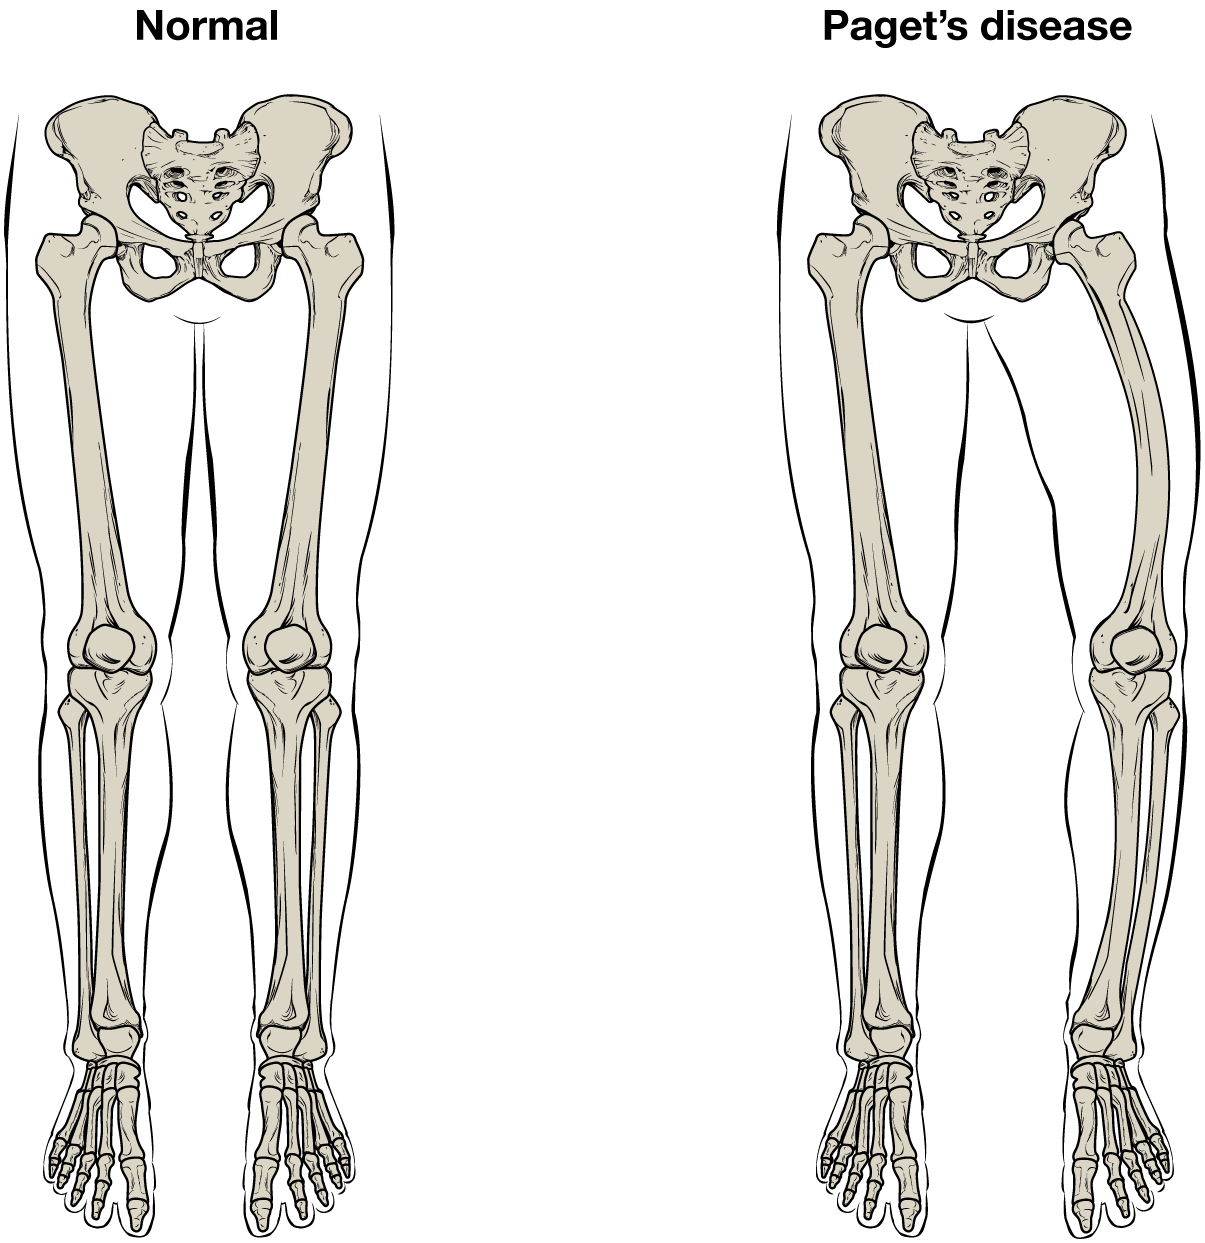
We shall focus a bit more on the skull for this part of your skeleton drawing. Next, use some small, curvy shapes to form the toothy mouth beneath. All drawing steps are included here which make it fun and simple to follow! Front 3/4 view of the pelvis (left) and back 3/4 view (right). These bones are called the tibia and the fibula. One leg is a straight rectangle, while the other one is bent at the knee. Although the sacrum vertebrae are fused, there are still some spaces visible between them. Shade two large ovals for the eye sockets and two smaller ones at the sides of the mouth. Web time to jump right into the biggest and strongest bones in the human body. Follow my step by step drawing tutorial and you are going to be able to make your own skelet.
My first skeleton drawing was far from perfect, but it was a start. Web time to jump right into the biggest and strongest bones in the human body. Here, we examine the shadows’ line motion in the original image. Sketch the outer lines of the hand, defining the thumb and adding the outlines of the remaining fingers. These bones are called the tibia and the fibula. Finding the lines and adding light shades. Draw the femur, connecting it to the hip bones. Blend the shaded tones together to smooth the gradations, and pick out highlights where necessary. Separate the fingers into sections to depict the phalanges. Web hi,in this video i show you how to draw a skeleton step by step!

How to Draw Legs, the Easy StepbyStep Guide with Simplified Anatomy
Draw these lines as you perceive them in as much light as possible. Add the second color coat; The idea of drawing bones and getting the structure right was intimidating. Draw them as simple circles. Drawing from the skull to the ribcage in pen;
Bone Structure · Anatomy and Physiology
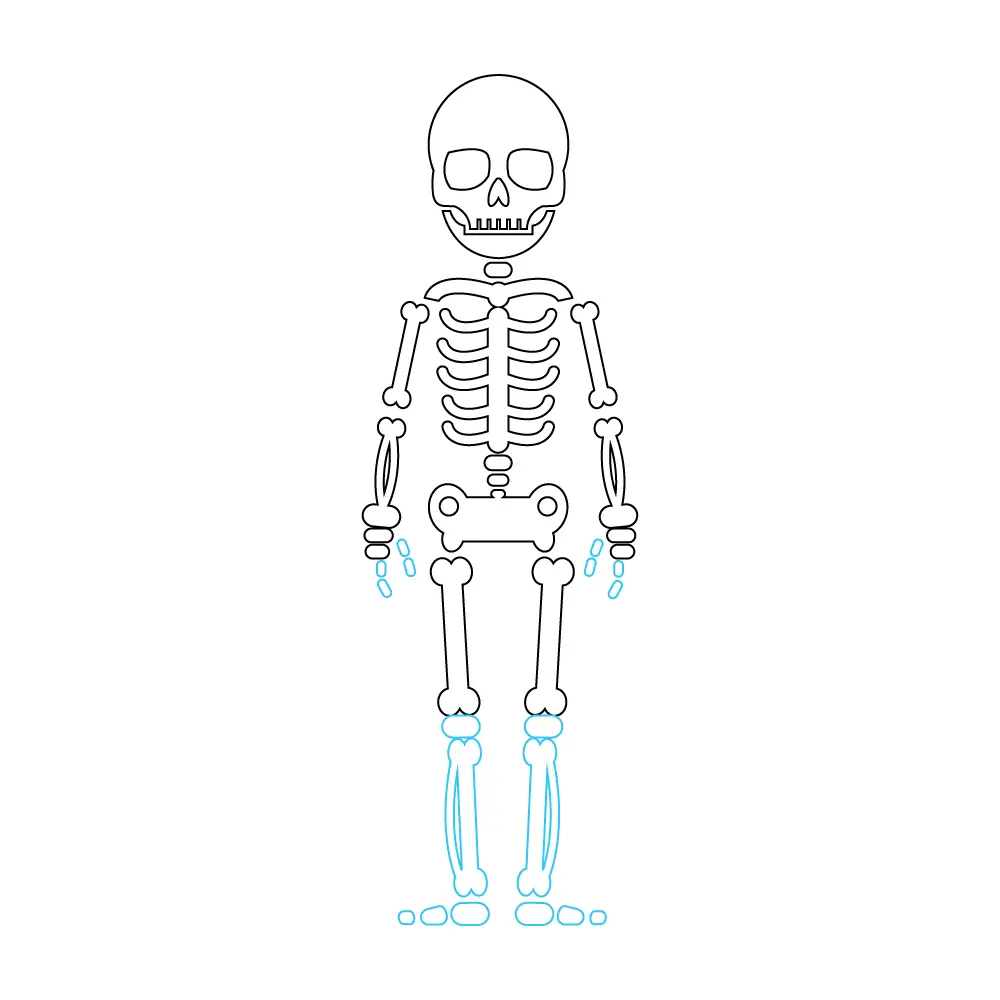
A circle for the head, a rectangle for the chest, an oval for the pelvis, circles for main joints like shoulders, hips, elbows, and knees, and a curved line for the spine. Here, we examine the shadows’ line motion in the original image. 1 an easy guide to drawing a skeleton. So, prepare your drawing supplies, we will proceed! Depicting.
How to Draw A Skeleton Step by Step
The first step is to draw a simple outline, which will help us further when adding some parts of the body. Front 3/4 view of the pelvis (left) and back 3/4 view (right). It’s easy to get overwhelmed by the complex details of all the muscles in a body, so instead, think of the body in basic shapes: So, prepare.
Skeleton Leg Drawing
So, prepare your drawing supplies, we will proceed! Next, use some small, curvy shapes to form the toothy mouth beneath. Add the tiny tail vertebrae. Web when i first decided to learn how to draw a skeleton, it seemed like a big challenge. Web 1.22 step 22:

Skeleton Leg Drawing
For a more detailed skeleton, add in ribs and sternum around the figure 8, and a spine from shoulder to hip. Web table of contents. Use overlapping curved lines to sketch the top of the head, the cheeks, and the jaw. Web this is my full method for drawing legs, from sketch in, anatomy rough in, through to shadow. It’s.
Anatomical Skeleton Drawing
Web 1.22 step 22: Plan for this drawing to take about 20 minutes, but the drawing process may actually take more time if a background is created as well. Web step 12 — draw the hands and feet to the skeleton. Now move onto the legs. Learn how to draw the femur, patella, tibia, and fibula in this lesson!

Leg Bones Study Sydney McBride Art
But then, i took a step back and started with something simple. Web table of contents. How to draw arms step 1. Web when i first decided to learn how to draw a skeleton, it seemed like a big challenge. Web step 12 — draw the hands and feet to the skeleton.

Easy Skeleton Drawing HelloArtsy
Web the lower leg is in fact like the lower arm, which has two bones; Web table of contents. Web when i first decided to learn how to draw a skeleton, it seemed like a big challenge. Learn how to draw the femur, patella, tibia, and fibula in this lesson! Then, add the shape of the feet with clear heel.

How to Draw a Skeleton Step by Step
It’s easy to get overwhelmed by the complex details of all the muscles in a body, so instead, think of the body in basic shapes: Now move onto the legs. Finally learn to draw your very own. I tried to include examples from a few angles in order to get. Web hi,in this video i show you how to draw.

leg bones anatomy
The greater trochanter comes quite close to the body surface and plays an important role in model drawing. Drawing the pelvis and legs in pen;. Depicting a sketch with arms, legs and head.click on the pencil is not much, because in the end we will. My first skeleton drawing was far from perfect, but it was a start. The key.
Draw Them As Simple Circles.
Draw these lines as you perceive them in as much light as possible. Separate the fingers into sections to depict the phalanges. It taught me that breaking the process down into smaller,. First, draw some circles to form the eye sockets of the skull.
Follow My Step By Step Drawing Tutorial And You Are Going To Be Able To Make Your Own Skelet.
Web step 12 — draw the hands and feet to the skeleton. Finally learn to draw your very own. The upper part of the femur has two bony projections: These bones are called the tibia and the fibula.
Add The First Color Coat;
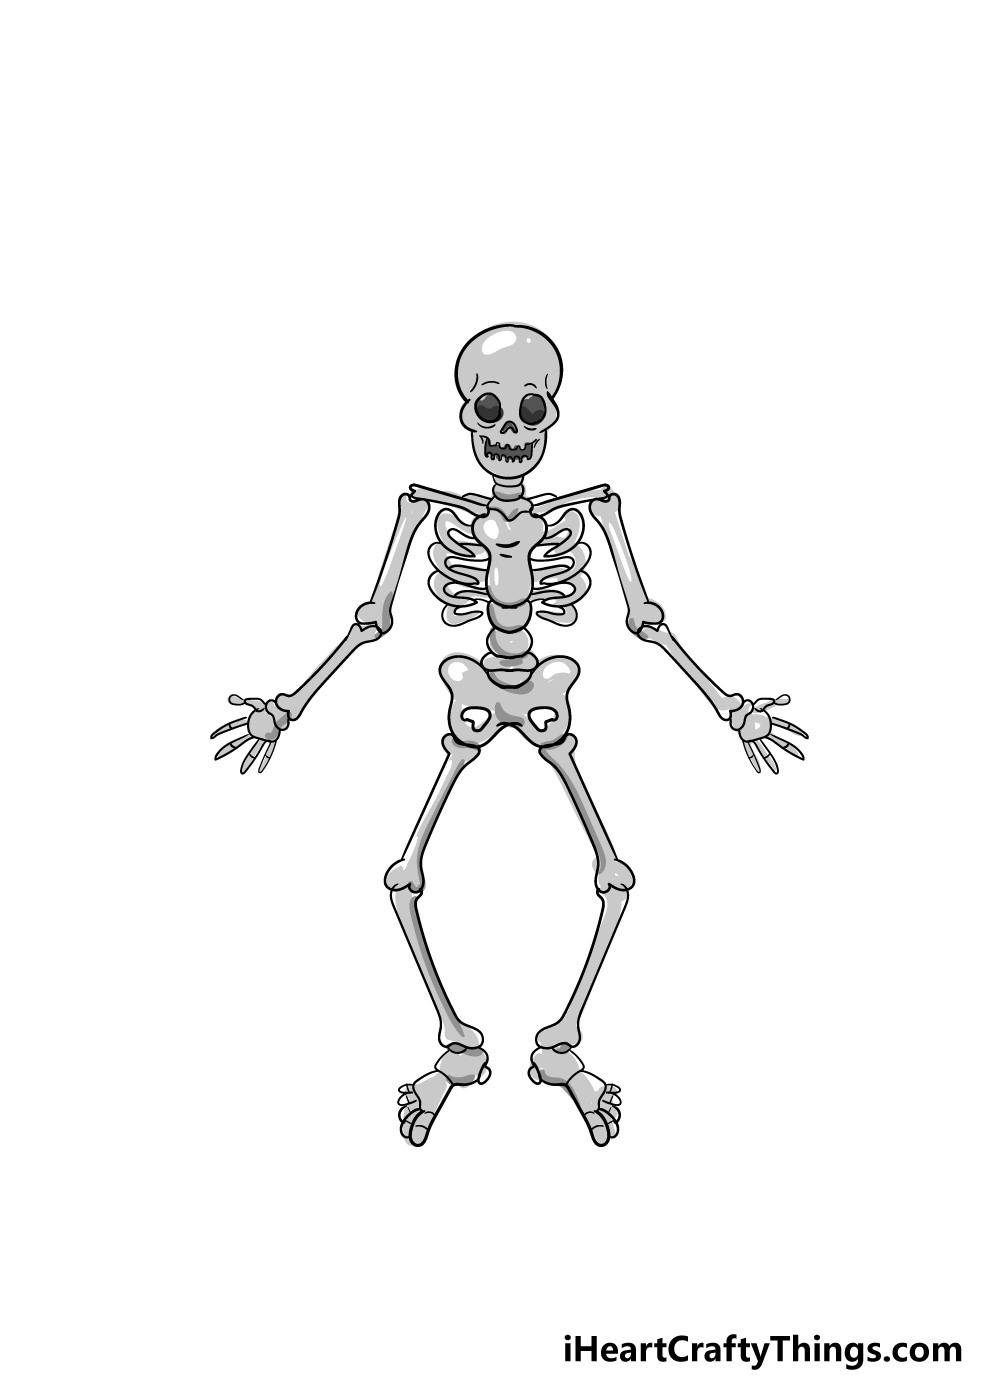
Draw the femur, connecting it to the hip bones. For a more detailed skeleton, add in ribs and sternum around the figure 8, and a spine from shoulder to hip. Add the second color coat; Web this example demonstrates how to draw a skeleton step by step in just seven steps.
Drawing The Pelvis And Legs In Pen;.
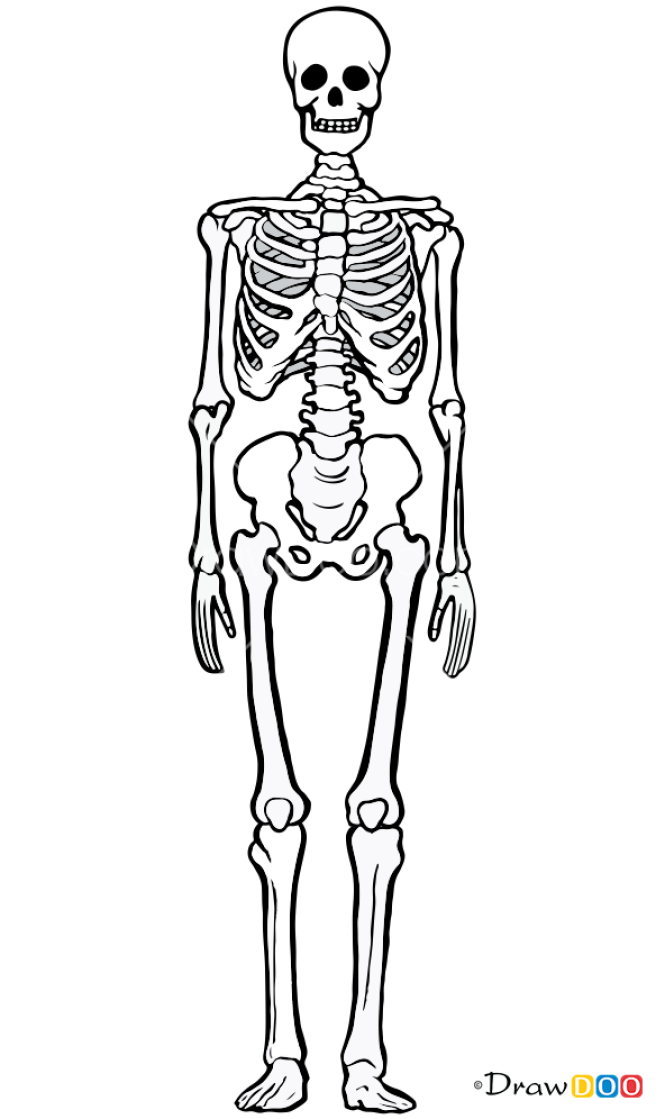
Then, add the shape of the feet with clear heel and toe outlines. Sketch the outer lines of the hand, defining the thumb and adding the outlines of the remaining fingers. The idea of drawing bones and getting the structure right was intimidating. Web the axial skeleton contains the following bone groups of the skeleton bones: