Stingray Drawing Easy
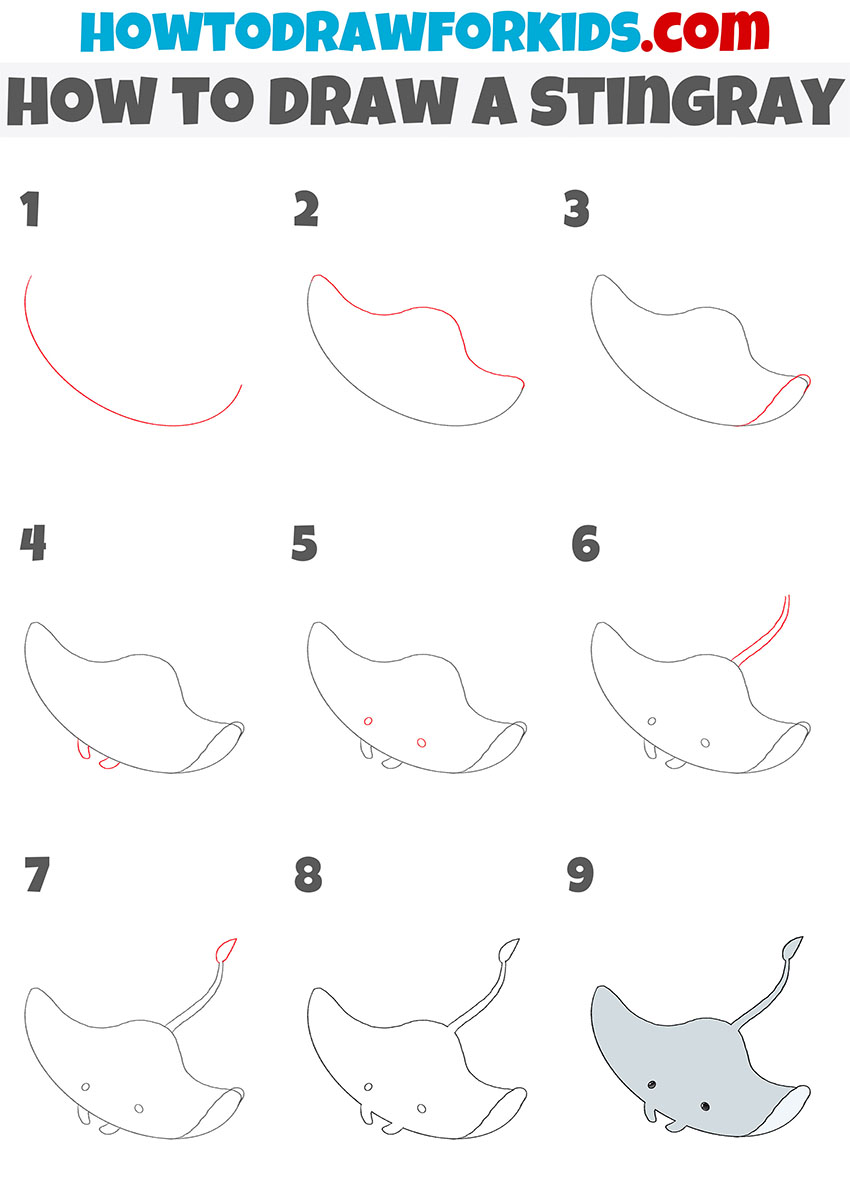
Stingray Drawing Easy - Make a u shape, connecting the end points on the bottom. For this and the next step, we will be finishing off not only the outline but also some of the final details for your stingray drawing. Use a long, curved line for its back. And another on the top. Position it on top of the oval outline of the torso. We decided to make this art lesson of a #stingray. Web depict the tail of the stingray. Web draw two small circles within the head to represent the eyes of the stingray. Use a series of curved lines to enclose the stingray's body. At the top, draw a line that connects the circle to the wing to form the guide for the rest of the stingray's body.
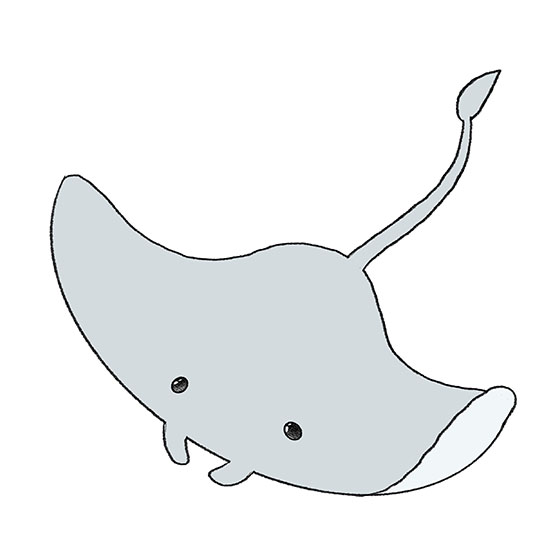
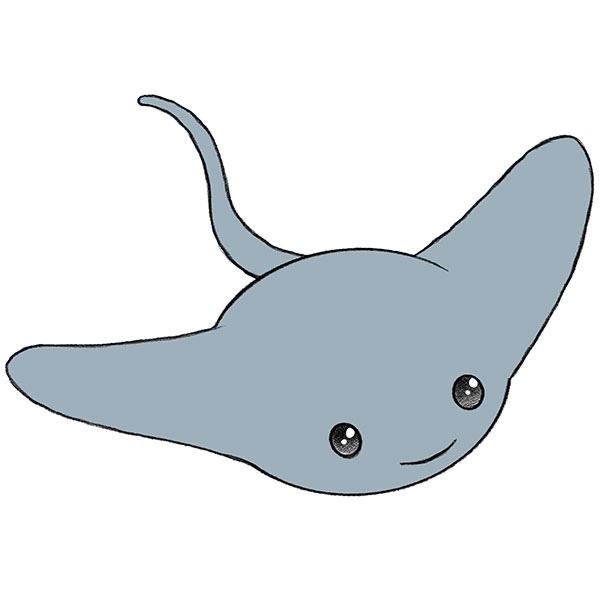
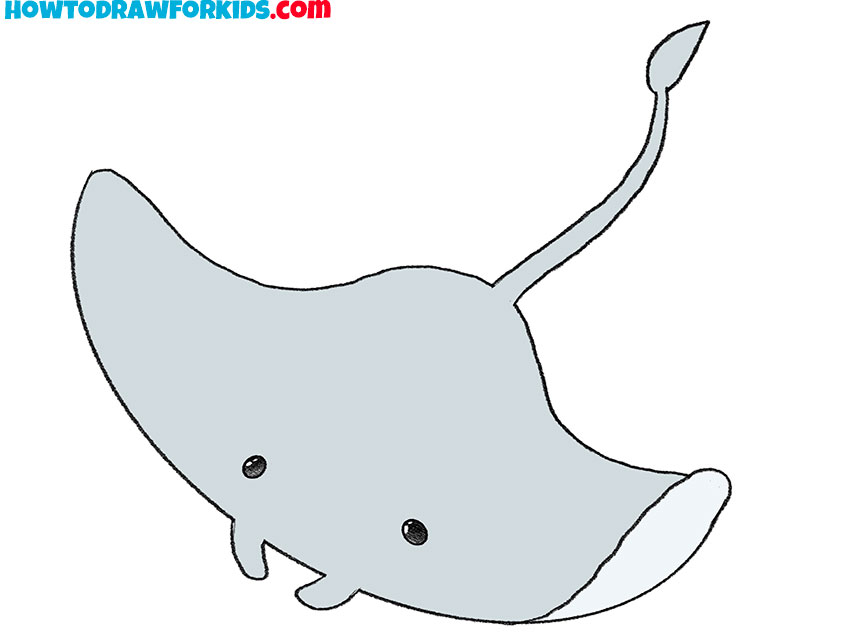
Web learn how to draw a stingray! On the top, right side, draw an angled line as a guide for the stingray's other wing. Use a series of curved lines to enclose the stingray's body. Colour the whole stingray’s body grey and its eyes black, adding highlights on them. Position it on top of the oval outline of the torso. Make a u shape, connecting the end points on the bottom. Then, add a small curved line below the eyes to depict the mouth of the stingray. Web in this drawing lesson we’ll show you how to draw a stingray in 6 easy steps. Use a long, curved line for its back. Draw it with wavy lines.
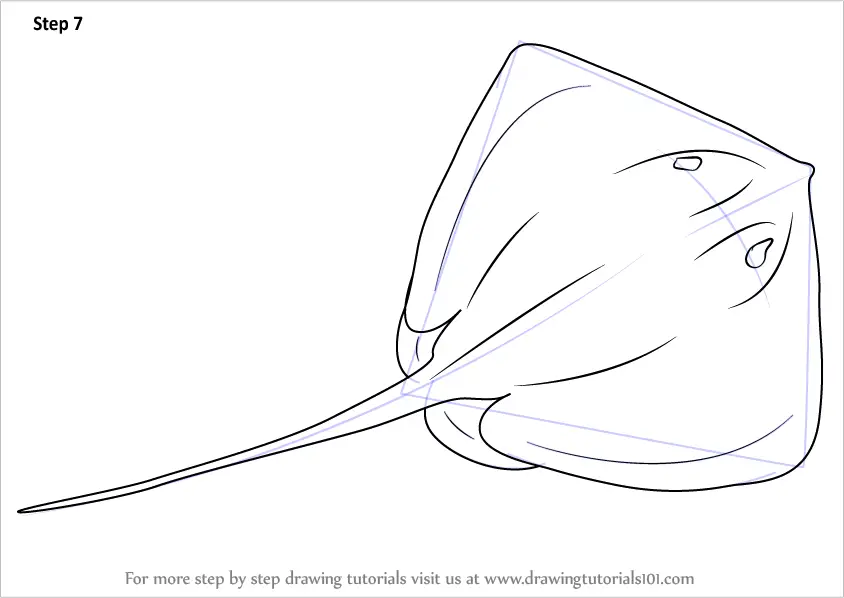
Also click here if you'd like to learn how to draw a manta ray: Then, use a shorter line to outline its barb, or stinger. For this step, start off by drawing some slightly rounded lines along the center of the body for the structure of the stingray’s body. Colour the whole stingray’s body grey and its eyes black, adding highlights on them. Simply follow along with each step, drawing the portion shown in red for each step. Draw it with wavy lines. For this and the next step, we will be finishing off not only the outline but also some of the final details for your stingray drawing. Position it on top of the oval outline of the torso. This step by step lesson progressively builds upon each previous step until you get to the final rendering of a sting ray. Make a u shape, connecting the end points on the bottom.
How to Draw a Stingray Step by Step Easy Drawing Tutorial For Kids
Use a long, curved line for its back. Also draw a line from the end of the tail close to the head. Then, in just a few minutes you’ll have a simple and easy. On the top, right side, draw an angled line as a guide for the stingray's other wing. Position it on top of the oval outline of.
How to Draw a Stingray
On the top, right side, draw an angled line as a guide for the stingray's other wing. And another on the top. This step by step lesson progressively builds upon each previous step until you get to the final rendering of a sting ray. Also click here if you'd like to learn how to draw a manta ray: Also draw.

How to Draw a Stingray Really Easy Drawing Tutorial
At the top, draw a line that connects the circle to the wing to form the guide for the rest of the stingray's body. Finally, use long lines to form the tail, which ends in a gentle point. This step by step lesson progressively builds upon each previous step until you get to the final rendering of a sting ray..

How to Draw a Stingray Really Easy Drawing Tutorial
At the top, draw a line that connects the circle to the wing to form the guide for the rest of the stingray's body. This step by step lesson progressively builds upon each previous step until you get to the final rendering of a sting ray. Also click here if you'd like to learn how to draw a manta ray:.
How to Draw a Stingray Step by Step Easy Drawing Tutorial For Kids
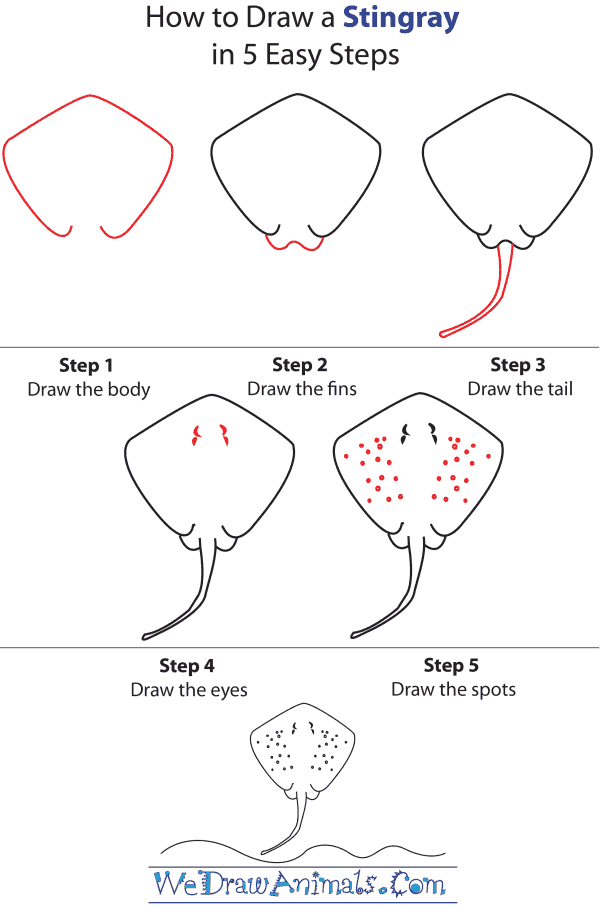
The resulting shape should be similar to a triangle. Web draw two small circles within the head to represent the eyes of the stingray. Simply follow along with each step, drawing the portion shown in red for each step. We decided to make this art lesson of a #stingray. This step by step lesson progressively builds upon each previous step.
Learn How to Draw a Stingray (Fishes) Step by Step Drawing Tutorials
For this and the next step, we will be finishing off not only the outline but also some of the final details for your stingray drawing. Also click here if you'd like to learn how to draw a manta ray: Then, add a small curved line below the eyes to depict the mouth of the stingray. Use the eraser to.
How to Draw a Stingray Easy Drawing Tutorial For Kids
Simply follow along with each step, drawing the portion shown in red for each step. Draw it with wavy lines. On the top, right side, draw an angled line as a guide for the stingray's other wing. Also draw a line from the end of the tail close to the head. Finally, use long lines to form the tail, which.
How to Draw a Stingray Step by Step Easy Drawing Tutorial For Kids
This step by step lesson progressively builds upon each previous step until you get to the final rendering of a sting ray. Place them closer to the sides of the head, leaving enough space in between. Make a u shape, connecting the end points on the bottom. Today we are going to be learning how to draw a stingray step.

How to draw a Stingray Fish easy for beginners drawing Stingray Fish
Use a series of curved lines to enclose the stingray's body. Also click here if you'd like to learn how to draw a manta ray: This step by step lesson progressively builds upon each previous step until you get to the final rendering of a sting ray. Place them closer to the sides of the head, leaving enough space in.

Stingray Easy Drawing how to draw a Stingray YouTube
Draw it with wavy lines. Web in this drawing lesson we’ll show you how to draw a stingray in 6 easy steps. Make a u shape, connecting the end points on the bottom. Simply follow along with each step, drawing the portion shown in red for each step. Then, add a small curved line below the eyes to depict the.
On The Top, Right Side, Draw An Angled Line As A Guide For The Stingray's Other Wing.
Colour the whole stingray’s body grey and its eyes black, adding highlights on them. Finally, use long lines to form the tail, which ends in a gentle point. And another on the top. Use a series of curved lines to enclose the stingray's body.
This Step By Step Lesson Progressively Builds Upon Each Previous Step Until You Get To The Final Rendering Of A Sting Ray.
Then, add a small curved line below the eyes to depict the mouth of the stingray. Position it on top of the oval outline of the torso. Use the eraser to remove unnecessary lines from the stingray’s body. Web learn how to draw a stingray!
Draw It With Wavy Lines.
Web draw two small circles within the head to represent the eyes of the stingray. Also draw a line from the end of the tail close to the head. Use a long, curved line for its back. Today we are going to be learning how to draw a stingray step by step and easy for everyone!
At The Top, Draw A Line That Connects The Circle To The Wing To Form The Guide For The Rest Of The Stingray's Body.
Web depict the tail of the stingray. Simply follow along with each step, drawing the portion shown in red for each step. Web in this drawing lesson we’ll show you how to draw a stingray in 6 easy steps. Place them closer to the sides of the head, leaving enough space in between.