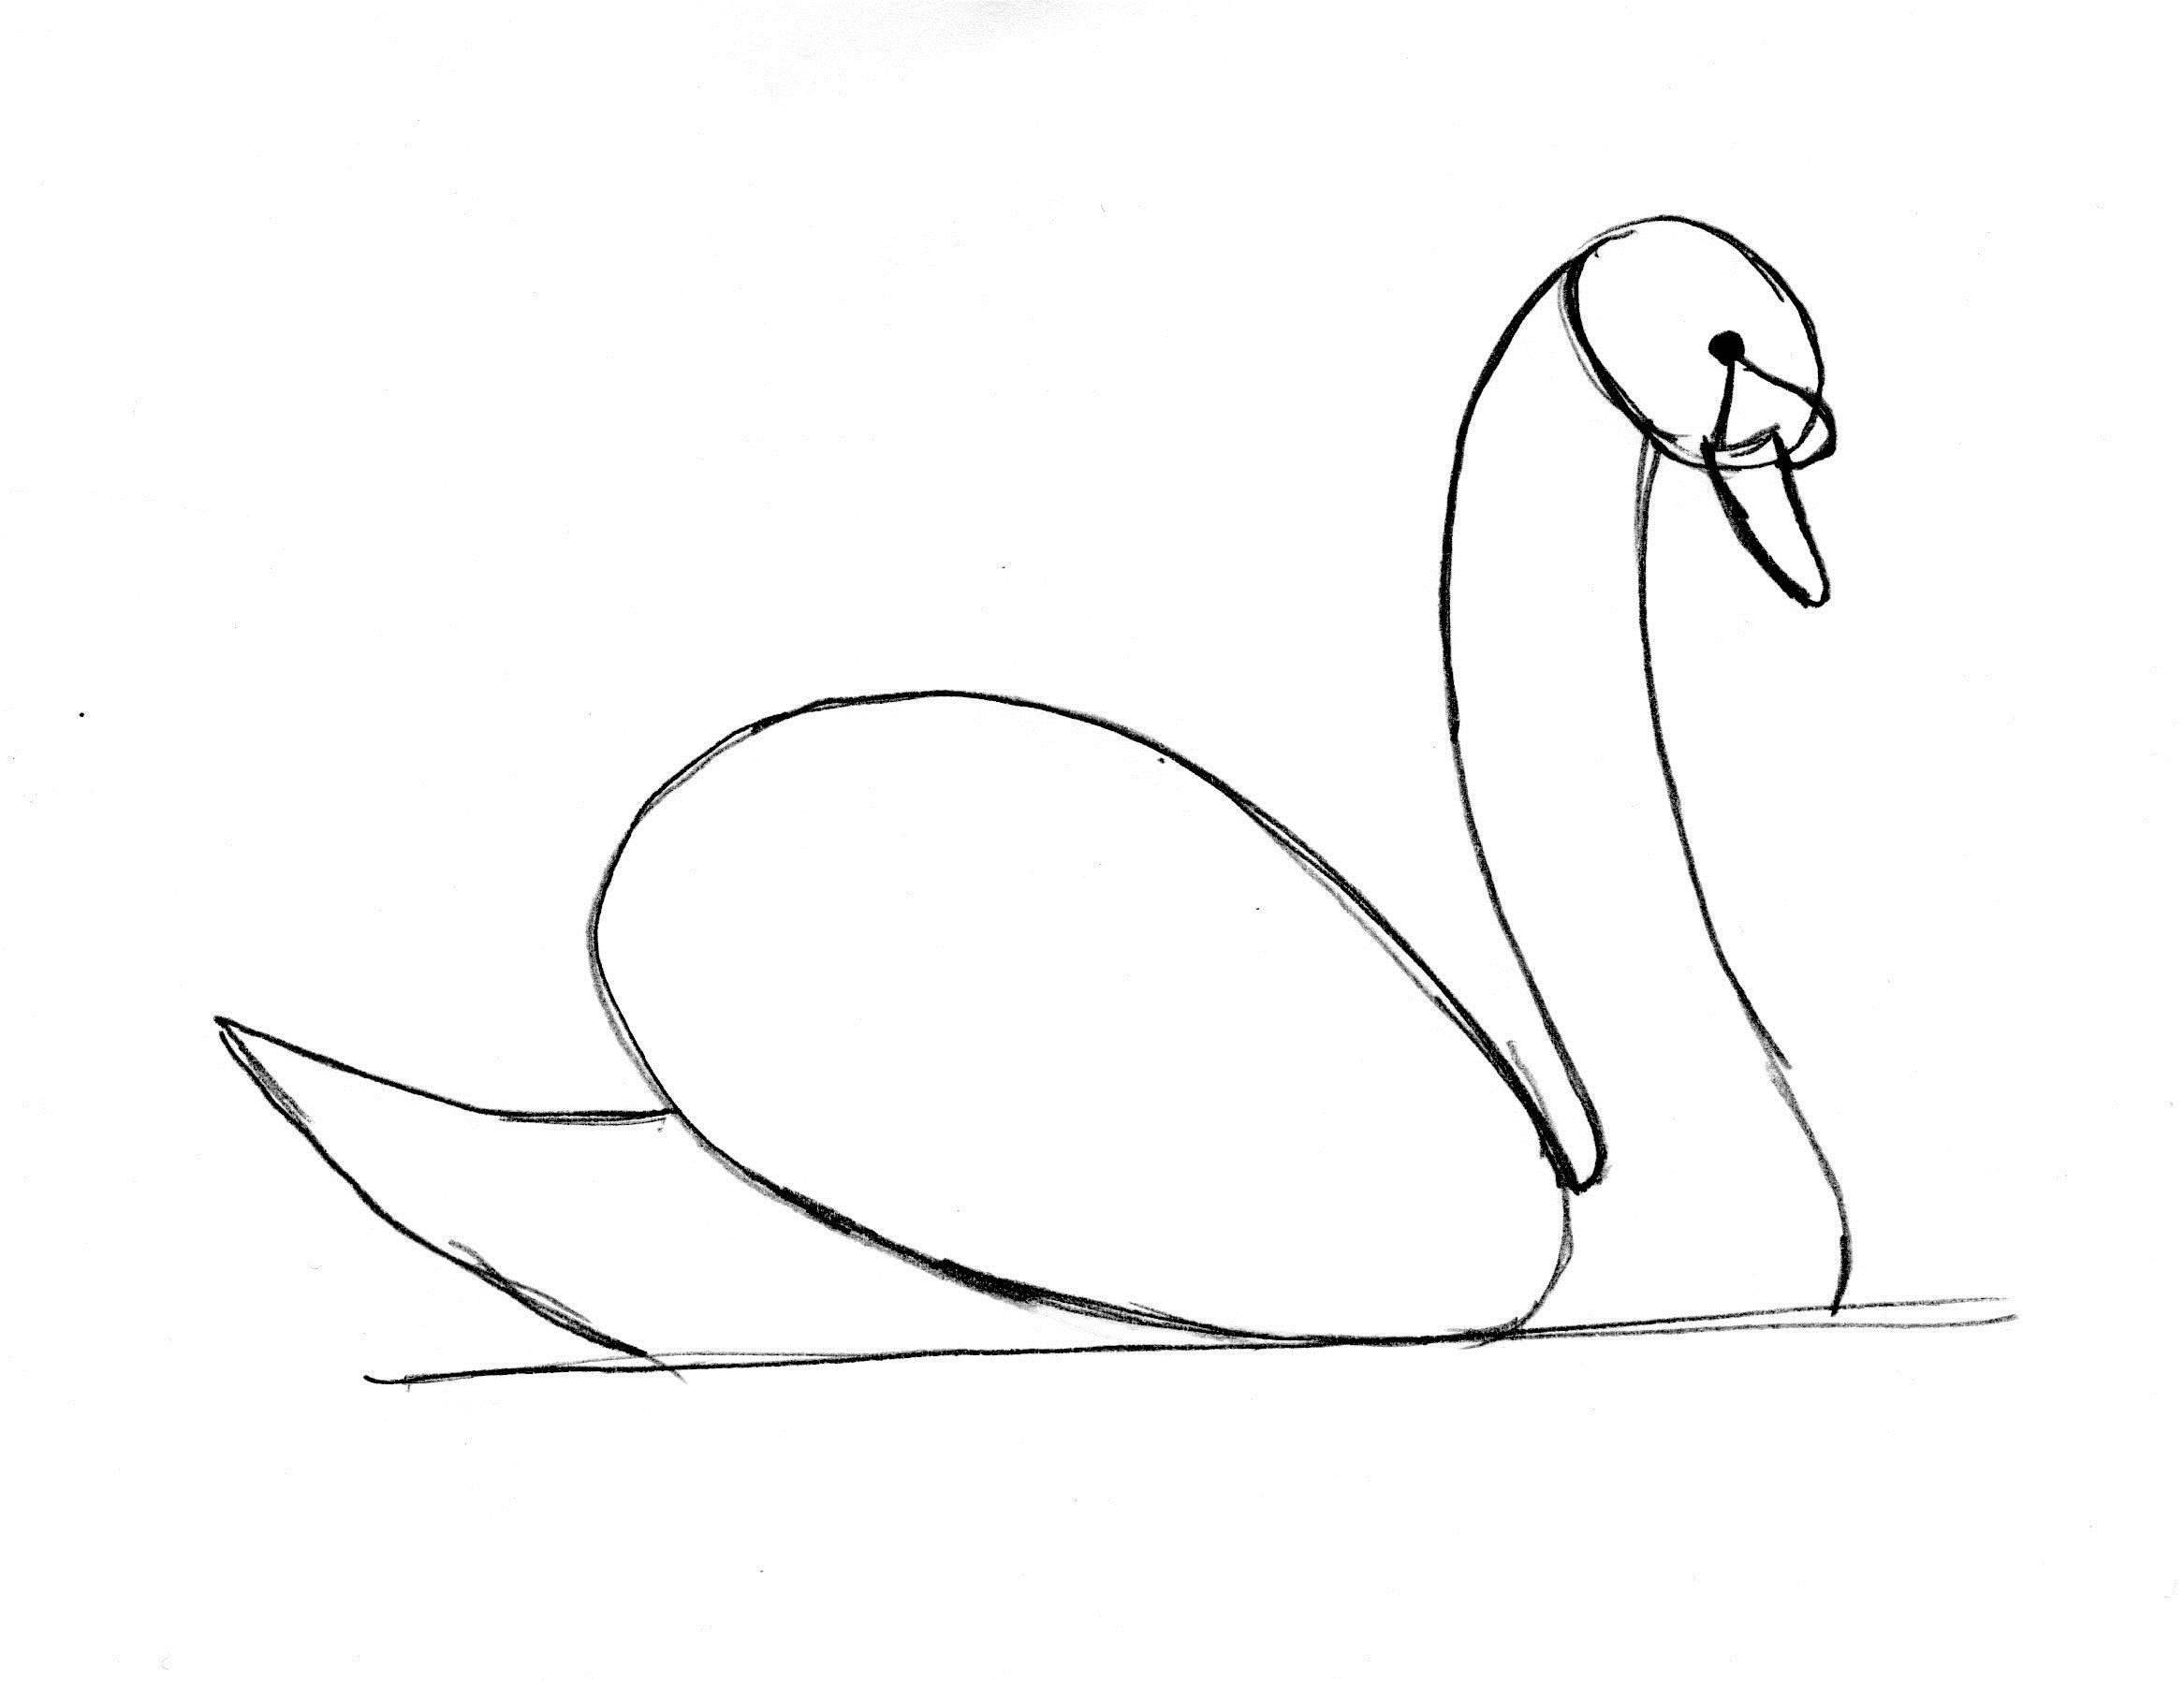
Swan Drawing
Swan Drawing - Begin drawing the smaller details of the swan with the bill. These construction lines help us to form the basis of our drawing before we add details. Web in this drawing lesson we’ll show you how to draw a swan in 6 easy steps. Next draw the split between the upper and lower part of the bill. Then, use curved lines that meet at points to form the flight feathers at the tips of the wings. Web draw two ovals. Since these are just construction lines at the moment, a single curved line can be used to illustrate the shape of the neck. When it comes to drawing a swan, the proportions are even more essential because the swan. Finally finish with a little oval shaped nostril. The next step is one of the easiest parts to recognize on a swan:
This step by step lesson progressively builds upon each previous step until you get to the final rendering of a swan. Web in this drawing lesson we’ll show you how to draw a swan in 6 easy steps. Then, use curved lines that meet at points to form the flight feathers at the tips of the wings. Finally finish with a little oval shaped nostril. Begin drawing the smaller details of the swan with the bill. Start the curved line on the left side of the first oval, being sure not to begin at the end of the oval. Black marker (optional) how to draw a swan printable pdf (see bottom of lesson) in this article, we will start with a blank piece of paper and discover how to draw a swan in no time. For the wing, draw the top using a long curved line and shorter, overlapping lines to form the feathers. Web draw two ovals. These construction lines help us to form the basis of our drawing before we add details.
Then, in just a few minutes you’ll have a simple and easy swan. The bottom oval is for its body. Add a little knob between it and the head (you may need to erase a tiny part of the drawing to do this). Web draw two ovals. Black marker (optional) how to draw a swan printable pdf (see bottom of lesson) in this article, we will start with a blank piece of paper and discover how to draw a swan in no time. When it comes to drawing a swan, the proportions are even more essential because the swan. Begin drawing the smaller details of the swan with the bill. The next step is one of the easiest parts to recognize on a swan: Next draw the split between the upper and lower part of the bill. Since these are just construction lines at the moment, a single curved line can be used to illustrate the shape of the neck.

How to Draw a Swan Really Easy Drawing Tutorial
When it comes to drawing a swan, the proportions are even more essential because the swan. The top oval is for the head of our swan. Simply follow along with each step, drawing the portion shown in red for each step. Begin drawing the smaller details of the swan with the bill. Black marker (optional) how to draw a swan.
Swan Drawing Step by Step Art Starts
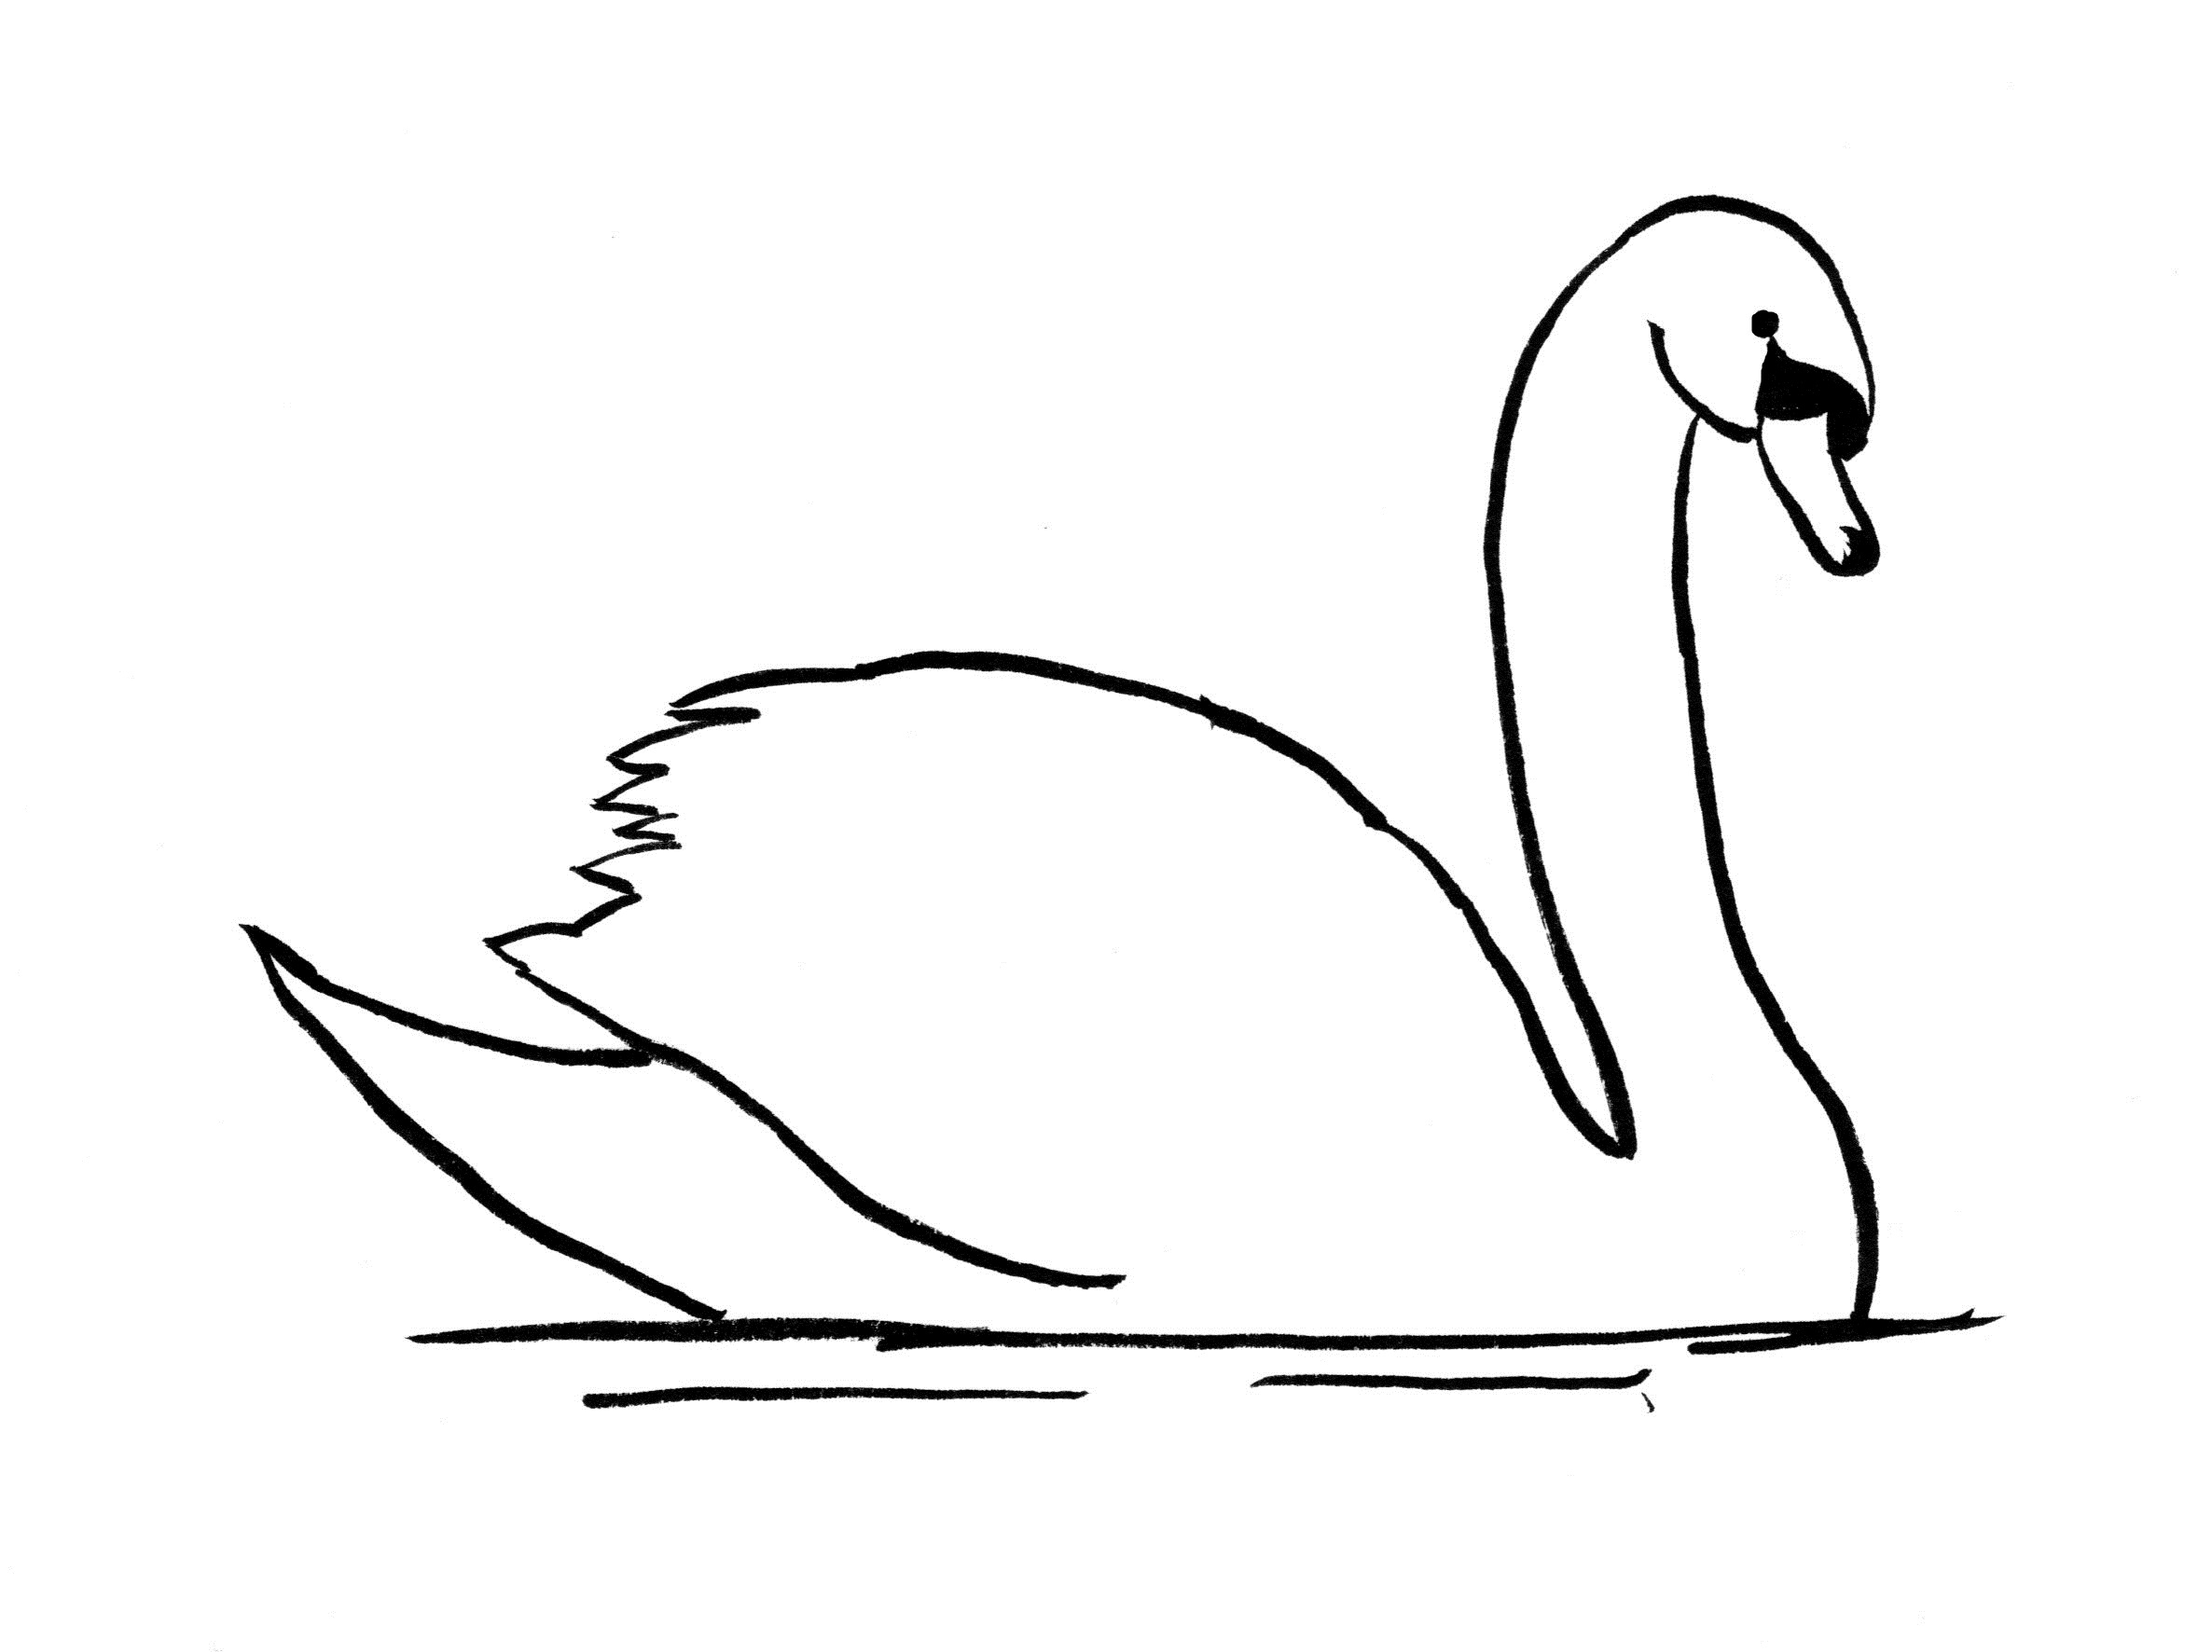
Finally finish with a little oval shaped nostril. Draw the remaining wing and the flight feathers. It’s best if we consider the shape and size of each of the drawn parts of the swan. For the wing, draw the top using a long curved line and shorter, overlapping lines to form the feathers. Web in this drawing lesson we’ll show.

Swan Drawing Step by Step Art Starts
Black marker (optional) how to draw a swan printable pdf (see bottom of lesson) in this article, we will start with a blank piece of paper and discover how to draw a swan in no time. Web draw two ovals. The top oval is for the head of our swan. Since these are just construction lines at the moment, a.

How to Draw a Swan An EasytoFollow Realistic Swan Drawing Tutorial
Next draw the split between the upper and lower part of the bill. Web full tutorial + print version at: Then, use curved lines that meet at points to form the flight feathers at the tips of the wings. Simply follow along with each step, drawing the portion shown in red for each step. Web in this drawing lesson we’ll.
Swan Drawing Step by Step Art Starts
Simply follow along with each step, drawing the portion shown in red for each step. It’s best if we consider the shape and size of each of the drawn parts of the swan. Finally finish with a little oval shaped nostril. The bottom oval is for its body. Web draw two ovals.
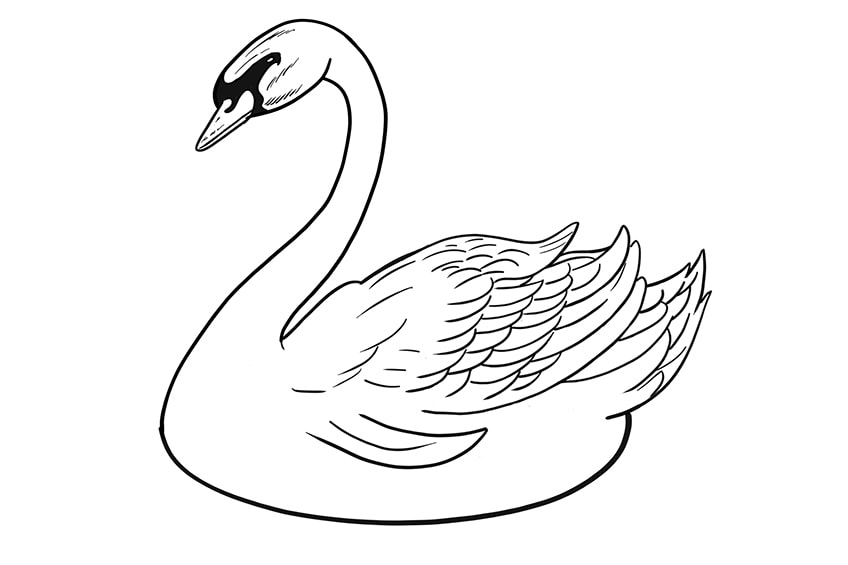
How to Draw A Swan Step by Step
Simply follow along with each step, drawing the portion shown in red for each step. Here's a few simple steps on how to draw a swan. Web draw two ovals. The top oval is for the head of our swan. Web in this drawing lesson we’ll show you how to draw a swan in 6 easy steps.

How to Draw a Swan Step By Step For Kids & Beginners
Then, use curved lines that meet at points to form the flight feathers at the tips of the wings. Web in this drawing lesson we’ll show you how to draw a swan in 6 easy steps. Since these are just construction lines at the moment, a single curved line can be used to illustrate the shape of the neck. Black.
How to Draw a Swan Step by Step EasyLineDrawing
Web full tutorial + print version at: The next step is one of the easiest parts to recognize on a swan: The best way to begin any animal drawing where proportion and shape are essential is to start by drawing a series of construction lines. For the wing, draw the top using a long curved line and shorter, overlapping lines.
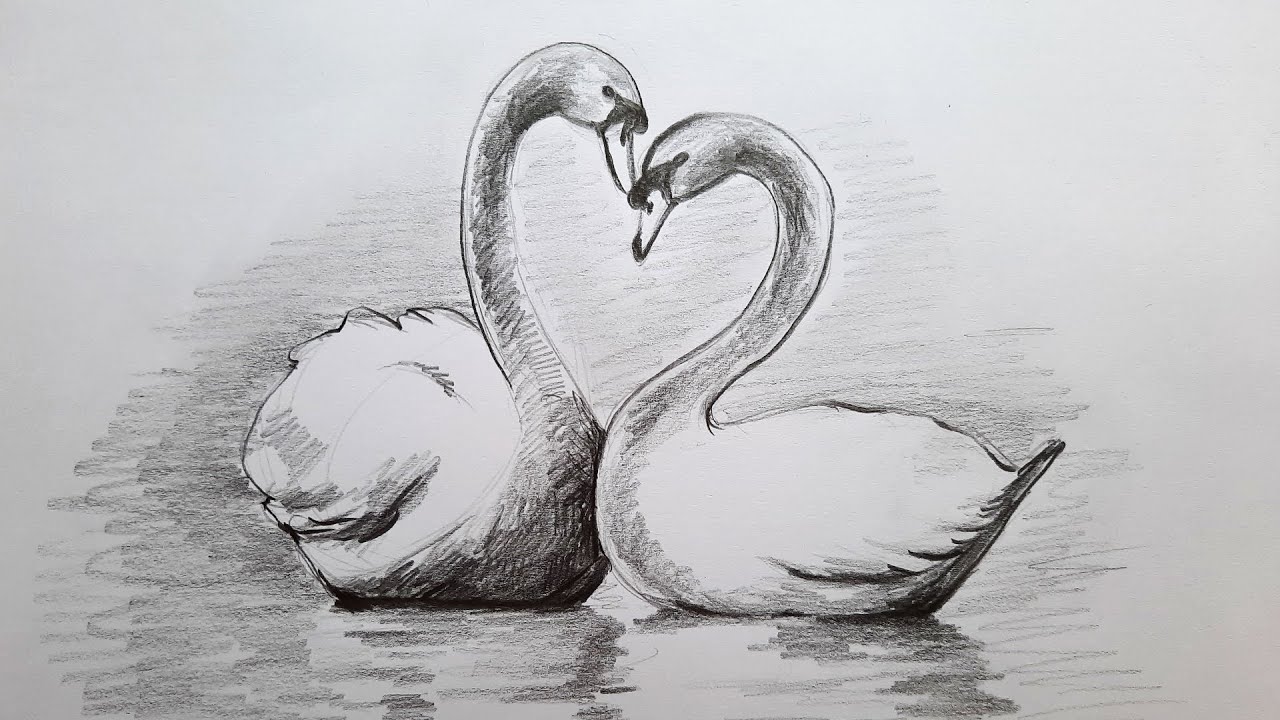
How to draw two swans by pencil easy swan drawing with shades
Web in this drawing lesson we’ll show you how to draw a swan in 6 easy steps. Web full tutorial + print version at: When it comes to drawing a swan, the proportions are even more essential because the swan. Since these are just construction lines at the moment, a single curved line can be used to illustrate the shape.
How to Draw a Swan A Tutorial on How to Draw a Realistic Swan
Simply follow along with each step, drawing the portion shown in red for each step. Then, use curved lines that meet at points to form the flight feathers at the tips of the wings. Web full tutorial + print version at: Here's a few simple steps on how to draw a swan. These construction lines help us to form the.
When It Comes To Drawing A Swan, The Proportions Are Even More Essential Because The Swan.
The top oval is for the head of our swan. Finally finish with a little oval shaped nostril. Next draw the split between the upper and lower part of the bill. The bottom oval is for its body.
The Next Step Is One Of The Easiest Parts To Recognize On A Swan:
Then, in just a few minutes you’ll have a simple and easy swan. Web in this drawing lesson we’ll show you how to draw a swan in 6 easy steps. Start the curved line on the left side of the first oval, being sure not to begin at the end of the oval. Black marker (optional) how to draw a swan printable pdf (see bottom of lesson) in this article, we will start with a blank piece of paper and discover how to draw a swan in no time.
Begin Drawing The Smaller Details Of The Swan With The Bill.
These construction lines help us to form the basis of our drawing before we add details. The best way to begin any animal drawing where proportion and shape are essential is to start by drawing a series of construction lines. This step by step lesson progressively builds upon each previous step until you get to the final rendering of a swan. It’s best if we consider the shape and size of each of the drawn parts of the swan.
Web Draw Two Ovals.
Here's a few simple steps on how to draw a swan. Add a little knob between it and the head (you may need to erase a tiny part of the drawing to do this). Then, use curved lines that meet at points to form the flight feathers at the tips of the wings. Draw the remaining wing and the flight feathers.